
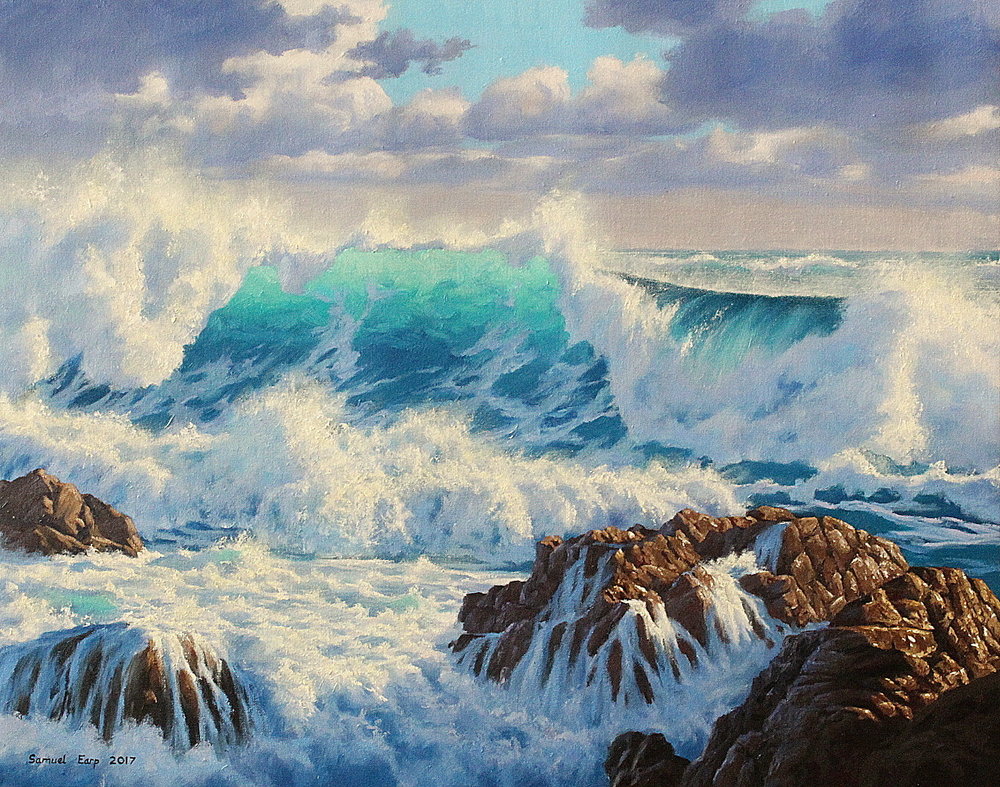
Painting breaking waves is fun!!!! …and you can create some awesome seascapes where a breaking wave is the main focus of the painting, add rocks, white water, spills, clouds and light angles and you can create some very engaging seascapes.
In this step-by-step seascape painting, I will show you how to paint a dramatic seascape with a breaking wave and a rocky shore. This painting is inspired by the coastline of Wellington, New Zealand, where the sea can be pretty rough when a southerly weather system is passing through…but at the same time provides the excellent subject matter for seascape paintings.
So, let’s get started…

STEP ONE: Sketching the Composition on the Canvas
Here is my canvas
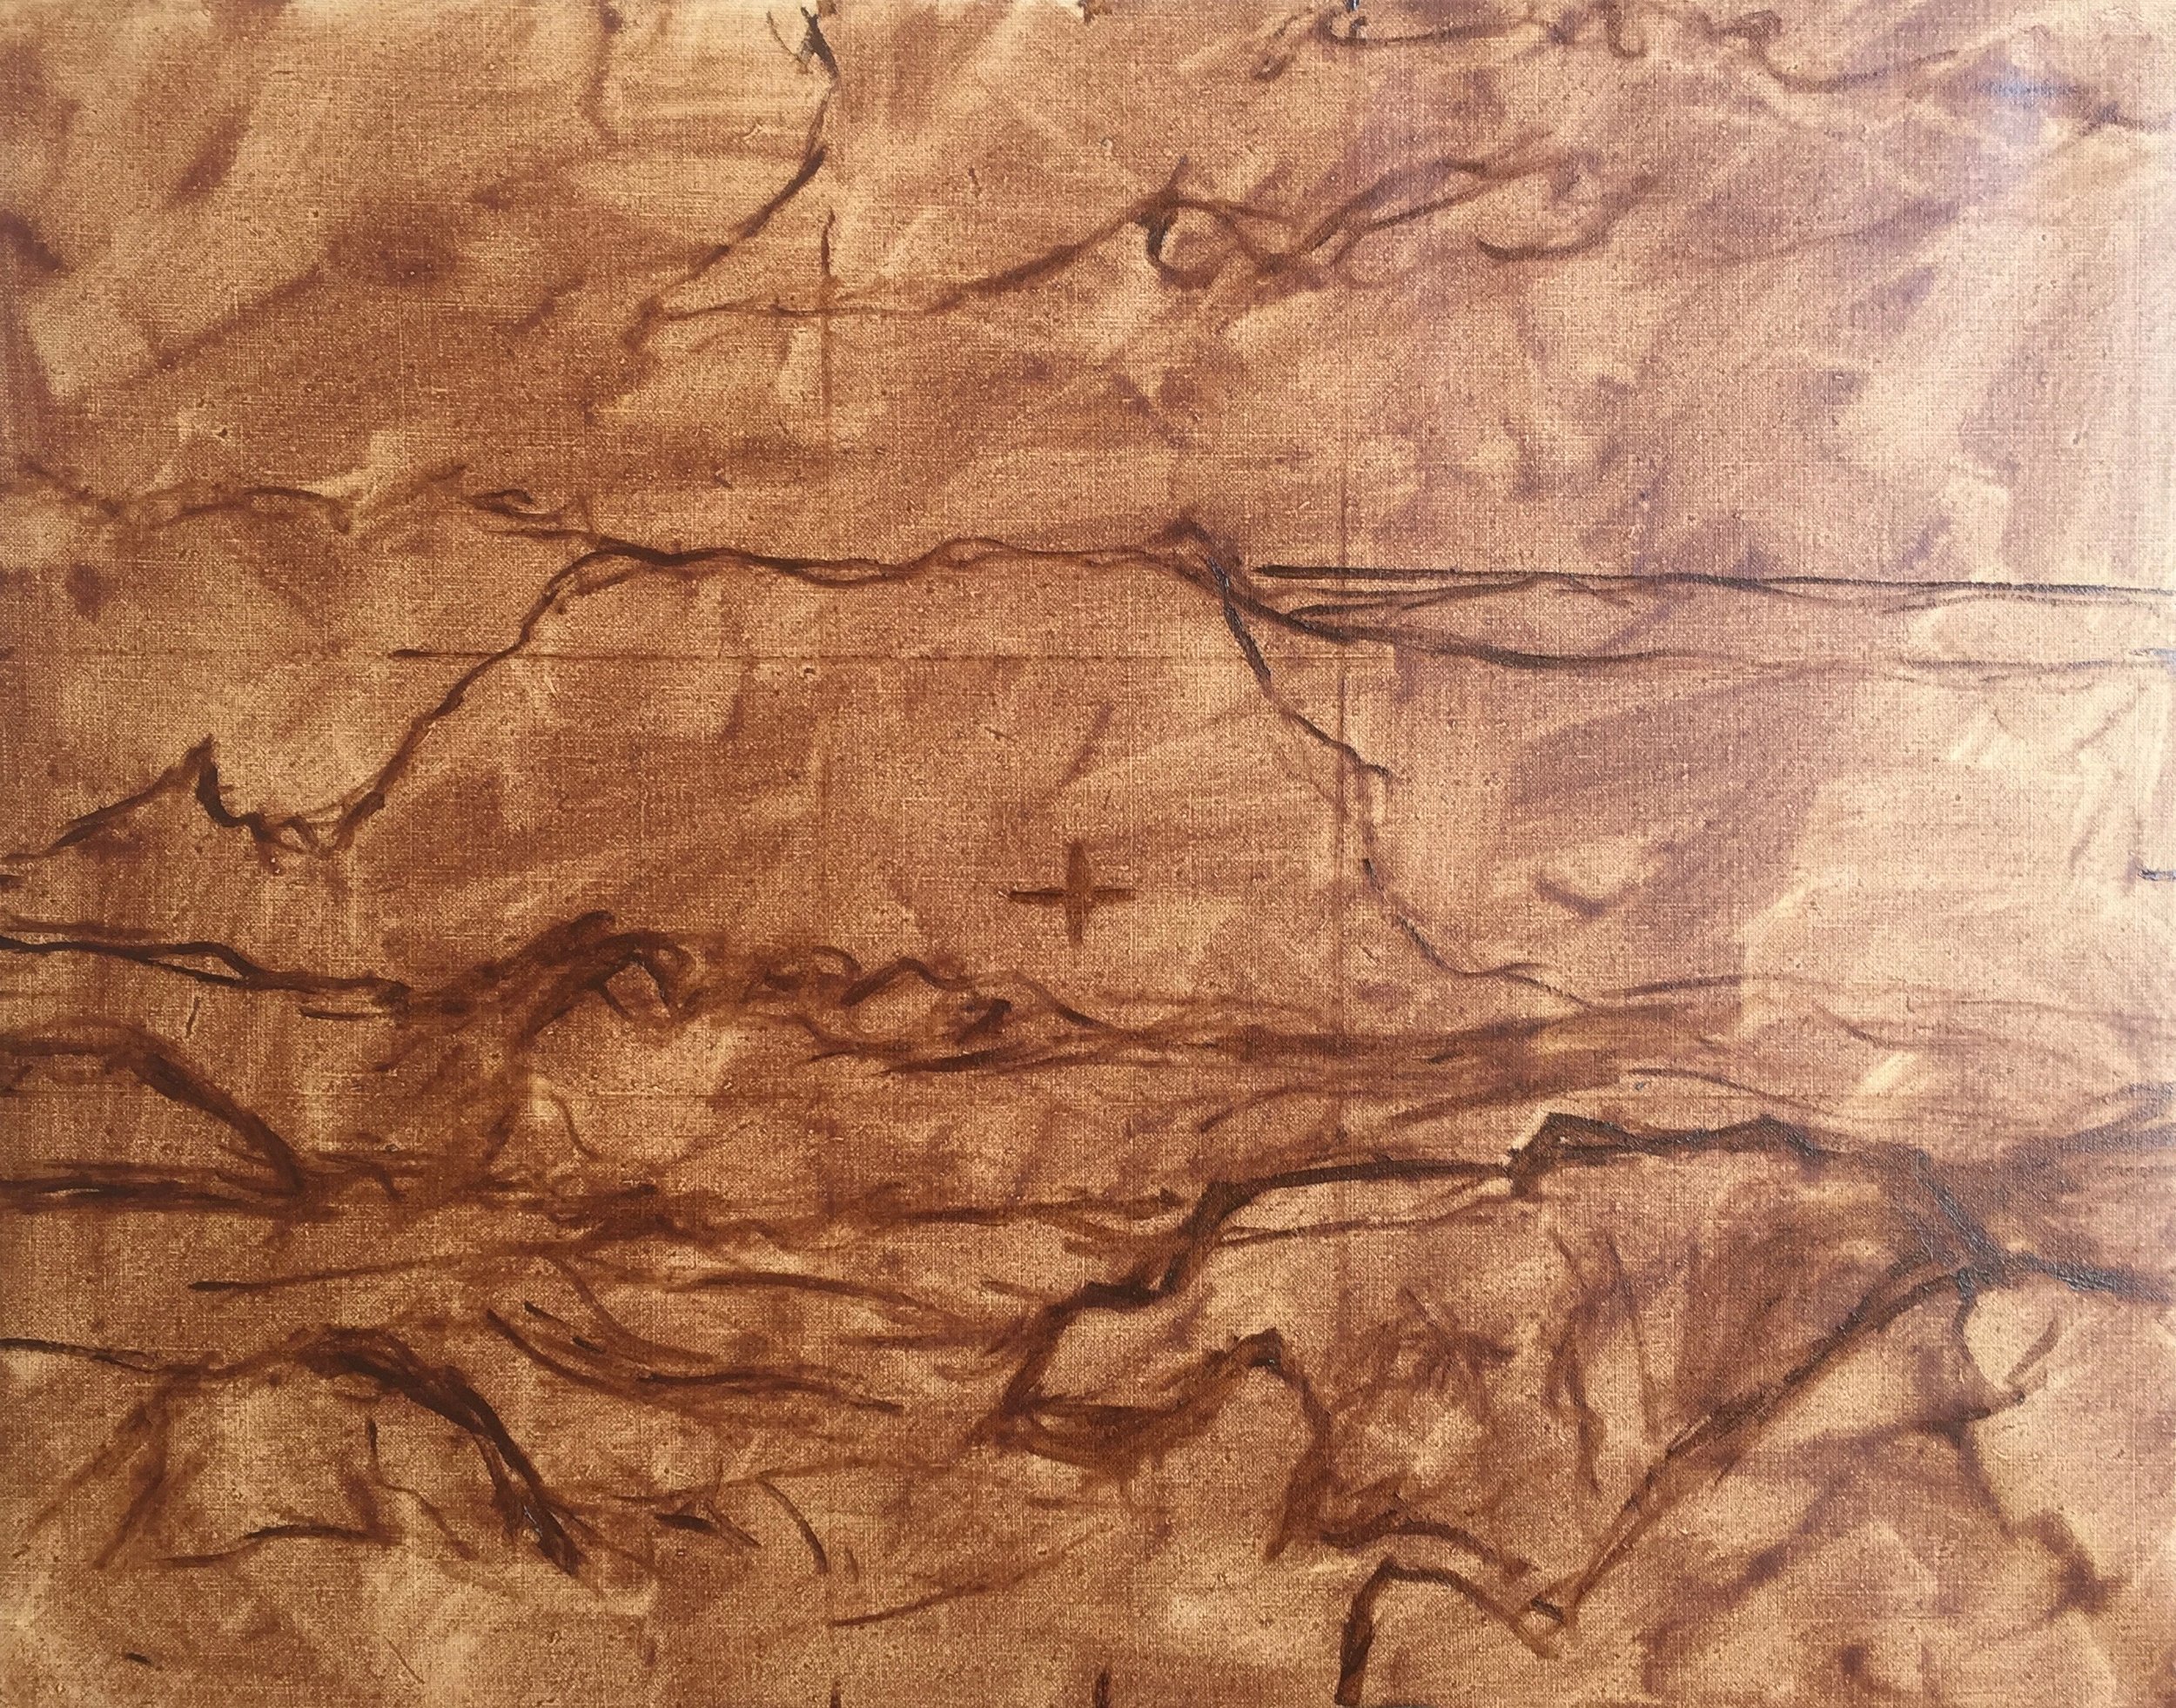
The first thing you’ll notice is that I am not painting on a white canvas. I preferred painting on a toned background and in this case, I have used burnt umber which gives vibrancy to the painting as I apply the paint layers.
I mark in my seascape drawing using a synthetic round brush and burnt umber. You may notice the cross in the middle of the painting and the faint lines in which I have incorporated the golden ratio. This helps me with my composition so I can reduce aberrations and other errors…but more about that in another blog post.
One of the most important things in seascape composition is the positioning of the horizon line. NEVER EVER place your horizon in the dead centre of the painting…NO NO NO, BAD!!!!! Either a high horizon or a low horizon. In this case, I have gone for a high horizon as the focus of my painting is about the rough sea and the rocks, however, you might use a low horizon line if you want more emphasis on the sky or landforms.
STEP TWO: Painting the Sky and Clouds

I start with the furthest distance and then work forward, in this case, the sky. In order for the sky to recede I use desaturated colours mixing ultramarine blue, burnt umber, quinacridone magenta and titanium white for the clouds. The blue sky is mixed with cobalt blue, cobalt teal and titanium white. In order to achieve colour harmony in the painting I will use these colours throughout.
I’m not concerned with detail when in the blocking stage of the painting. I use a chip brush and/or a larger bristle dagger brush so I can cover ground quickly.
STEP THREE: Marking in the Main Ocean Colours
Using a large bristle dagger brush I block in the main areas of the breaking wave and the white water. In this scene, the direct light is coming from the right side of the painting. I increase the saturation of my colours to bring the wave and the white water forward.
STEP FOUR: Painting the Rocks
Finally, I block in the shapes of the rocks, again I don’t want to get bogged down in detail here. I’ve saved my darkest tones for the rocks in the foreground where some of the colours are near black. This is mixed by combining ultramarine blue and burnt umber. Never use a pre-mixed black as it won’t coordinate well with other colours and can deaden the colours in the painting.
For the highlighted areas of my rocks, I have used my go-to earth colours which include, burnt umber, burnt sienna and yellow oxide.
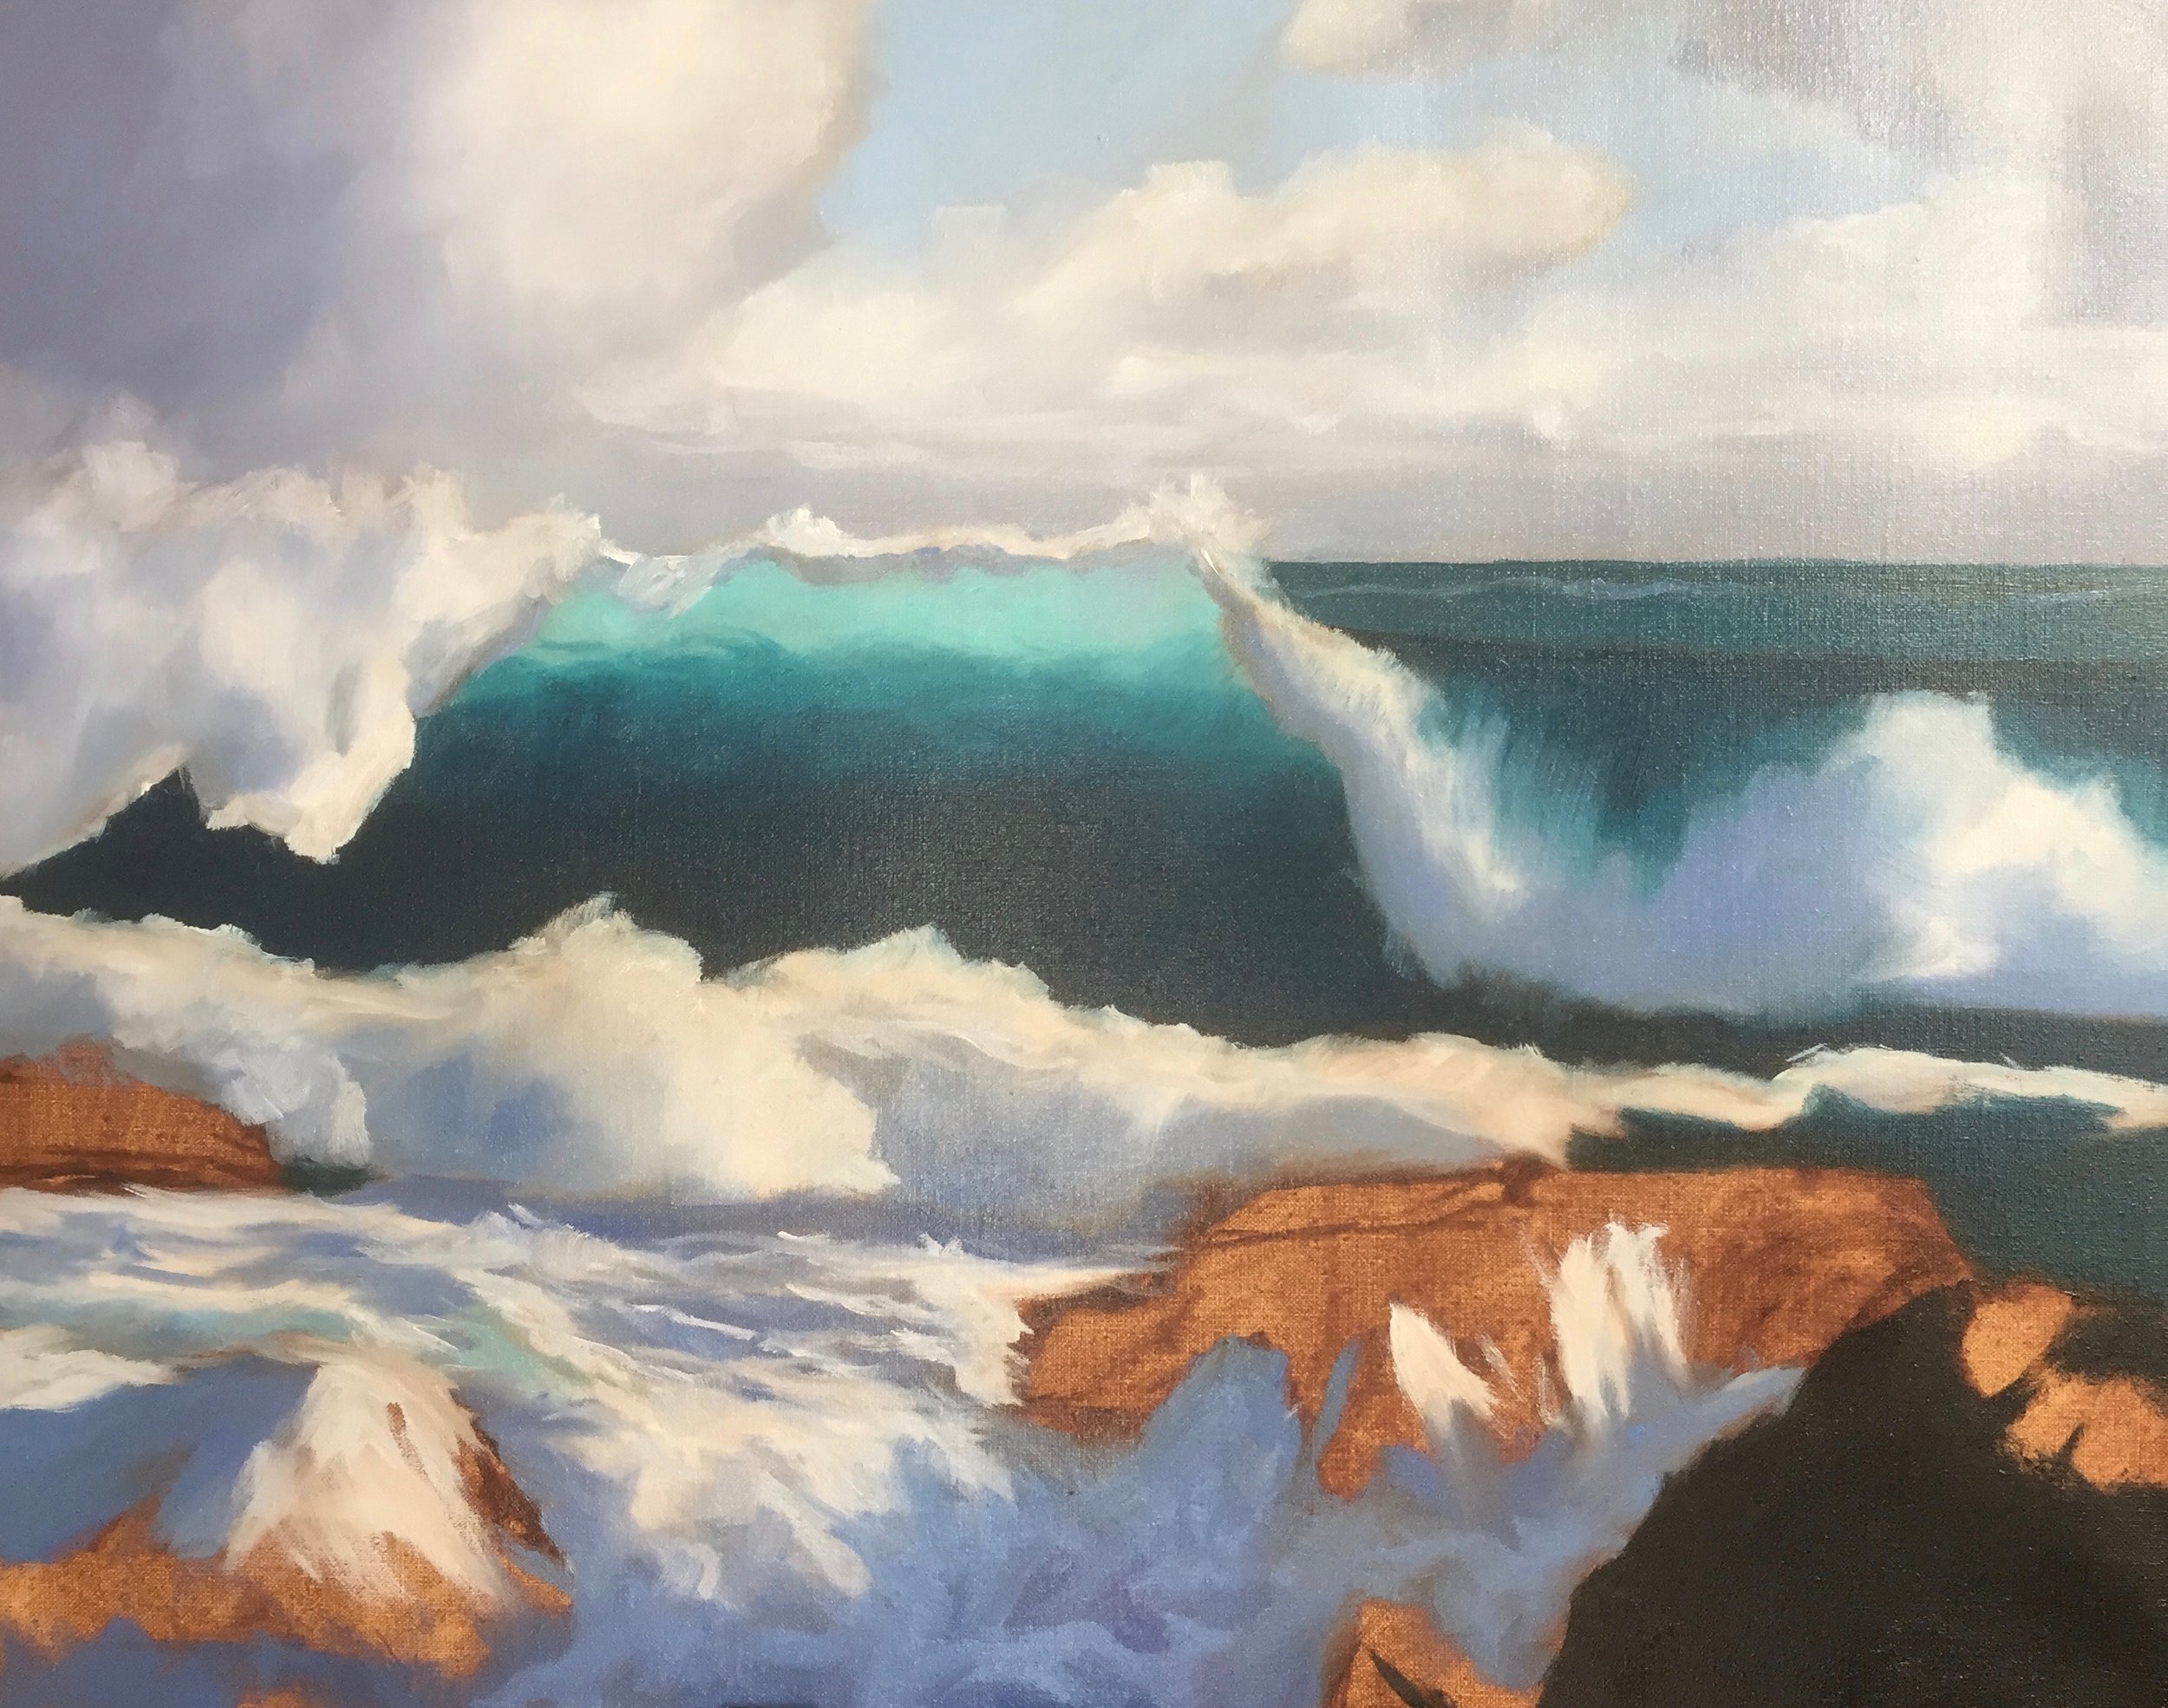
STEP FIVE: Modelling and Adding Details
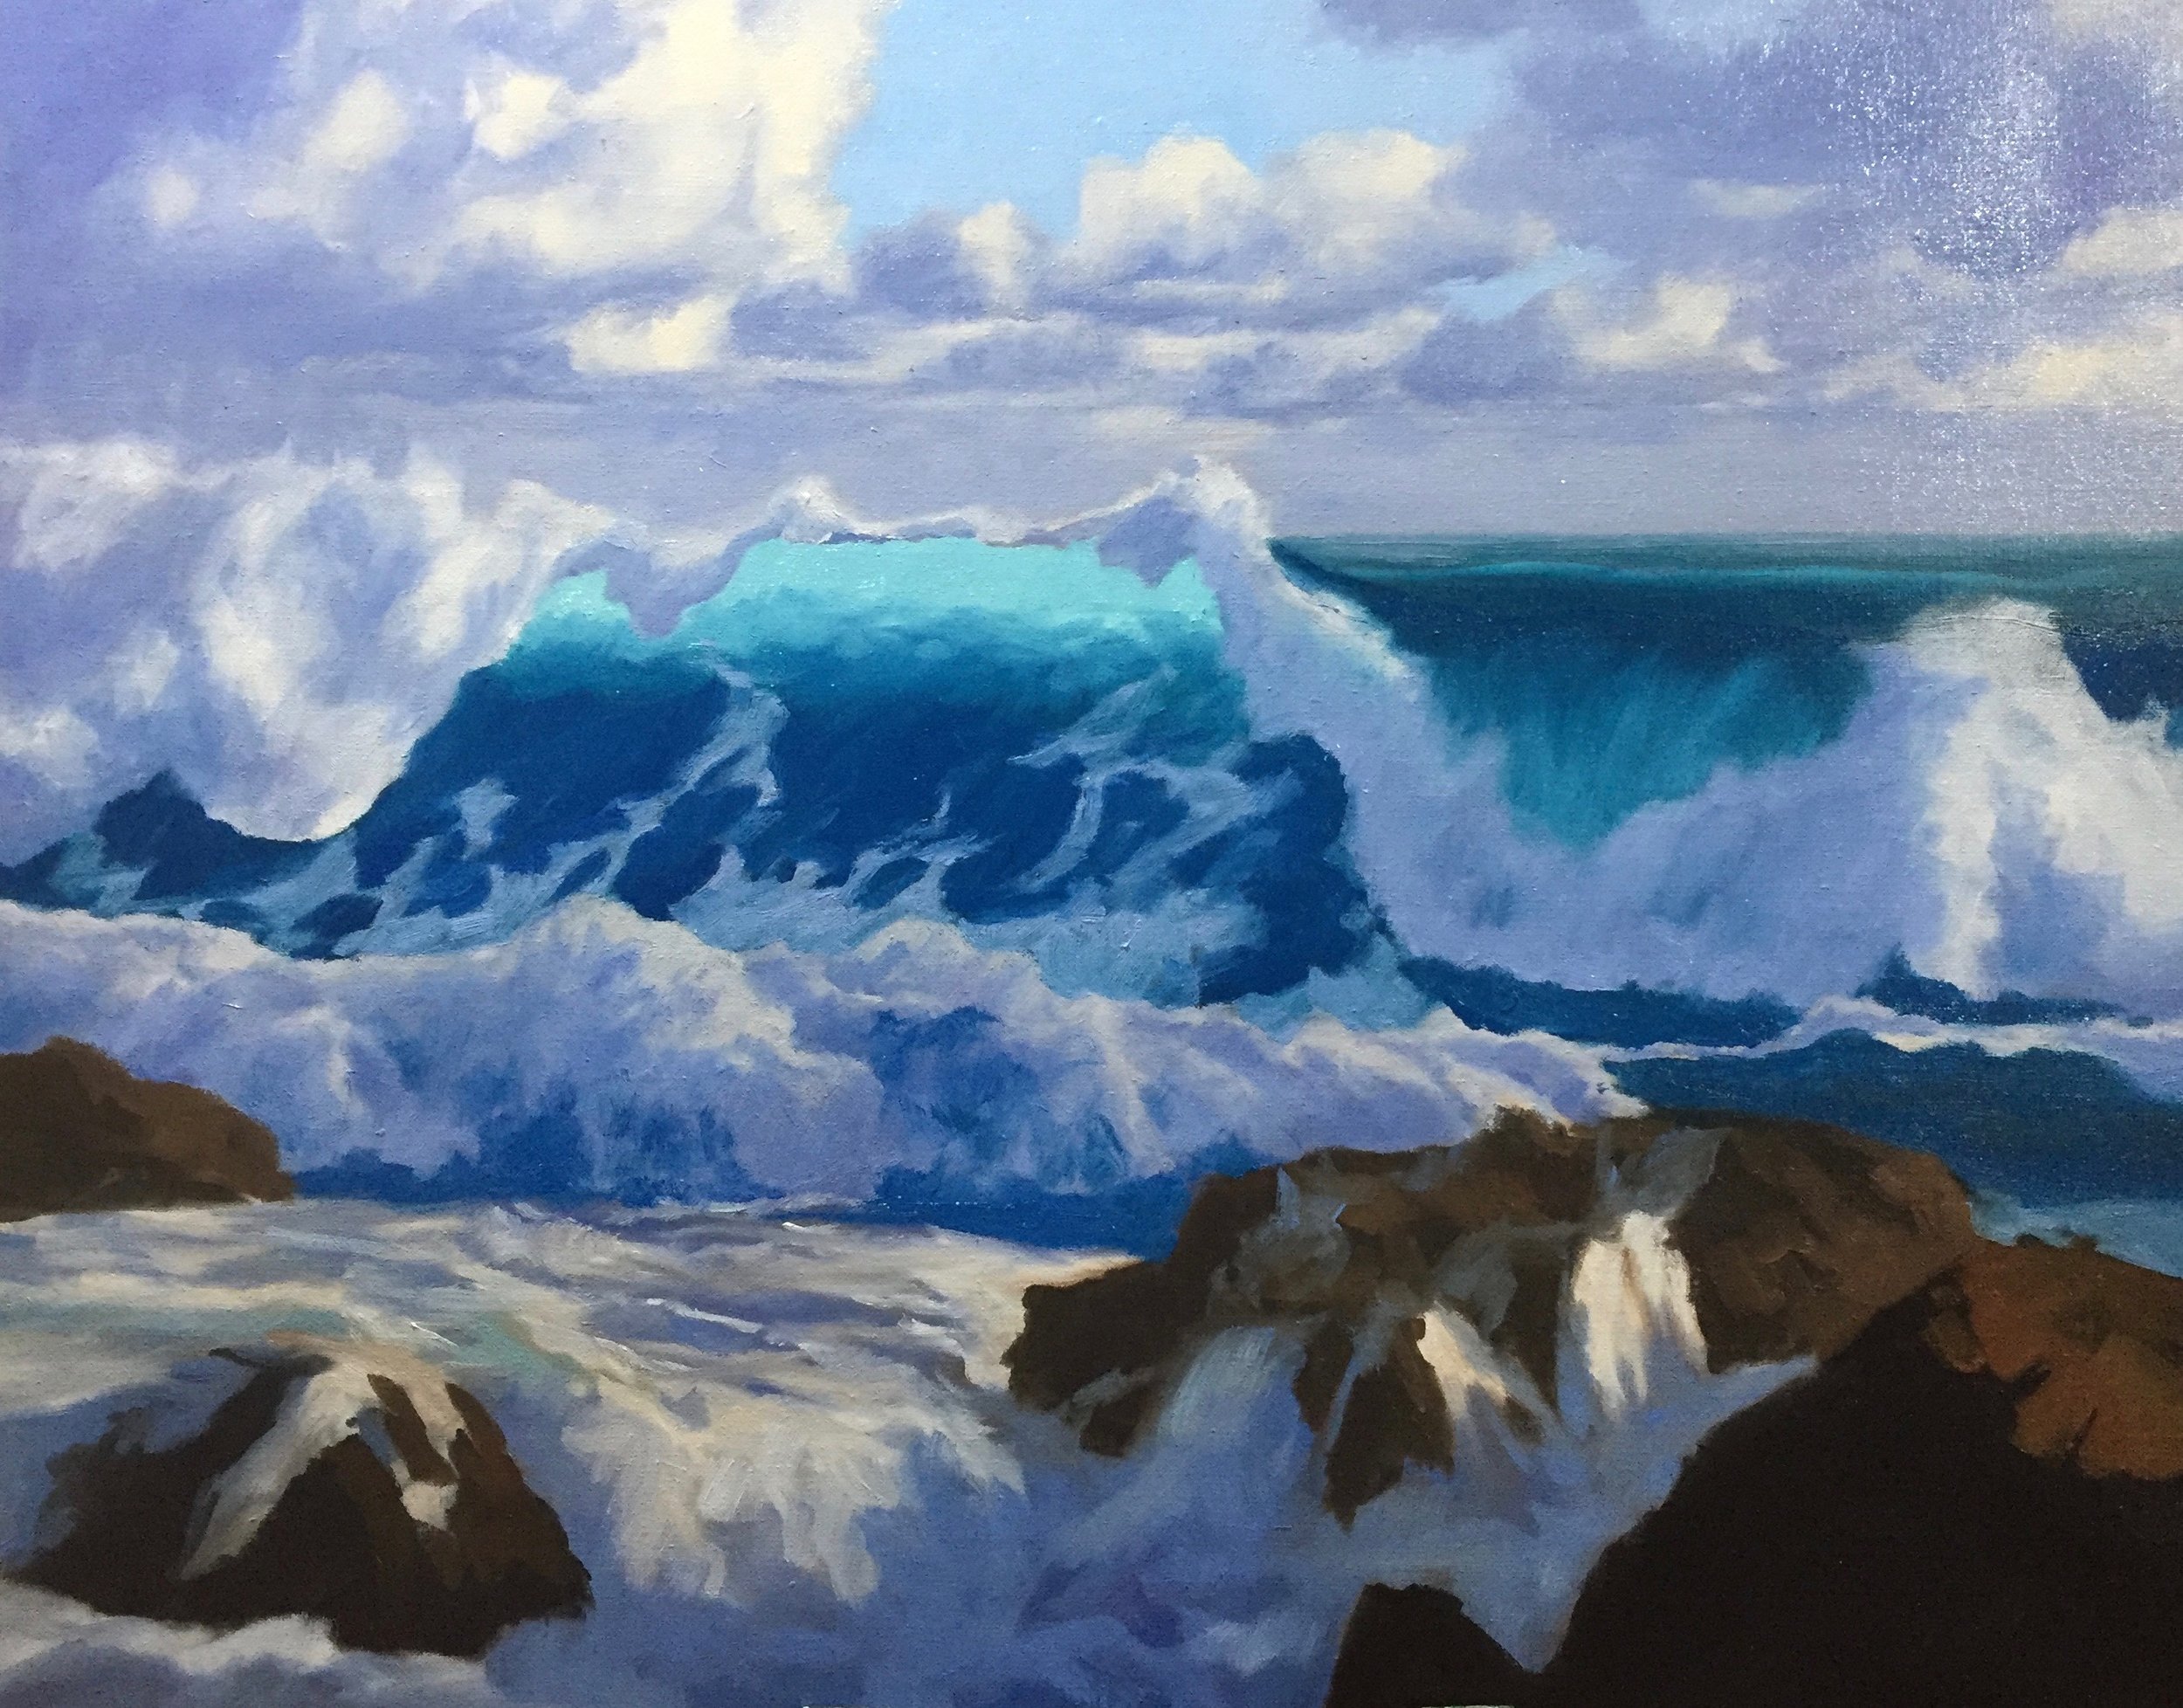
Once the block-in is complete I allow the painting to dry and then make an assessment of the overall tonality and colour of the painting. As I begin the modelling phase of the painting I felt perhaps the breaking wave was a little too dark. I decided to increase the tone a little and the saturation of the blue. I have used a combination of ultramarine blue, cobalt blue and cobalt teal and in order to take some of the saturation out of the mix I have added a little burnt umber.
The translucent area of the wave is mixed with cobalt teal, pthalo green and titanium white. Go very sparingly with pthalo green as it’s a strong colour and will quickly overpower your mixture if too much is used.
I transition the zones of colour in the wave by making purposeful marks and blending areas within the wave to give the illusion that the wave is curling as it’s about to break.
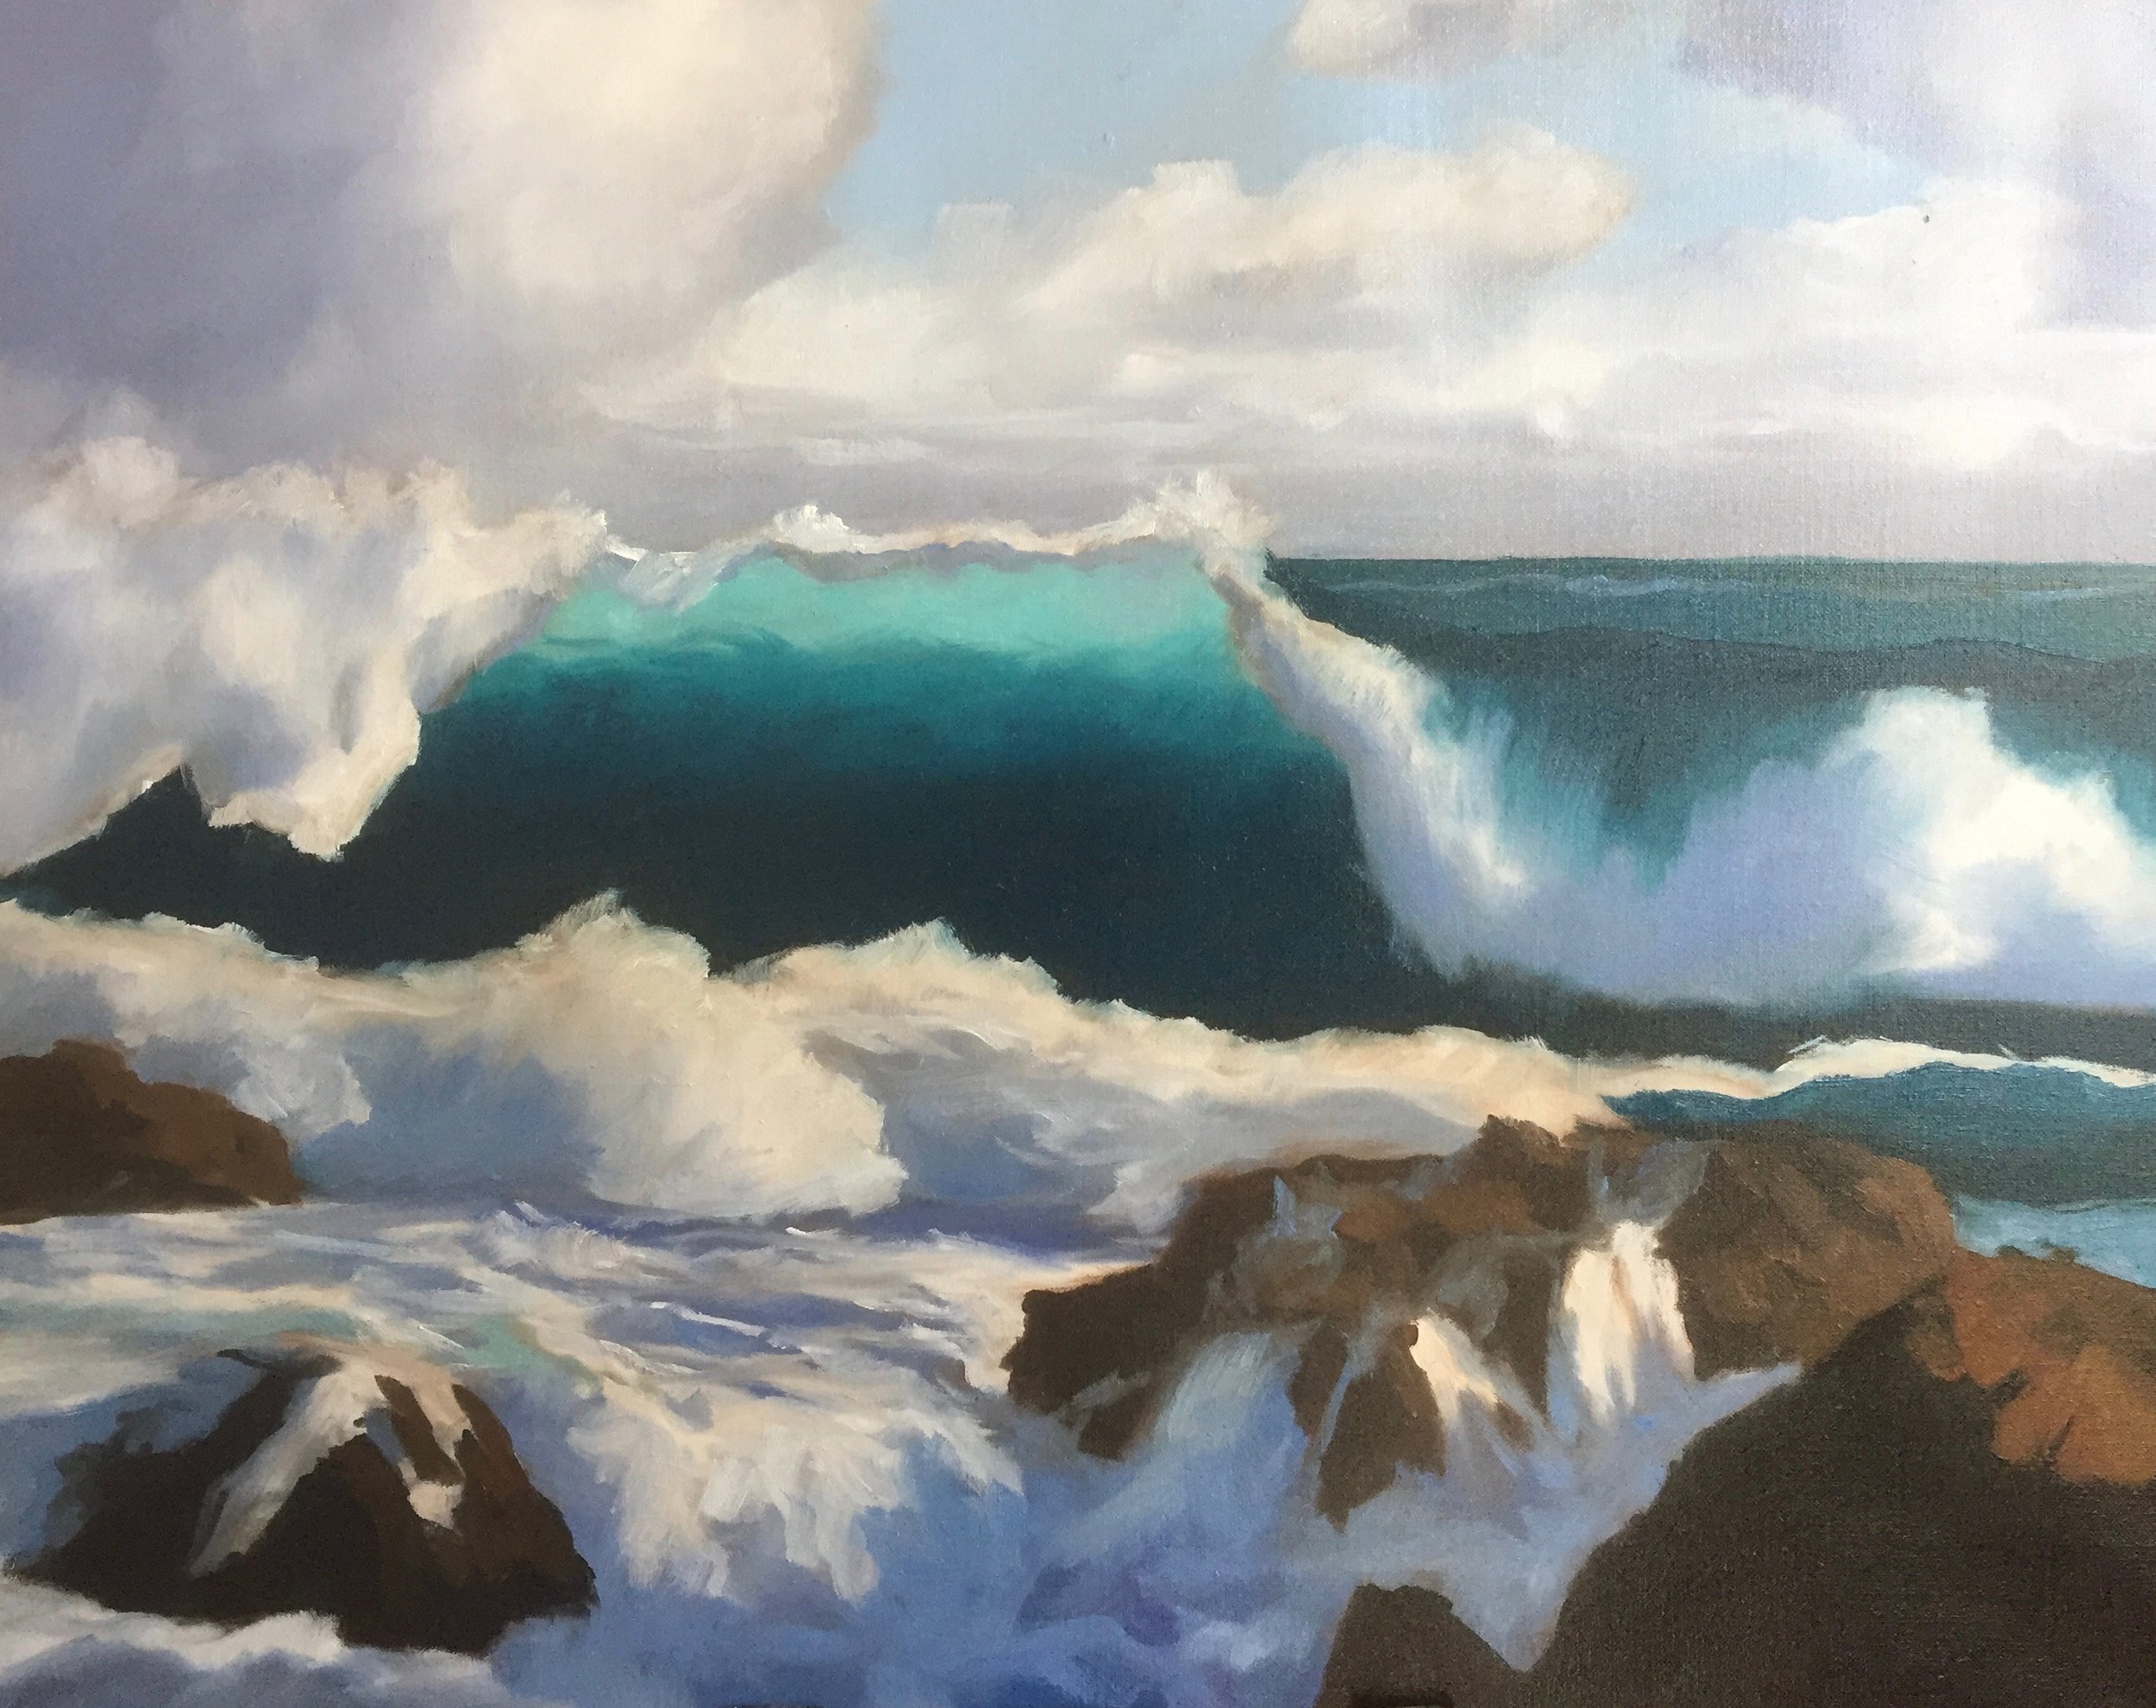
STEP SIX: Refining the PAinting
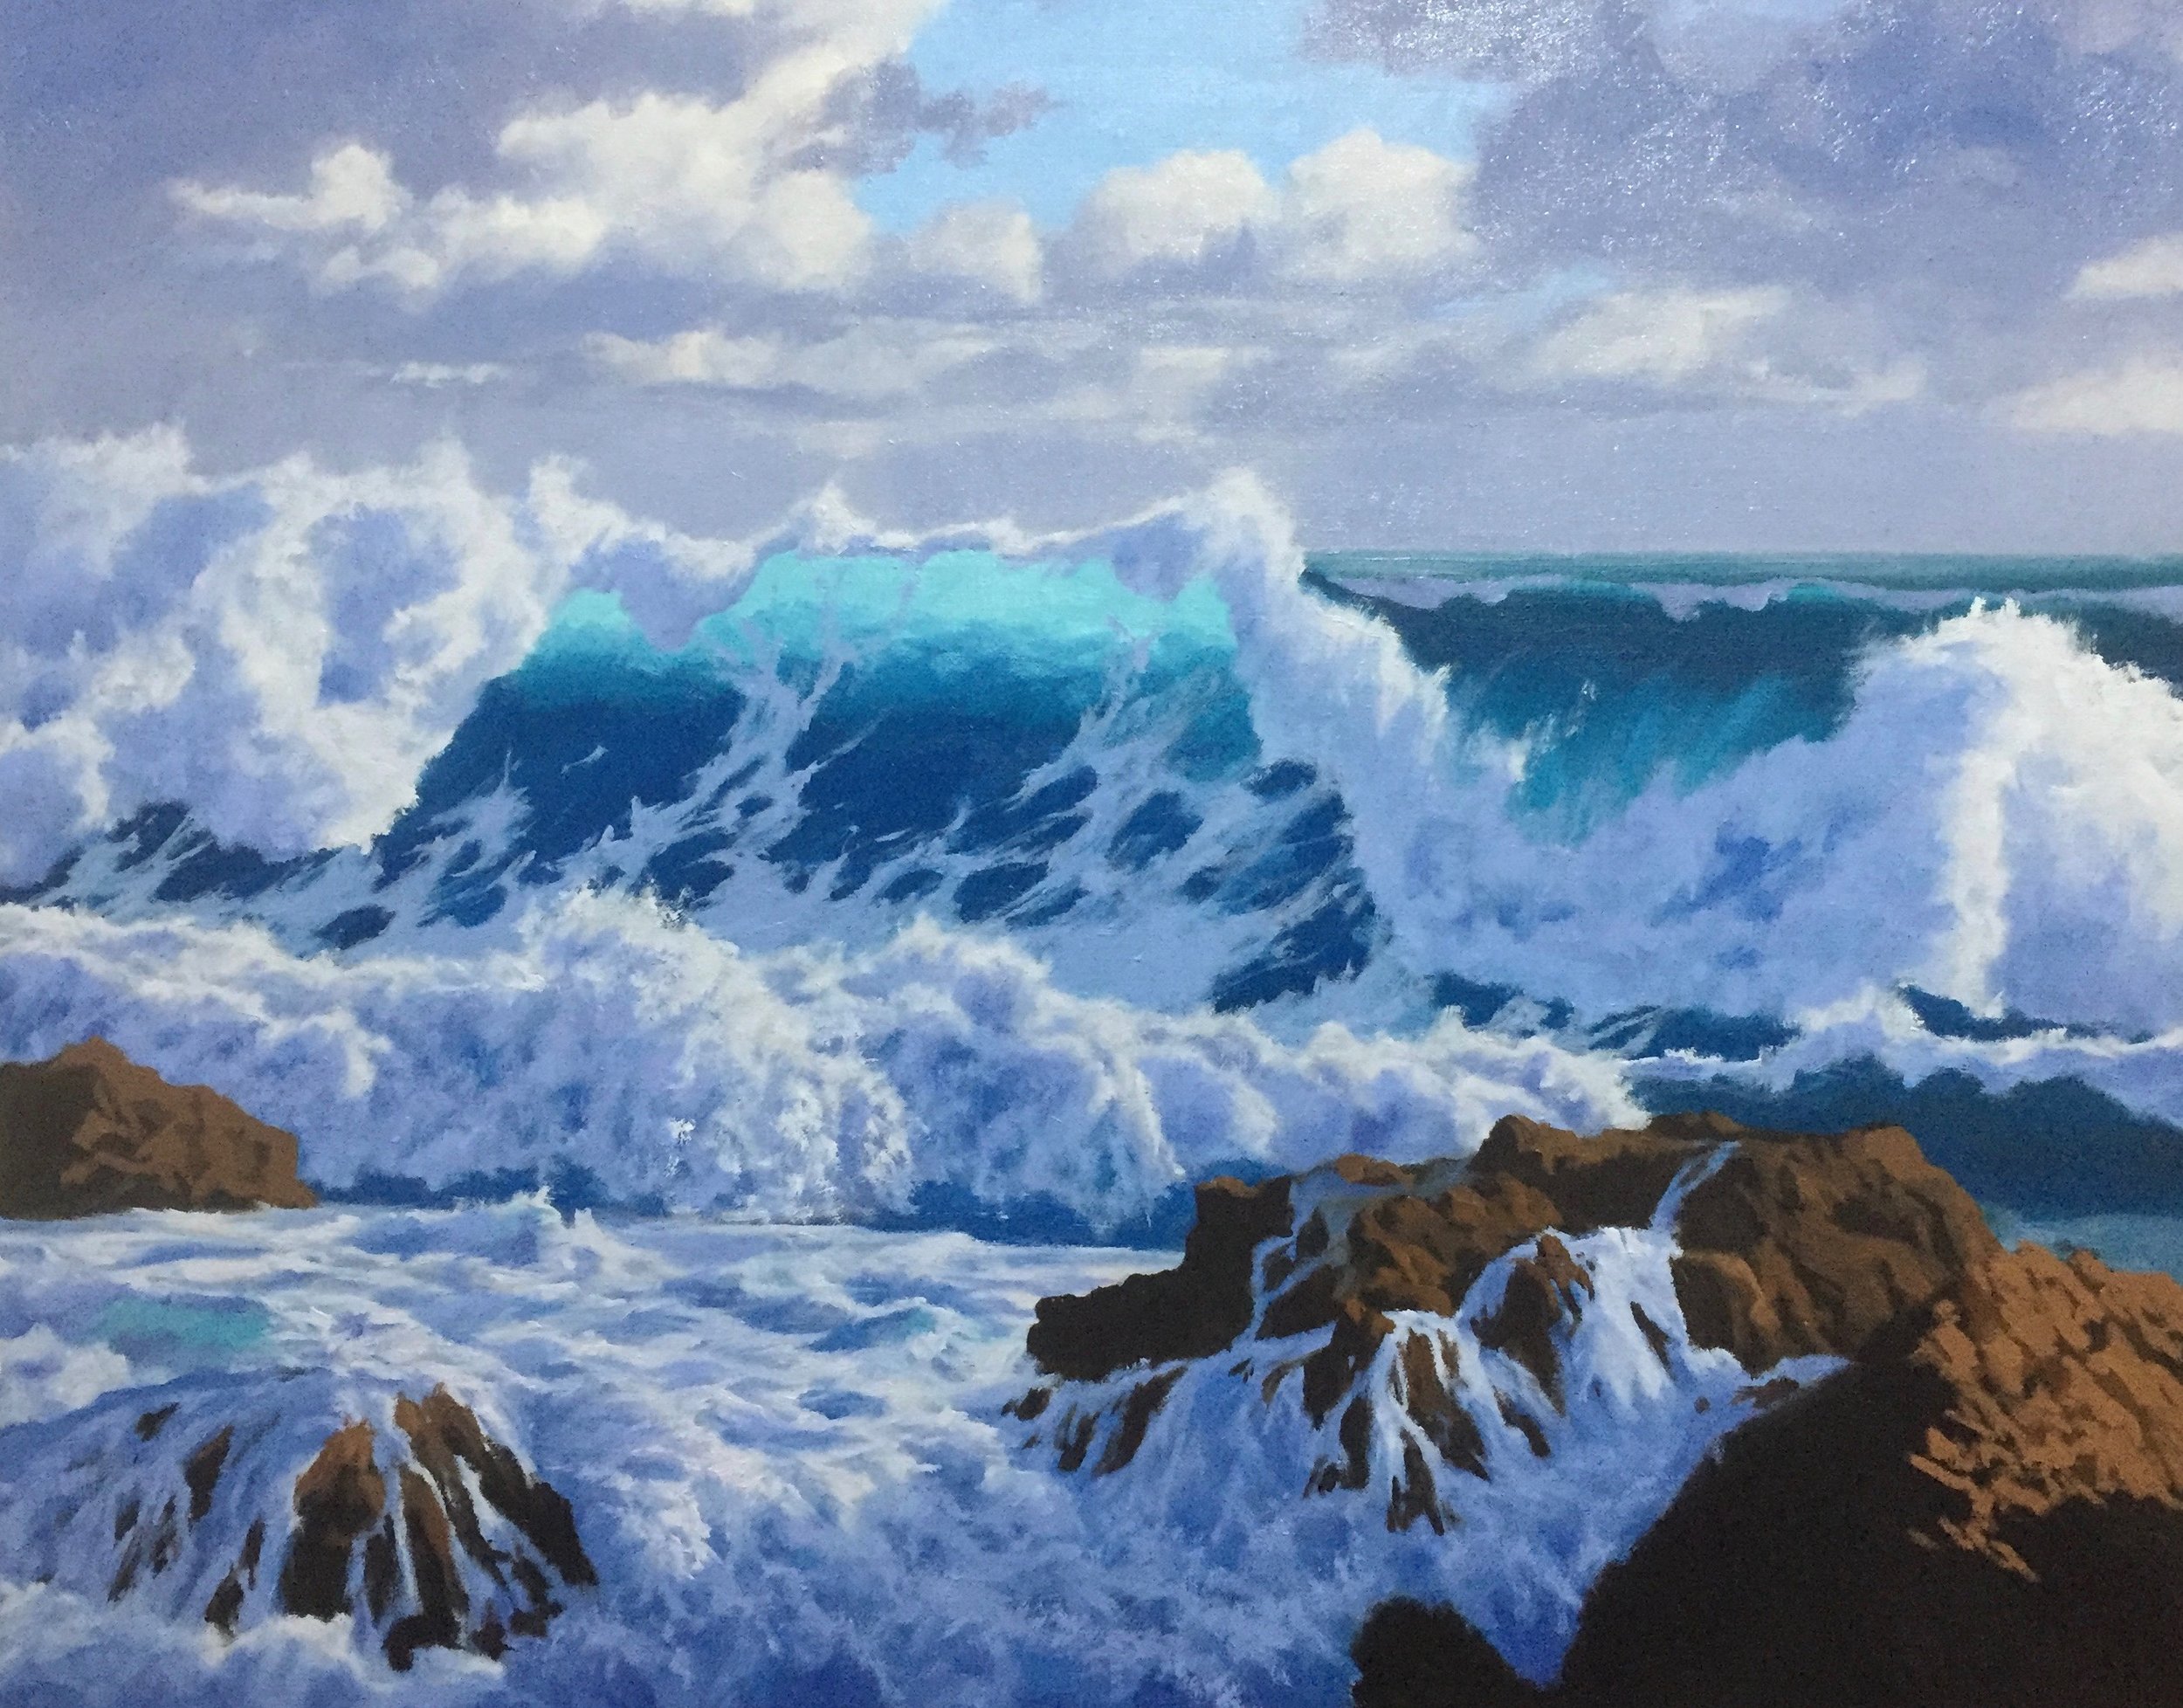
At this stage, I am modelling the paint in the white water and the breaking wave. I want to save my tonal best until last to make the painting pop and for that reason at this stage, the highlights on the foam are not completely white. I have dropped the tone of the highlights by adding a little ultramarine blue, burnt umber and quinacridone magenta. This also coordinates well with the sky and the rest of the sea as I have used the same colours in the mix.
The shadow areas of the white water and foam are mixed using the same colours for the highlighted areas with the addition of cobalt blue and cobalt teal. Increasing the amount of quinacridone magenta can give the illusion of reflected light in the shadow areas of the white water.
STEP SEVEN: Final Details
As I am bringing the whole painting together I add the highlights of the foam and white water last. White is the lightest tone we can use so this must be saved until the very end in order to retain that tonal dynamic. Pure titanium white looks a little cold on its own I have added a glaze using a little nickel-azo yellow, yellow oxide and titanium white.
I refine the detail in the rocks in the foreground using more of my earth colours and whilst these are not high chroma colours, you can still attain a richness and achieve some tasty-looking rock tones by using these colours in a purer form. In general, you should save your most saturated colour for the foreground as this will always come forward in a painting.
I have painted some reflected light in the rocks by combining cobalt teal and quinacridone magenta which cancel each other out to form a rich violet which can be lightened by adding a little titanium white.
Thanks for reading 😊
Want to Learn How to Paint Seascapes?
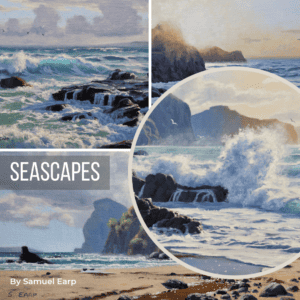
Discover the beauty of the sea and unlock your inner artist with my Seascapes painting tutorial video bundle.
Whether you’re a beginner or an experienced painter, my friendly instruction will guide you through each step of the process, from mixing the perfect ocean colours to capturing the essence of the sea with your brush strokes.
With my painting tutorial videos, you’ll learn the techniques and tricks used by myself to confidently create stunning seascapes that evoke drama and atmosphere as well as serenity and tranquillity.
This video bundle is packed full of useful information that will help you to improve your seascape painting skills and create successful artworks.
Bring a piece of the ocean into your home, download this video bundle now and start painting your own masterpieces today!