This article may contain affiliate links, please read my affiliate disclosure for more information
Why Sketch and Draw?
Whenever I paint a landscape I never just get straight into it, I always do some planning first and the planning always begins with my sketchbook. But why sketch and draw, why not just start painting? Well, there is a simple answer: if you go straight into a studio painting, you’ll likely run into trouble with the composition.
I’ve seen many terrible landscape paintings in art galleries (some with high price tags) because of bad compositions due to a lack of prior planning. This problem could have been alleviated had these artists carried out some pencil sketches first to design their compositions.
Planning a painting in your sketchbook first is an important step in the painting process in my opinion. You wouldn’t start building a house with no foundations or prior plans and drawings, it’s the same when planning a painting. Besides this drawing and sketching is fun.
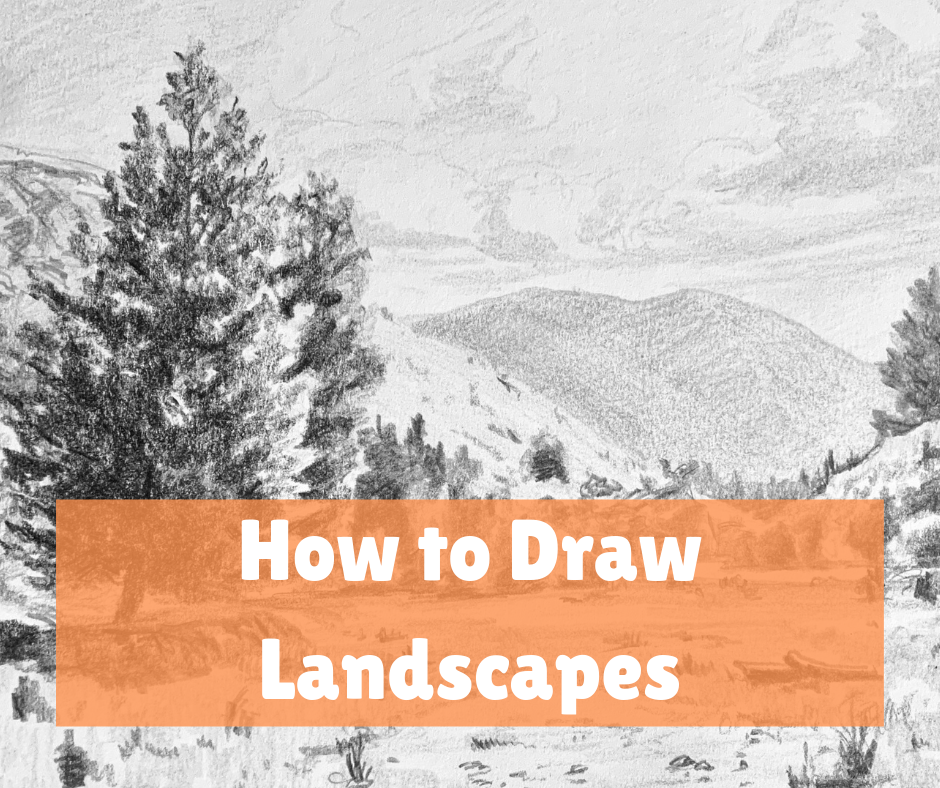
In this blog post, I explain the reasons you should sketch before you paint, I cover the materials you will need and I demonstrate step-by-step two landscape drawings.
Getting Started With Sketching
The most obvious materials you’ll need are some pencils and a sketchbook, but there is a little more to it than that. I use a range of graphite pencils to achieve light and dark tones within my drawings. I also use a craft knife and sandpaper in order to sharpen my pencils.
Materials
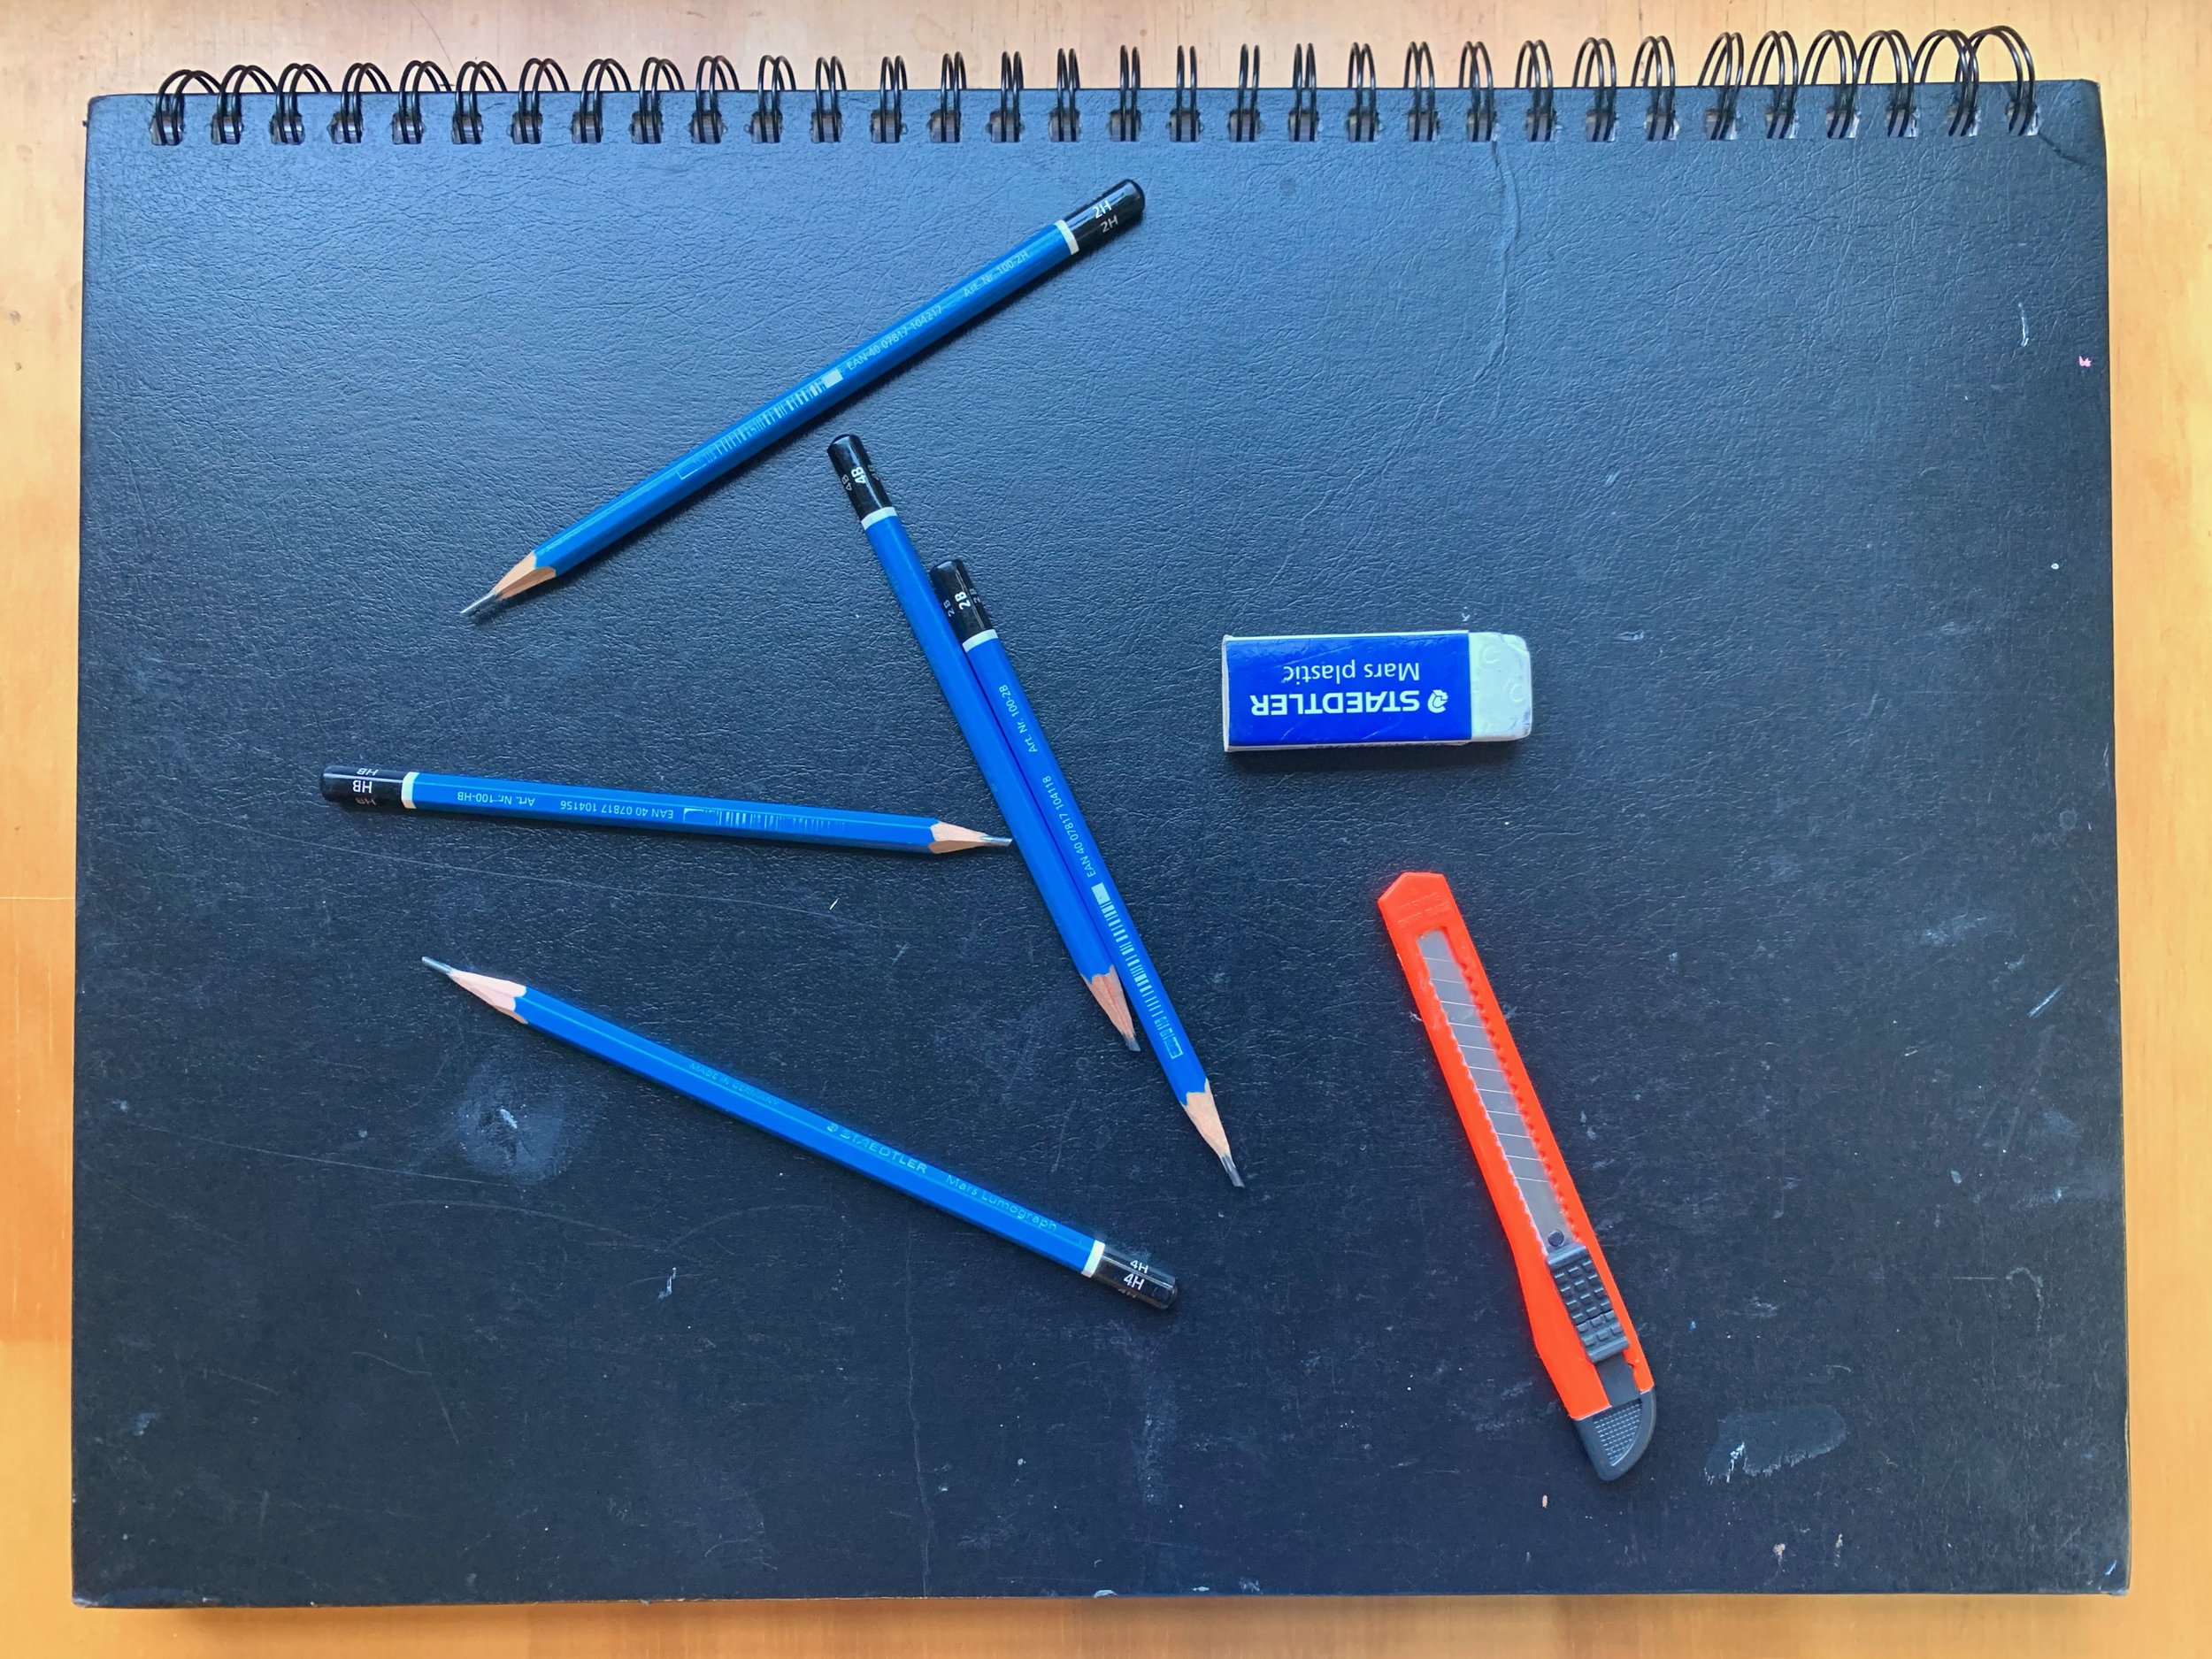
Here is a list of basic materials you will need:
- Sketchbook (A3 is ideal)
- Pencils (4H, 2H, HB, 2B and 4B are ideal)
- Craft knife (for sharpening your pencils)
- Sandpaper (for filing the graphite of your pencils)
- Eraser
- Ruler (optional)
Pencil Mark Fundamentals
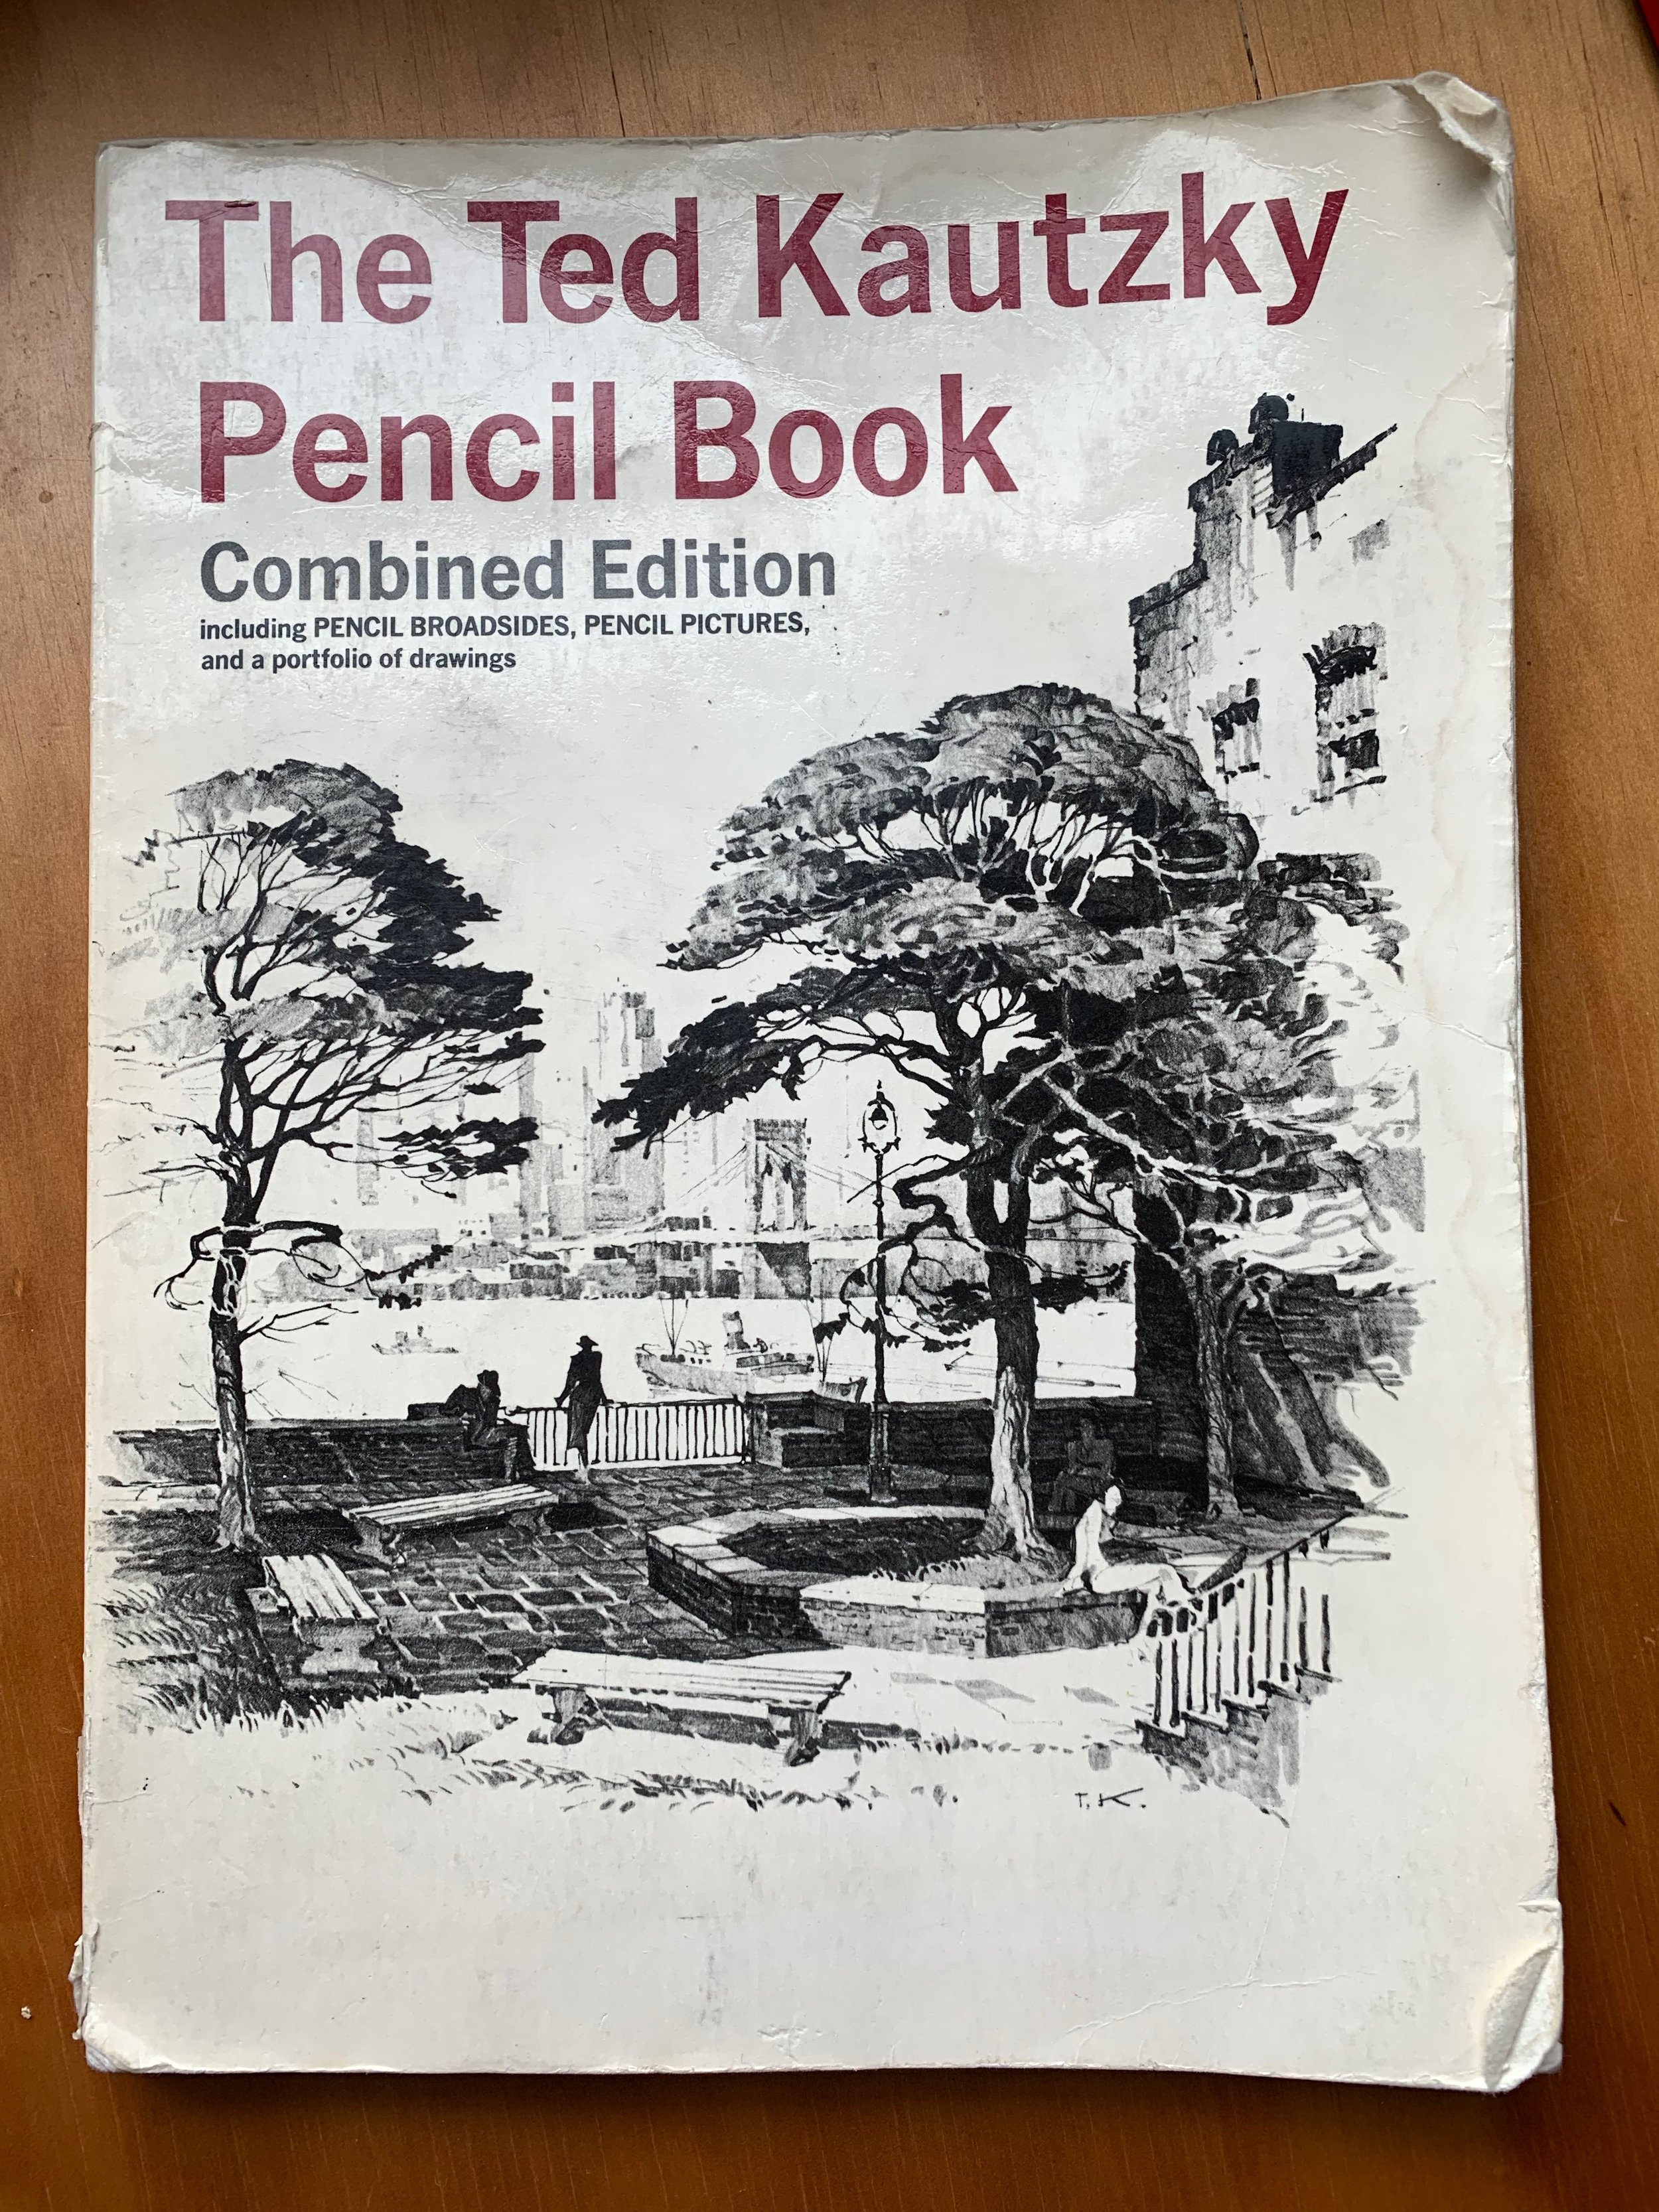
When it comes to using pencils there are many different methods to achieving successful pencil drawings but the method that I like and that works for me is the Ted Kautzky ‘broad stroke’ method of drawing. I learned his method from his book which I’d thoroughly recommend called ‘The Ted Kautzky Pencil Book’.
I personally like this particular drawing style.
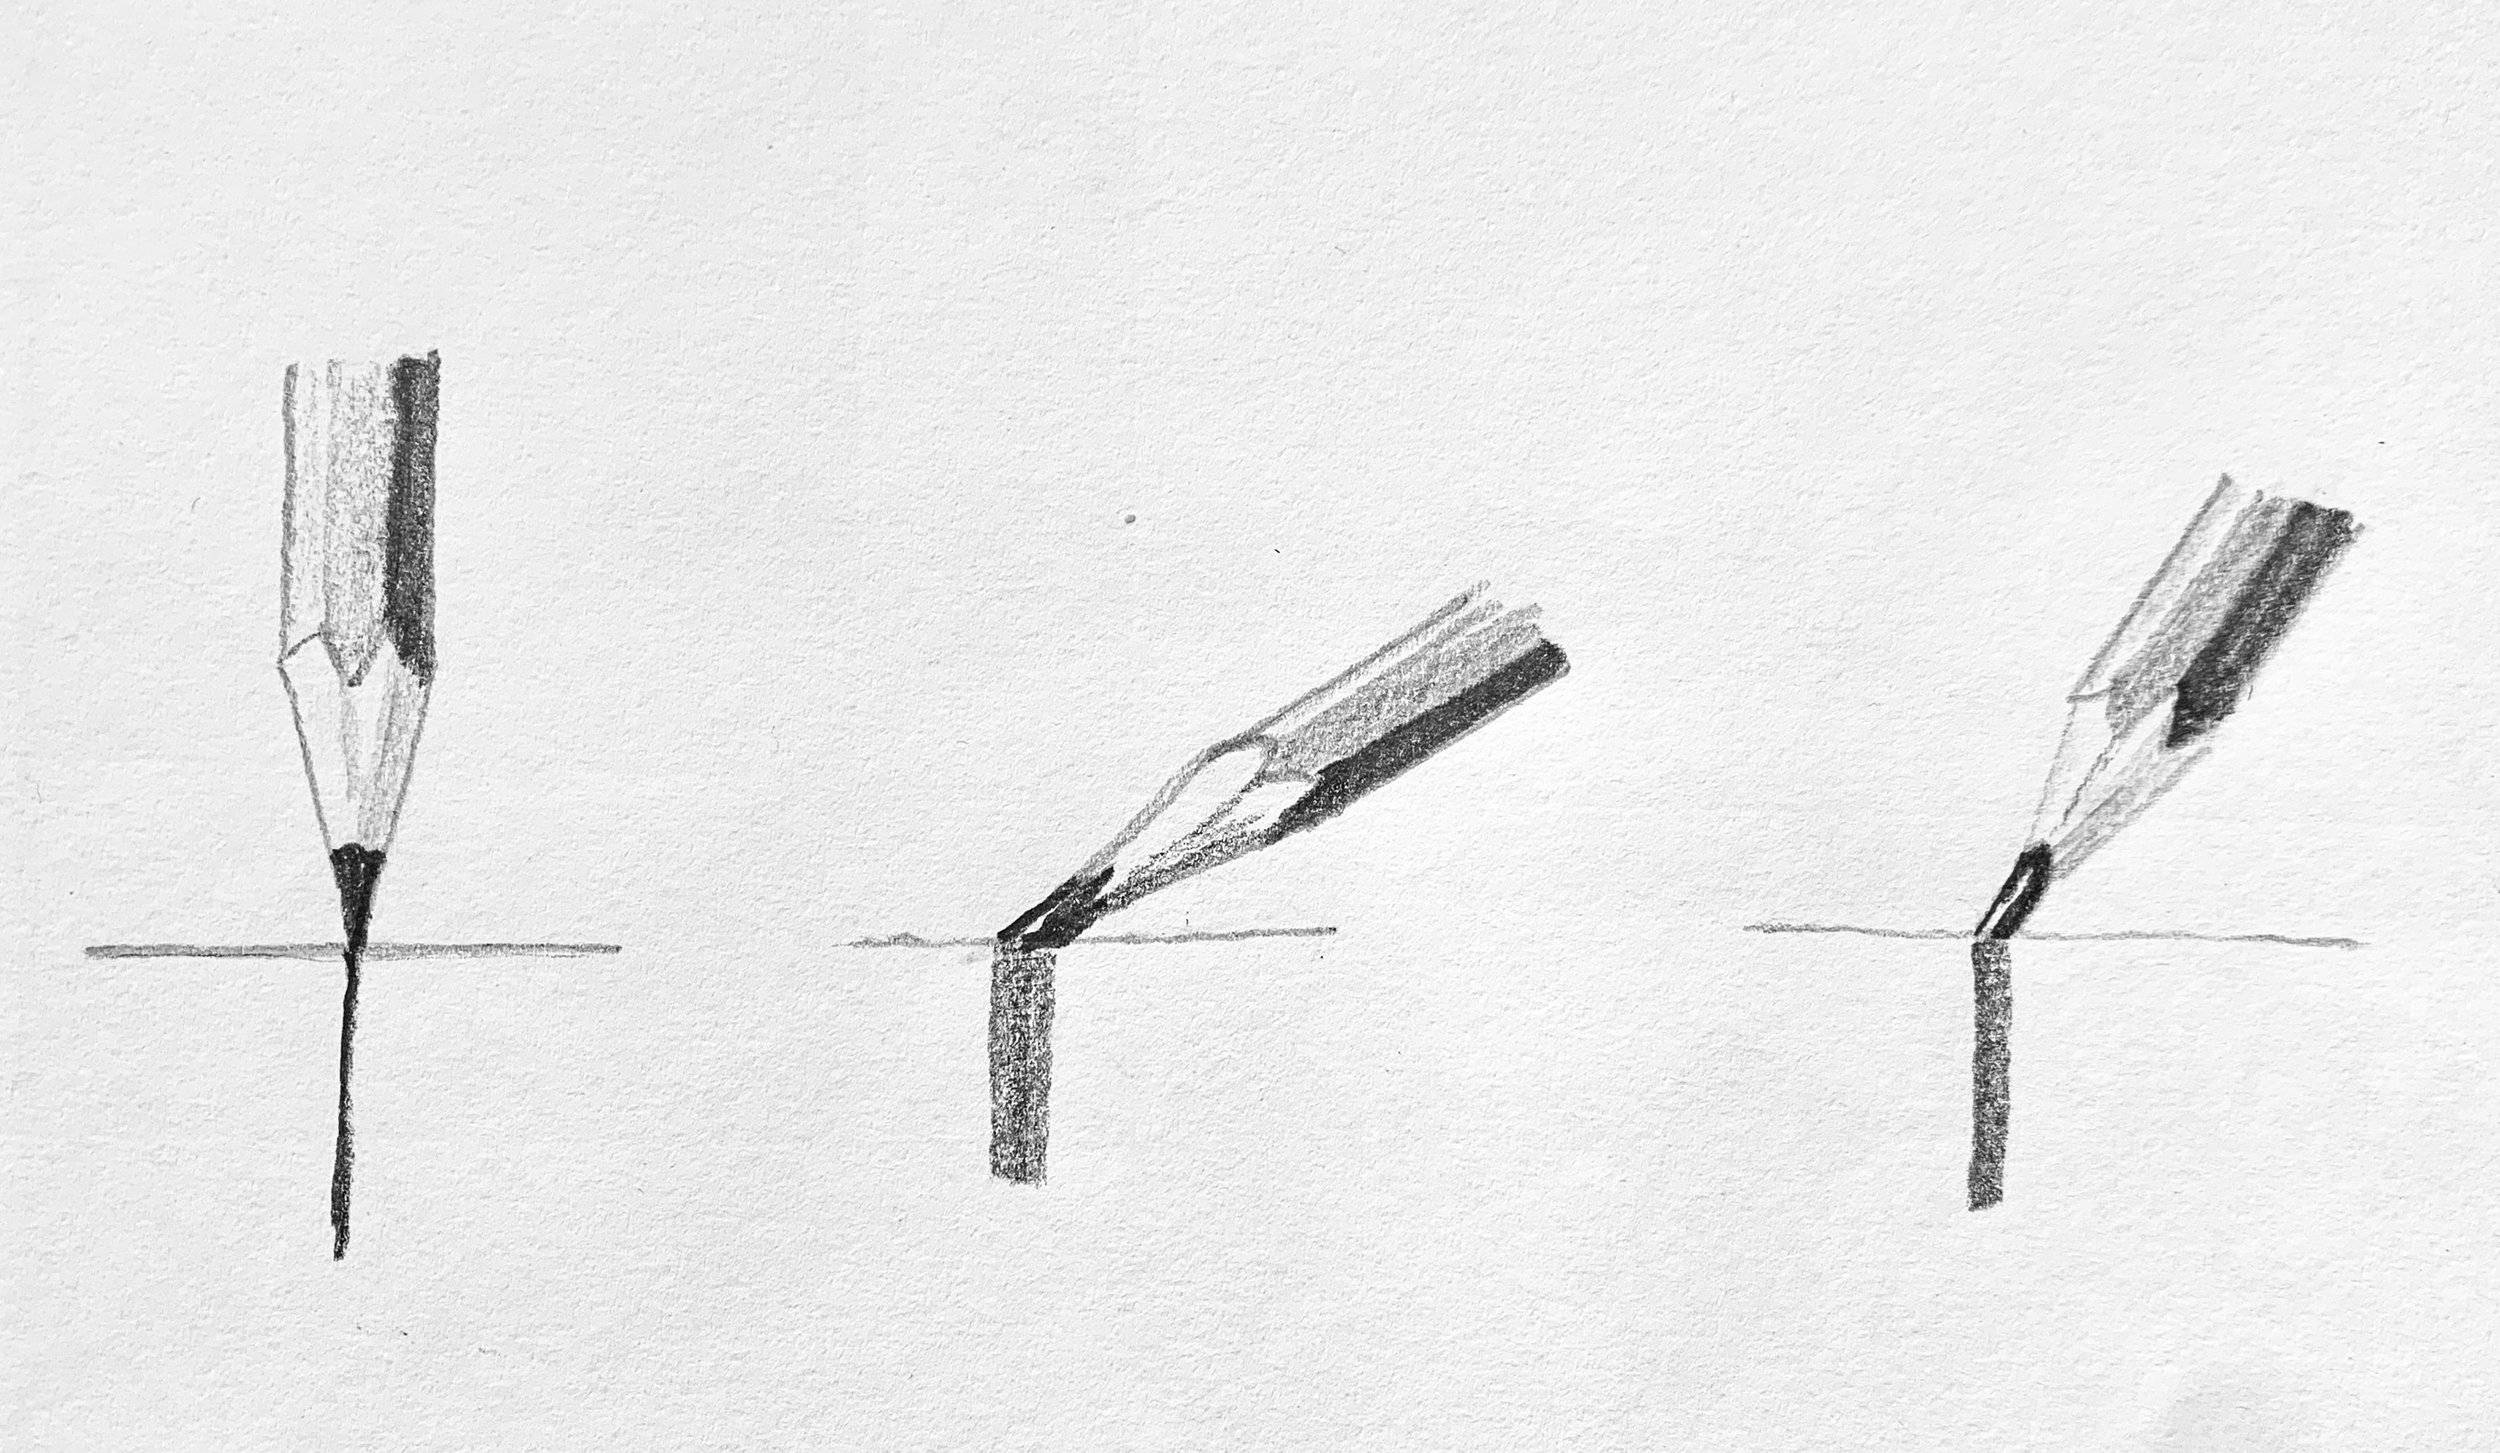
The broad stroke method allows you to create a variety of uniform wide marks that are very effective at communicating realistic forms that you would find in landscapes. This is achieved by sharpening your pencil and then filing the graphite (lead) at an angle to form a flat wedge that is held evenly against the paper.
When sketching the pencil itself must be held at an angle and marks made evenly, not too quickly but not too slowly either. This is depicted in the image below.
How to Sharpen Your Pencils
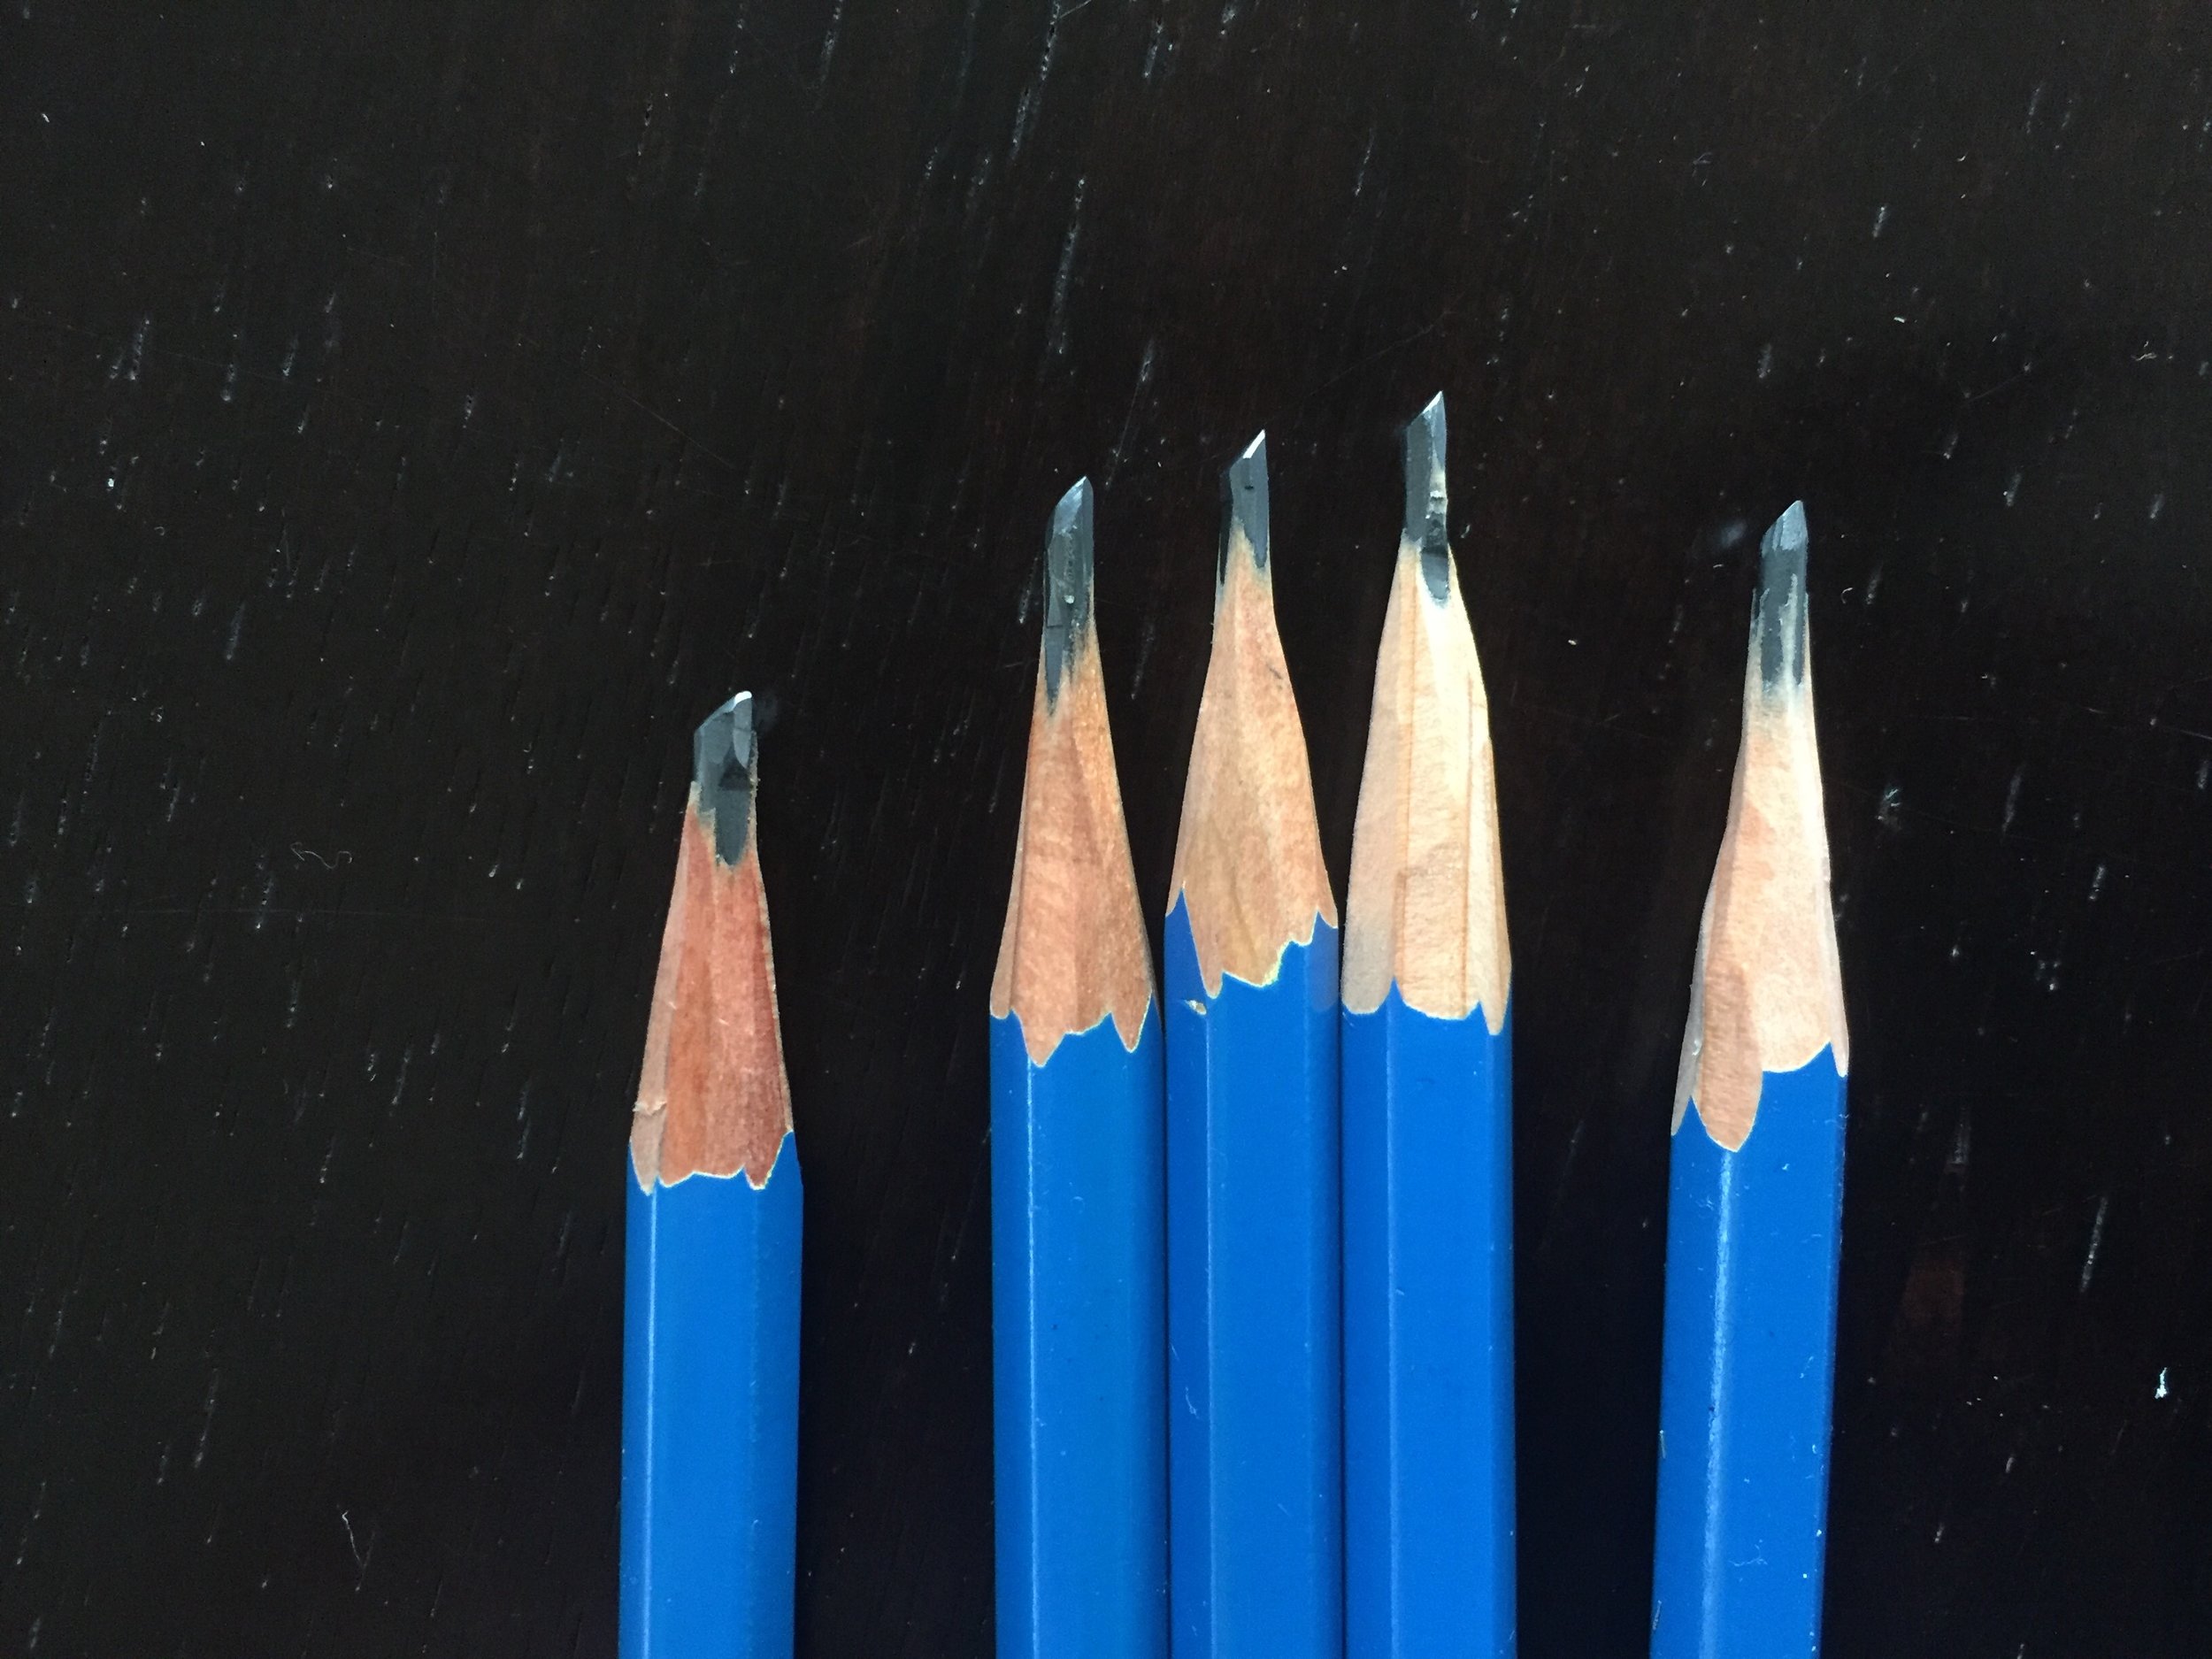
The pencil is first sharpened with a craft knife to leave about 1/4” of graphite exposed. This should then be filed on some sandpaper to for a flat wedge. The broad strokes are made with the flat side of the wedge.

Filing your pencil on the sandpaper allows you to achieve the broad stroke marks as seen in the image below.
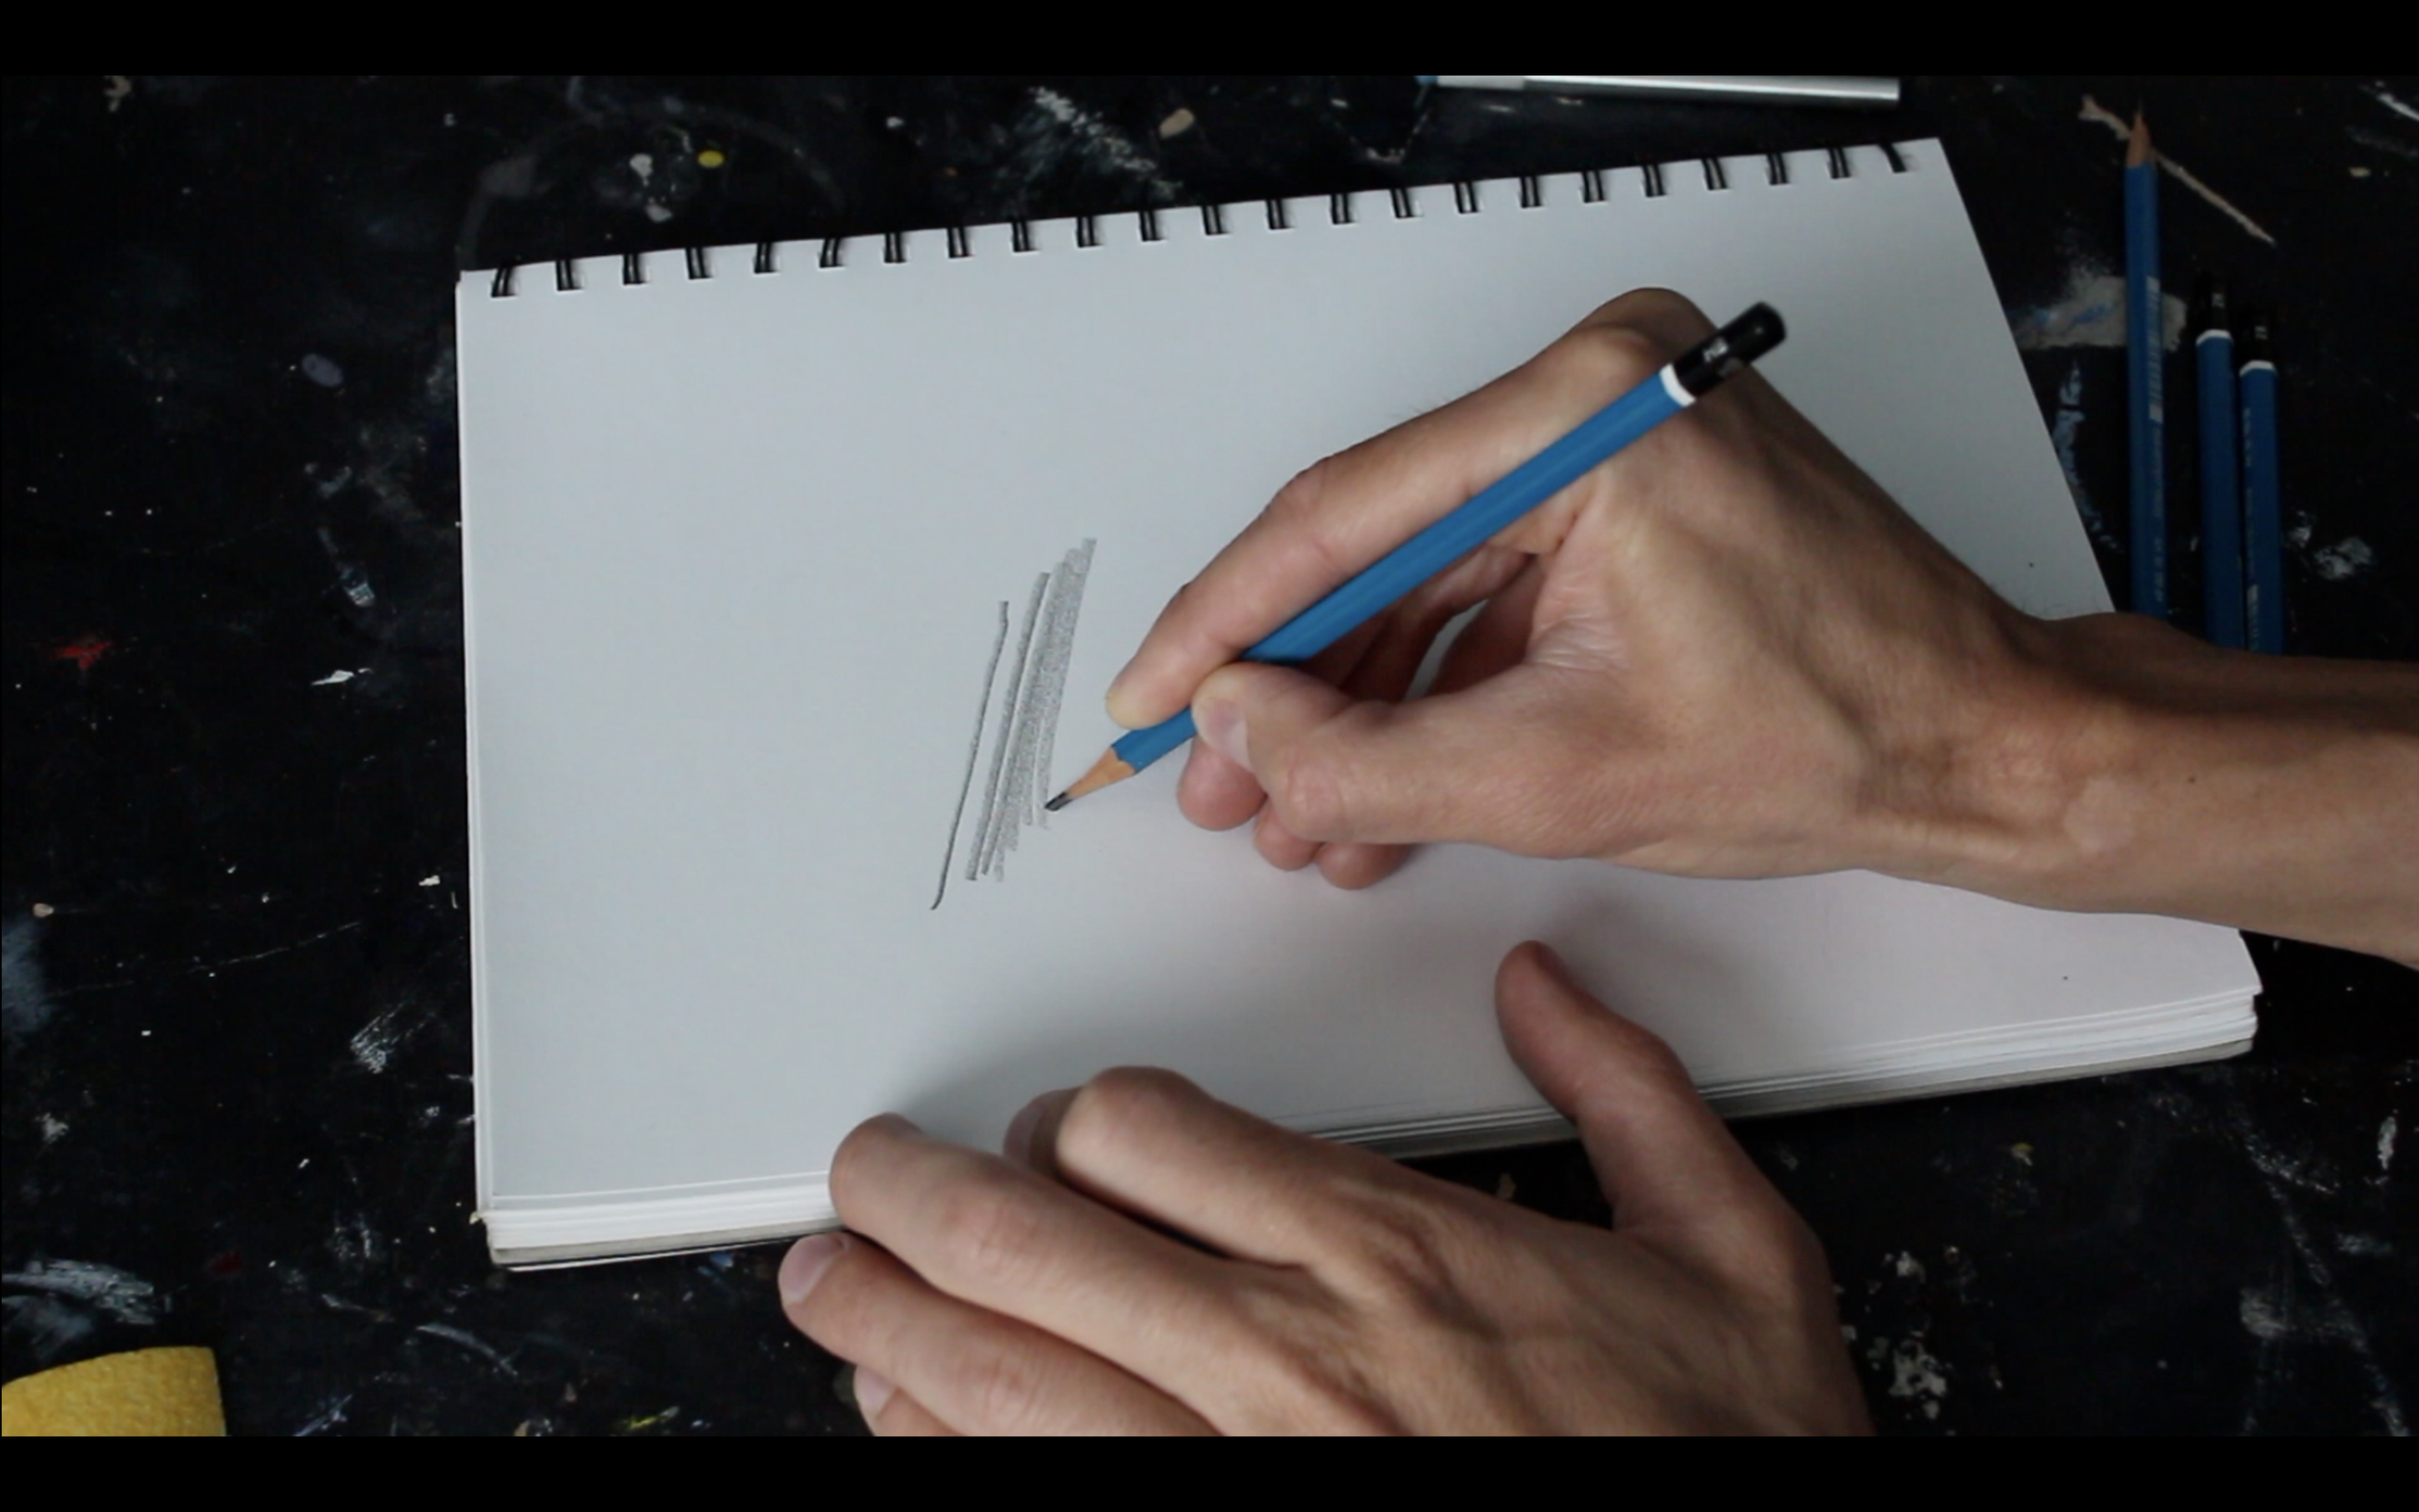
The tip of the lead can be used for fine marks but keep in mind that filing it again on the sandpaper may be needed if further broad strokes are required within the drawing or sketch.
Achieving Depth in Your Pencil Drawings
Whenever I sketch landscapes for potential paintings I always think about the tonality of the drawing and the relationships between light and shadow so I can create depth and a feeling of space within the sketch. In order to carry this out I use five different graphite pencils which include 4H, 2H, HB, 2B and 4B. These pencils allow me to achieve a range of tones.
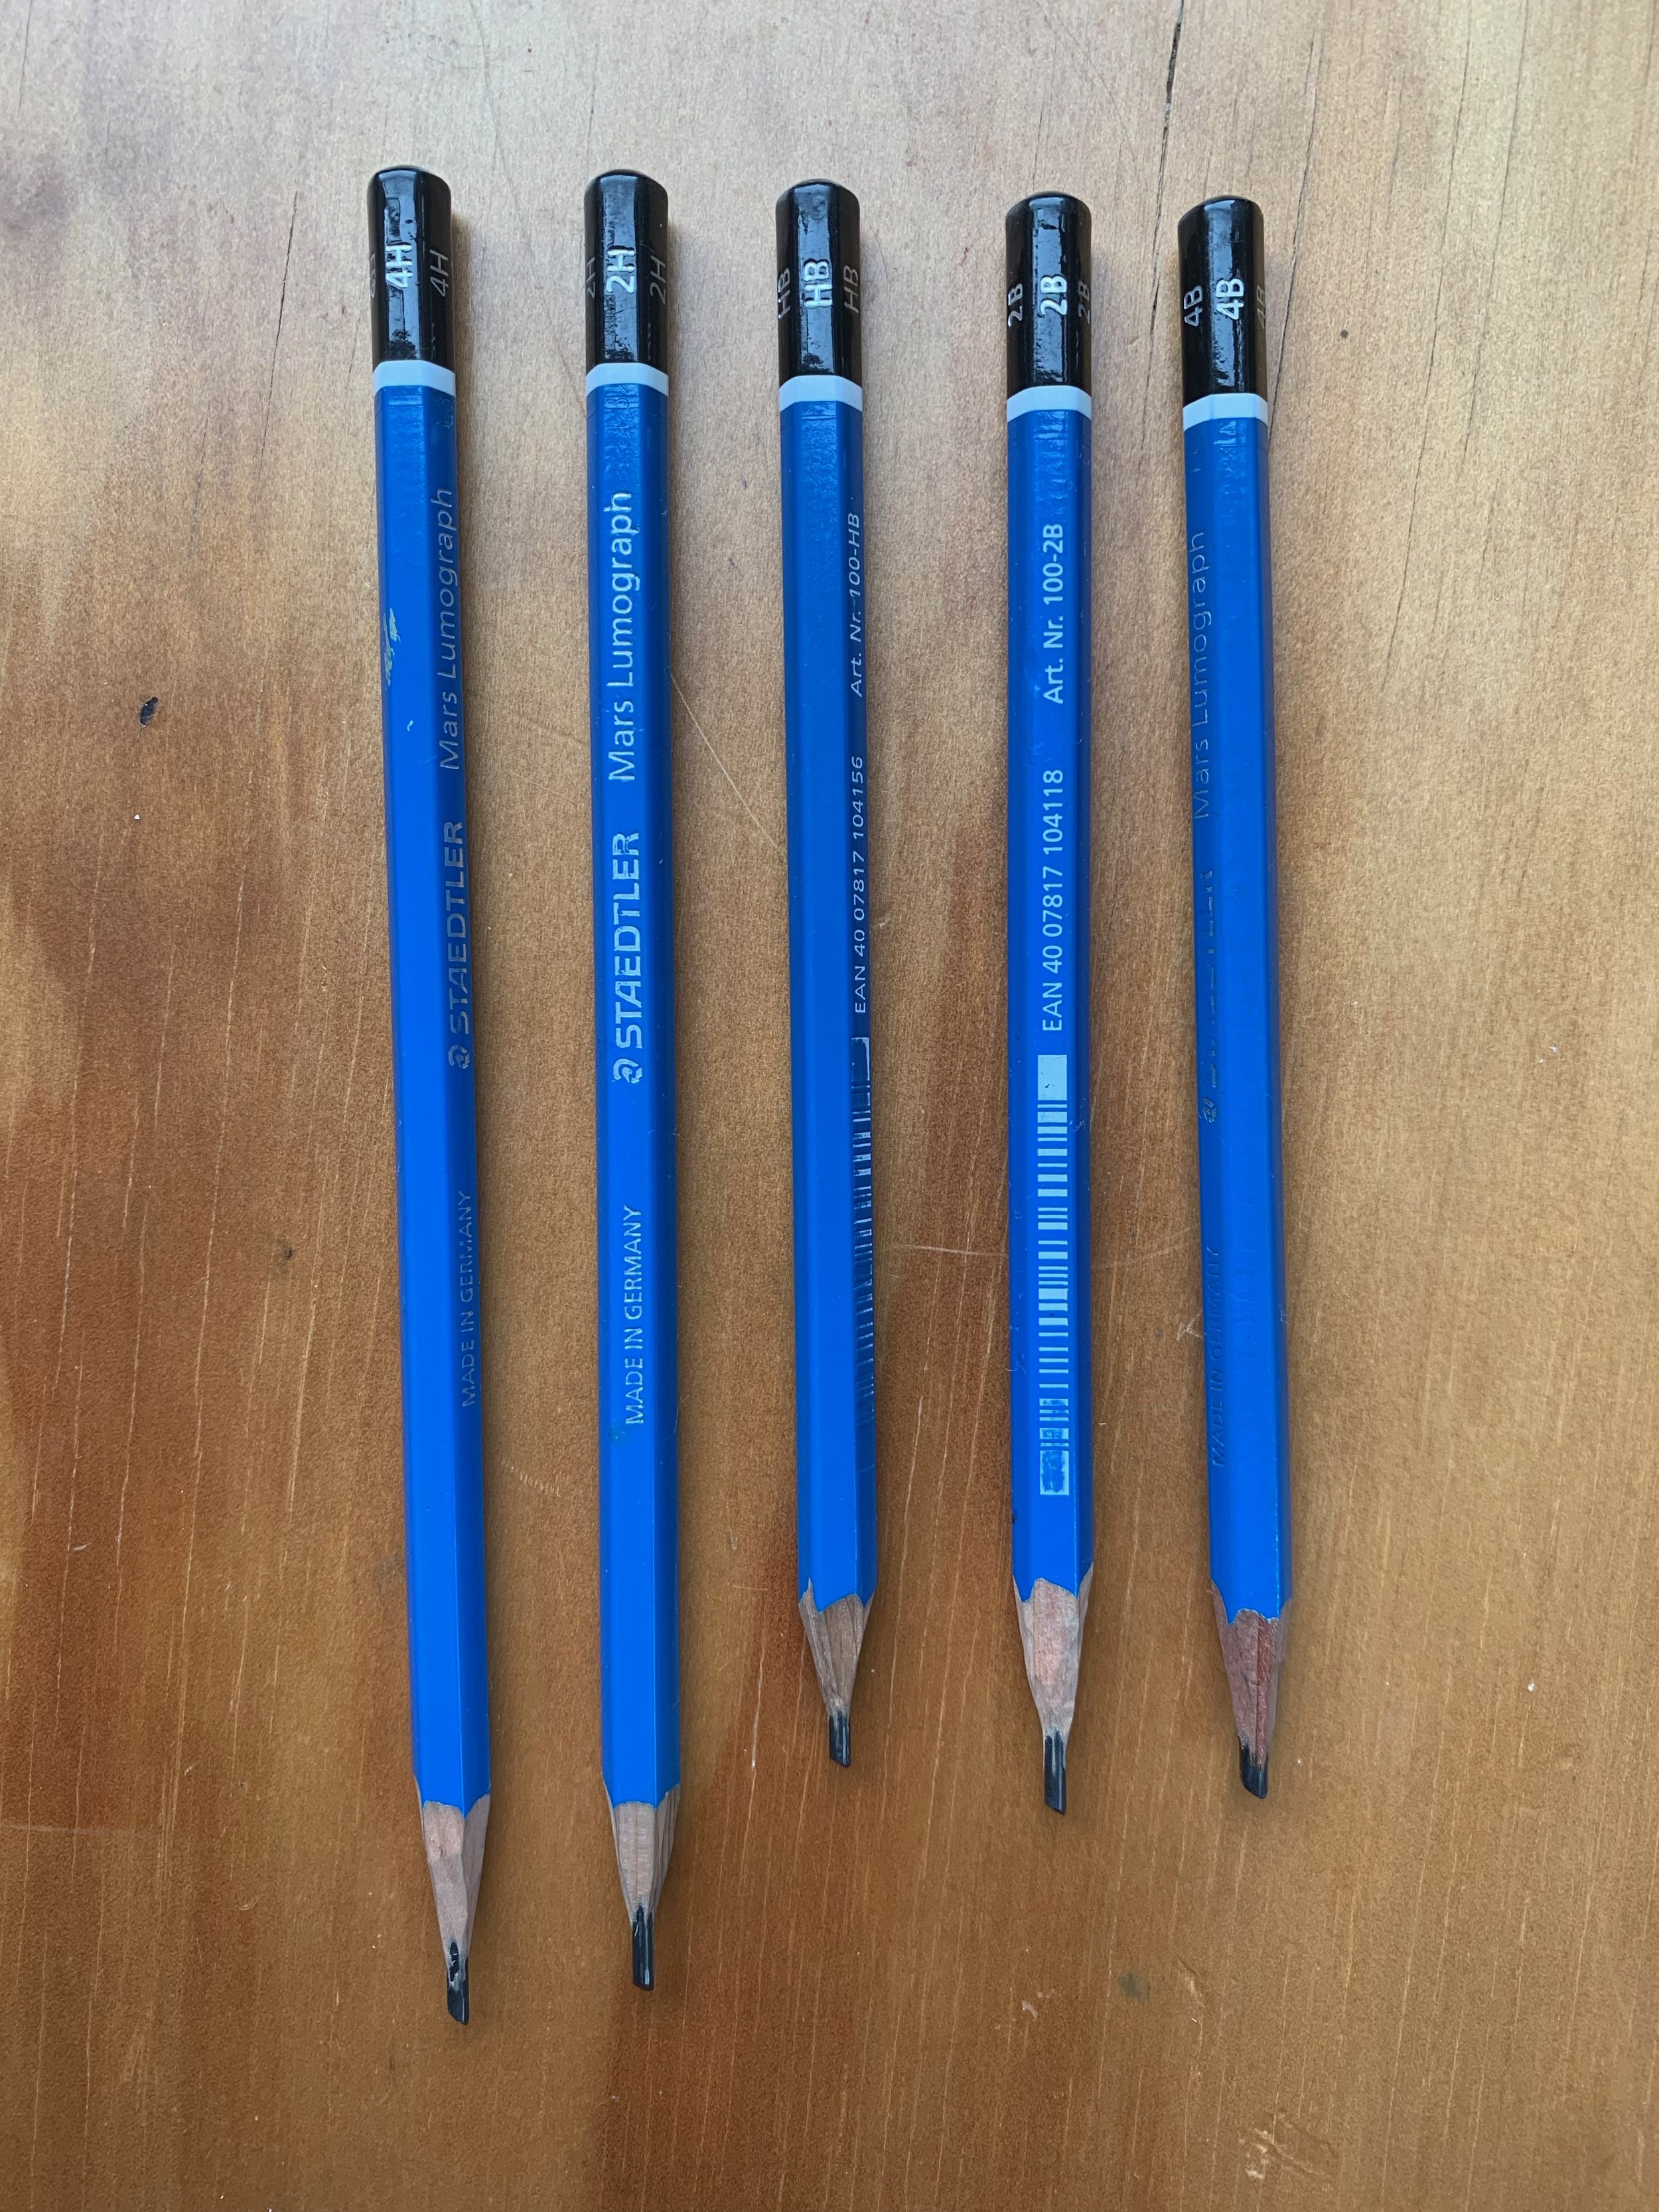
I use hard pencils such as 4H and 2H for distant objects as the pencil mark is tonally lighter. For dark tones and shadows, I use softer pencils such as 2B and 4B. I am more likely to use these pencils to shade objects in the foreground where dark shadows occur.
Planning Your Composition
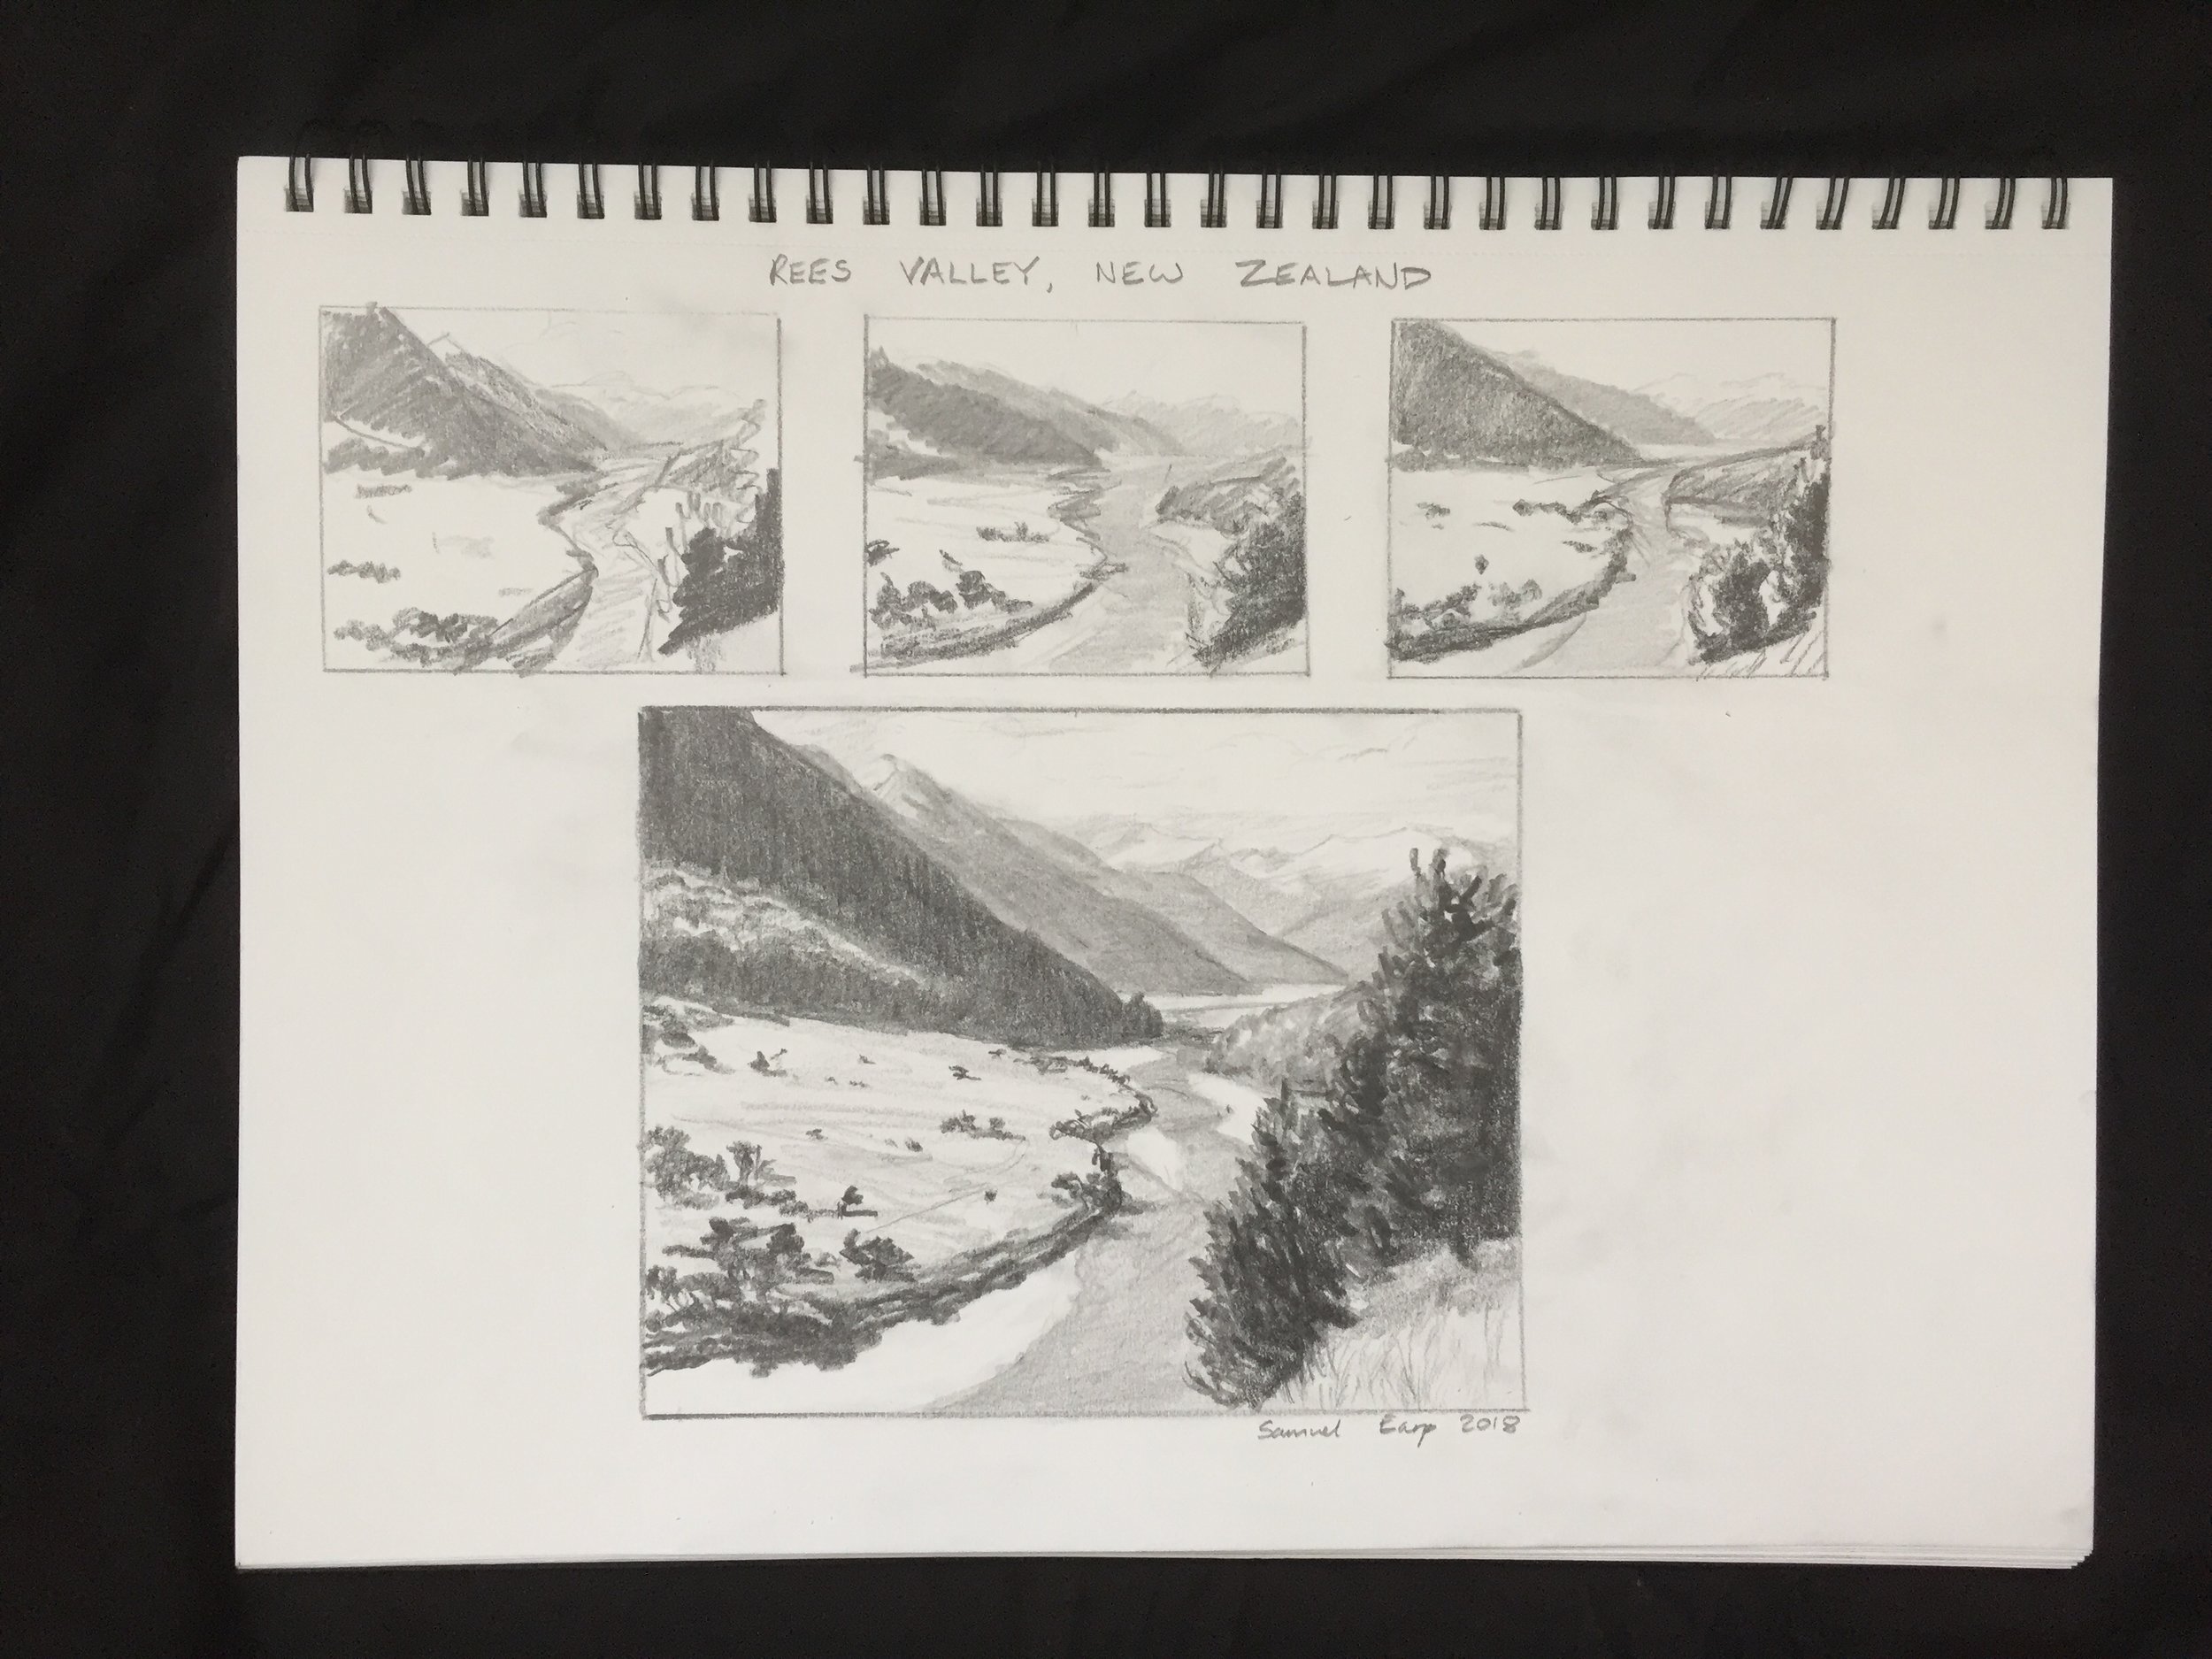
Whenever I plan a composition whether it be for a painting or for a beautifully finished pencil drawing, I always start with small thumbnail pencil sketches. These thumbnails should be quick sketches to find out how your composition idea will work.
Whenever I do thumbnail sketches I spend about two to three minutes on each sketch. I also make the sketches proportional to the size of the final sketch or canvas I am going to work on.
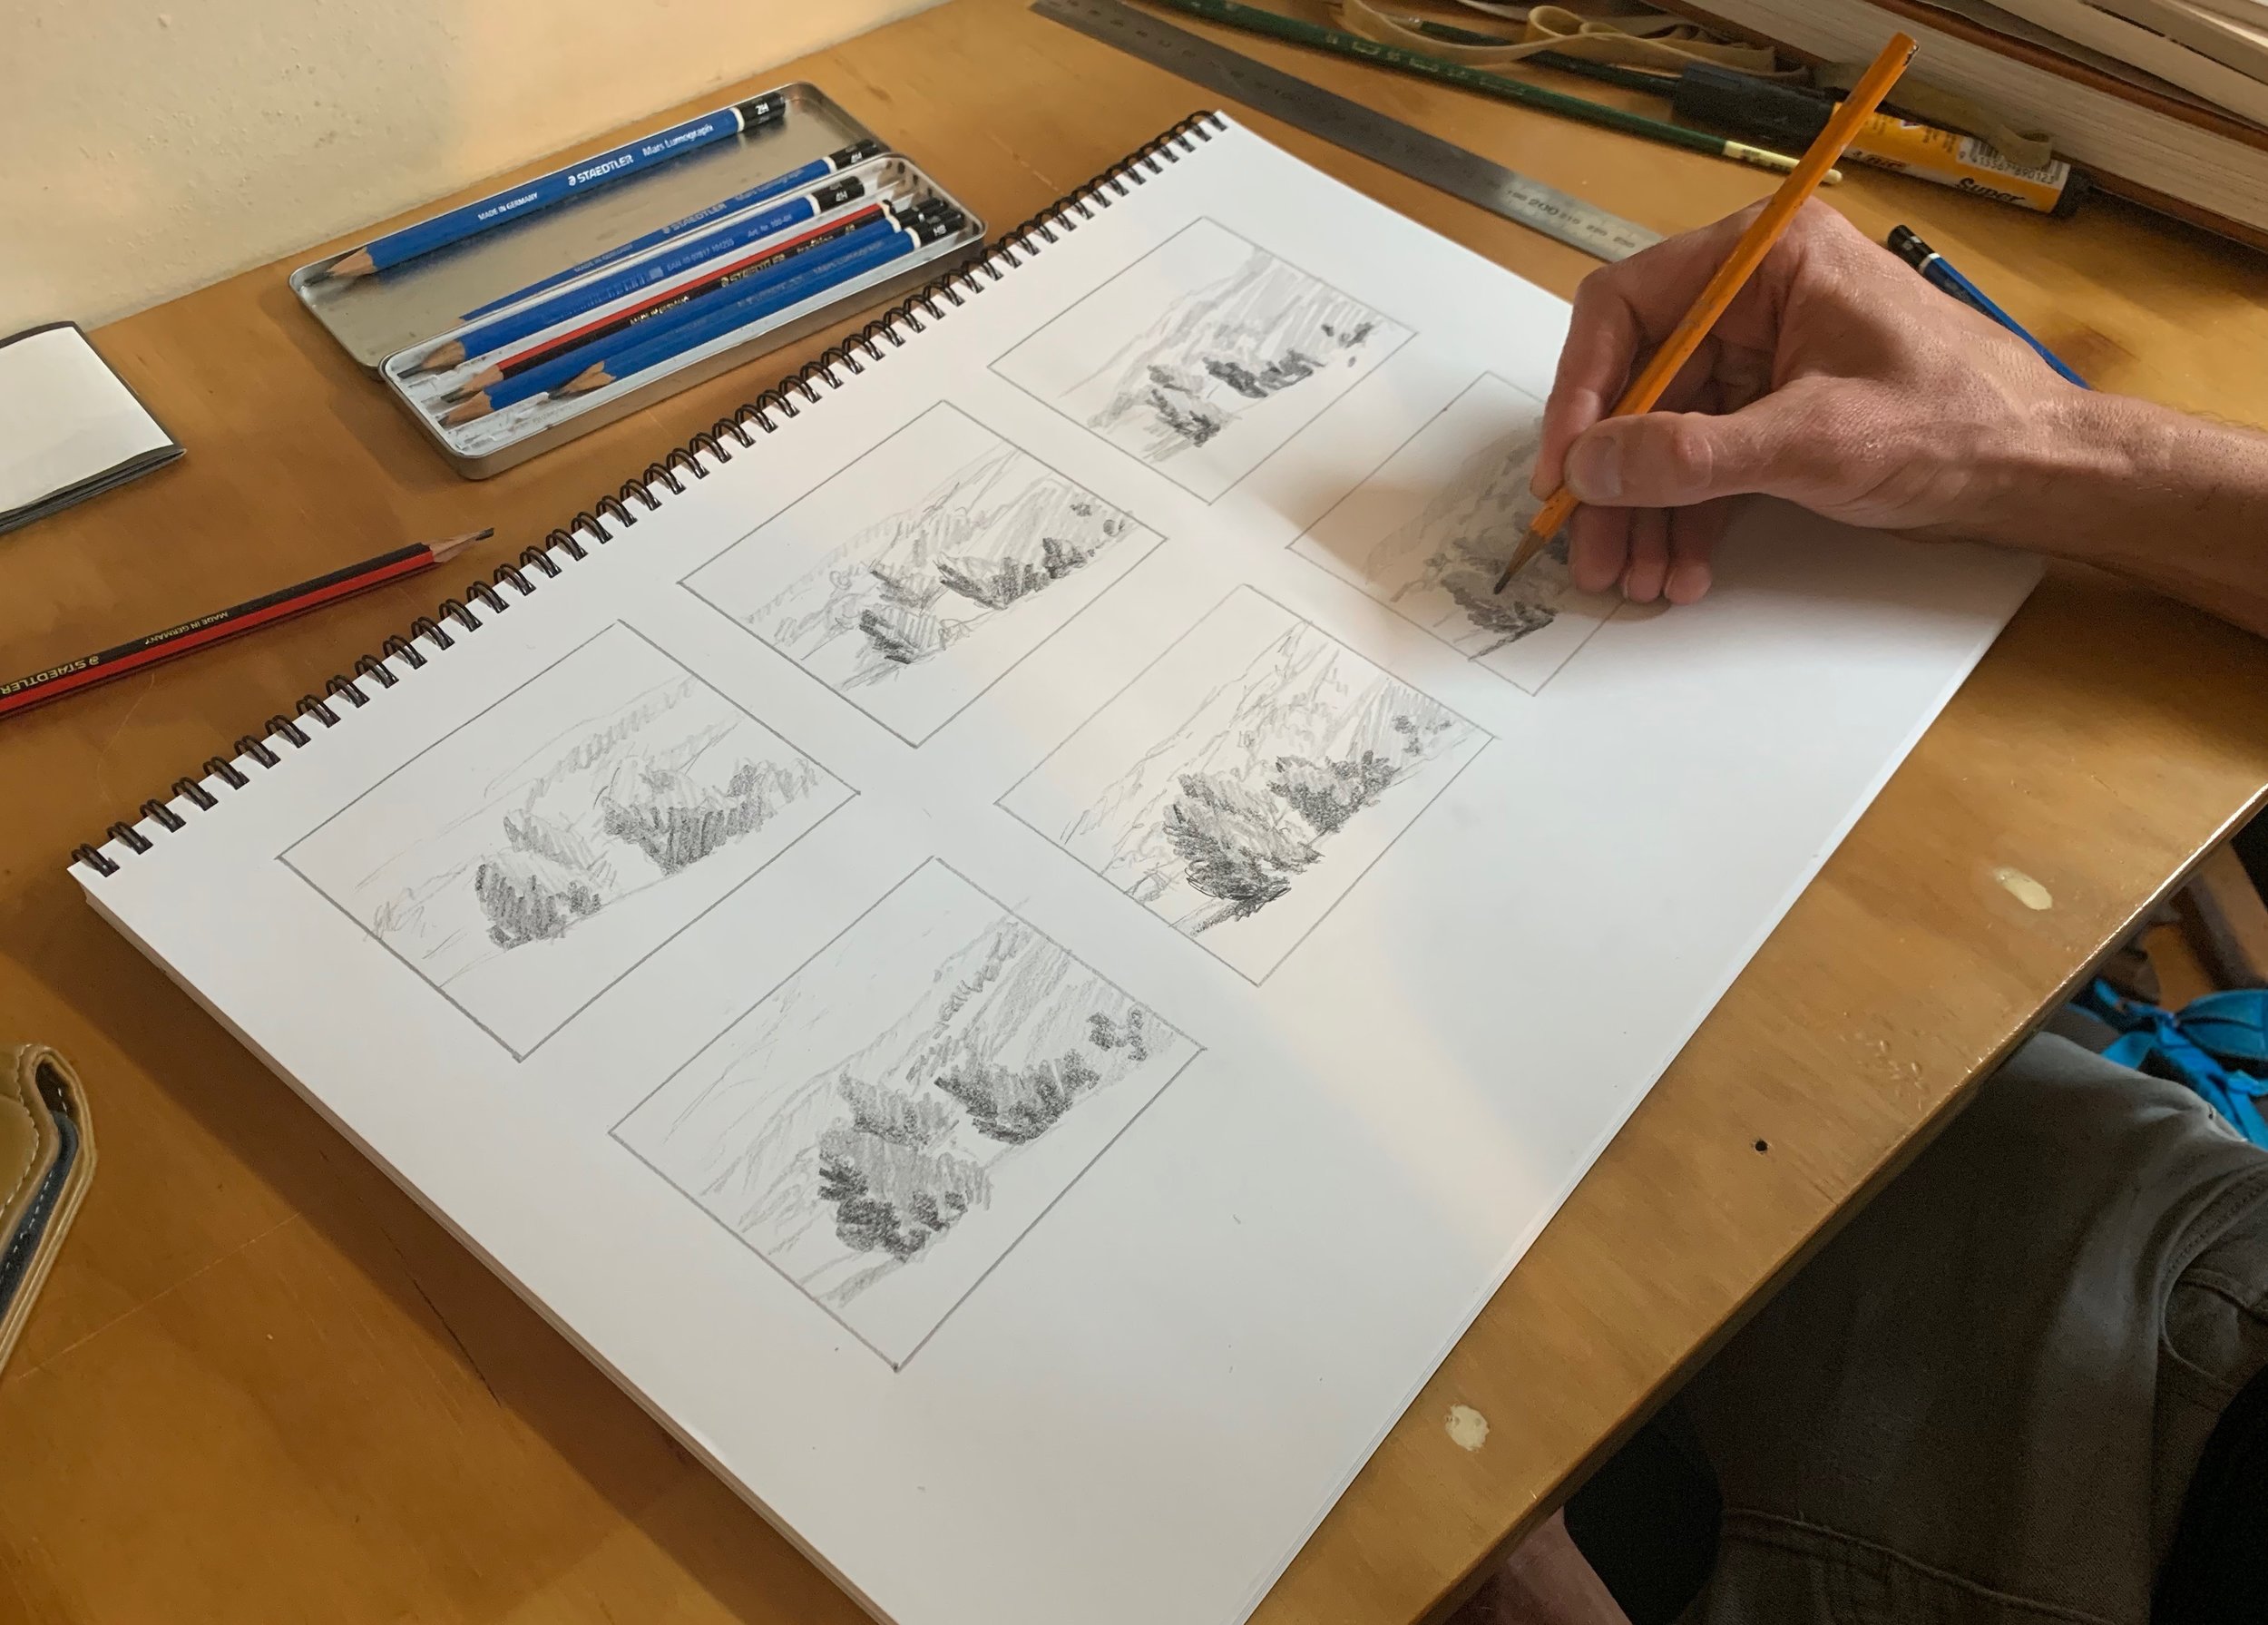
Once I have a good idea for a composition after doing a series of thumbnail sketches, I do the final pencil sketch. I can then use the pencil sketch to refer to when I start a painting.

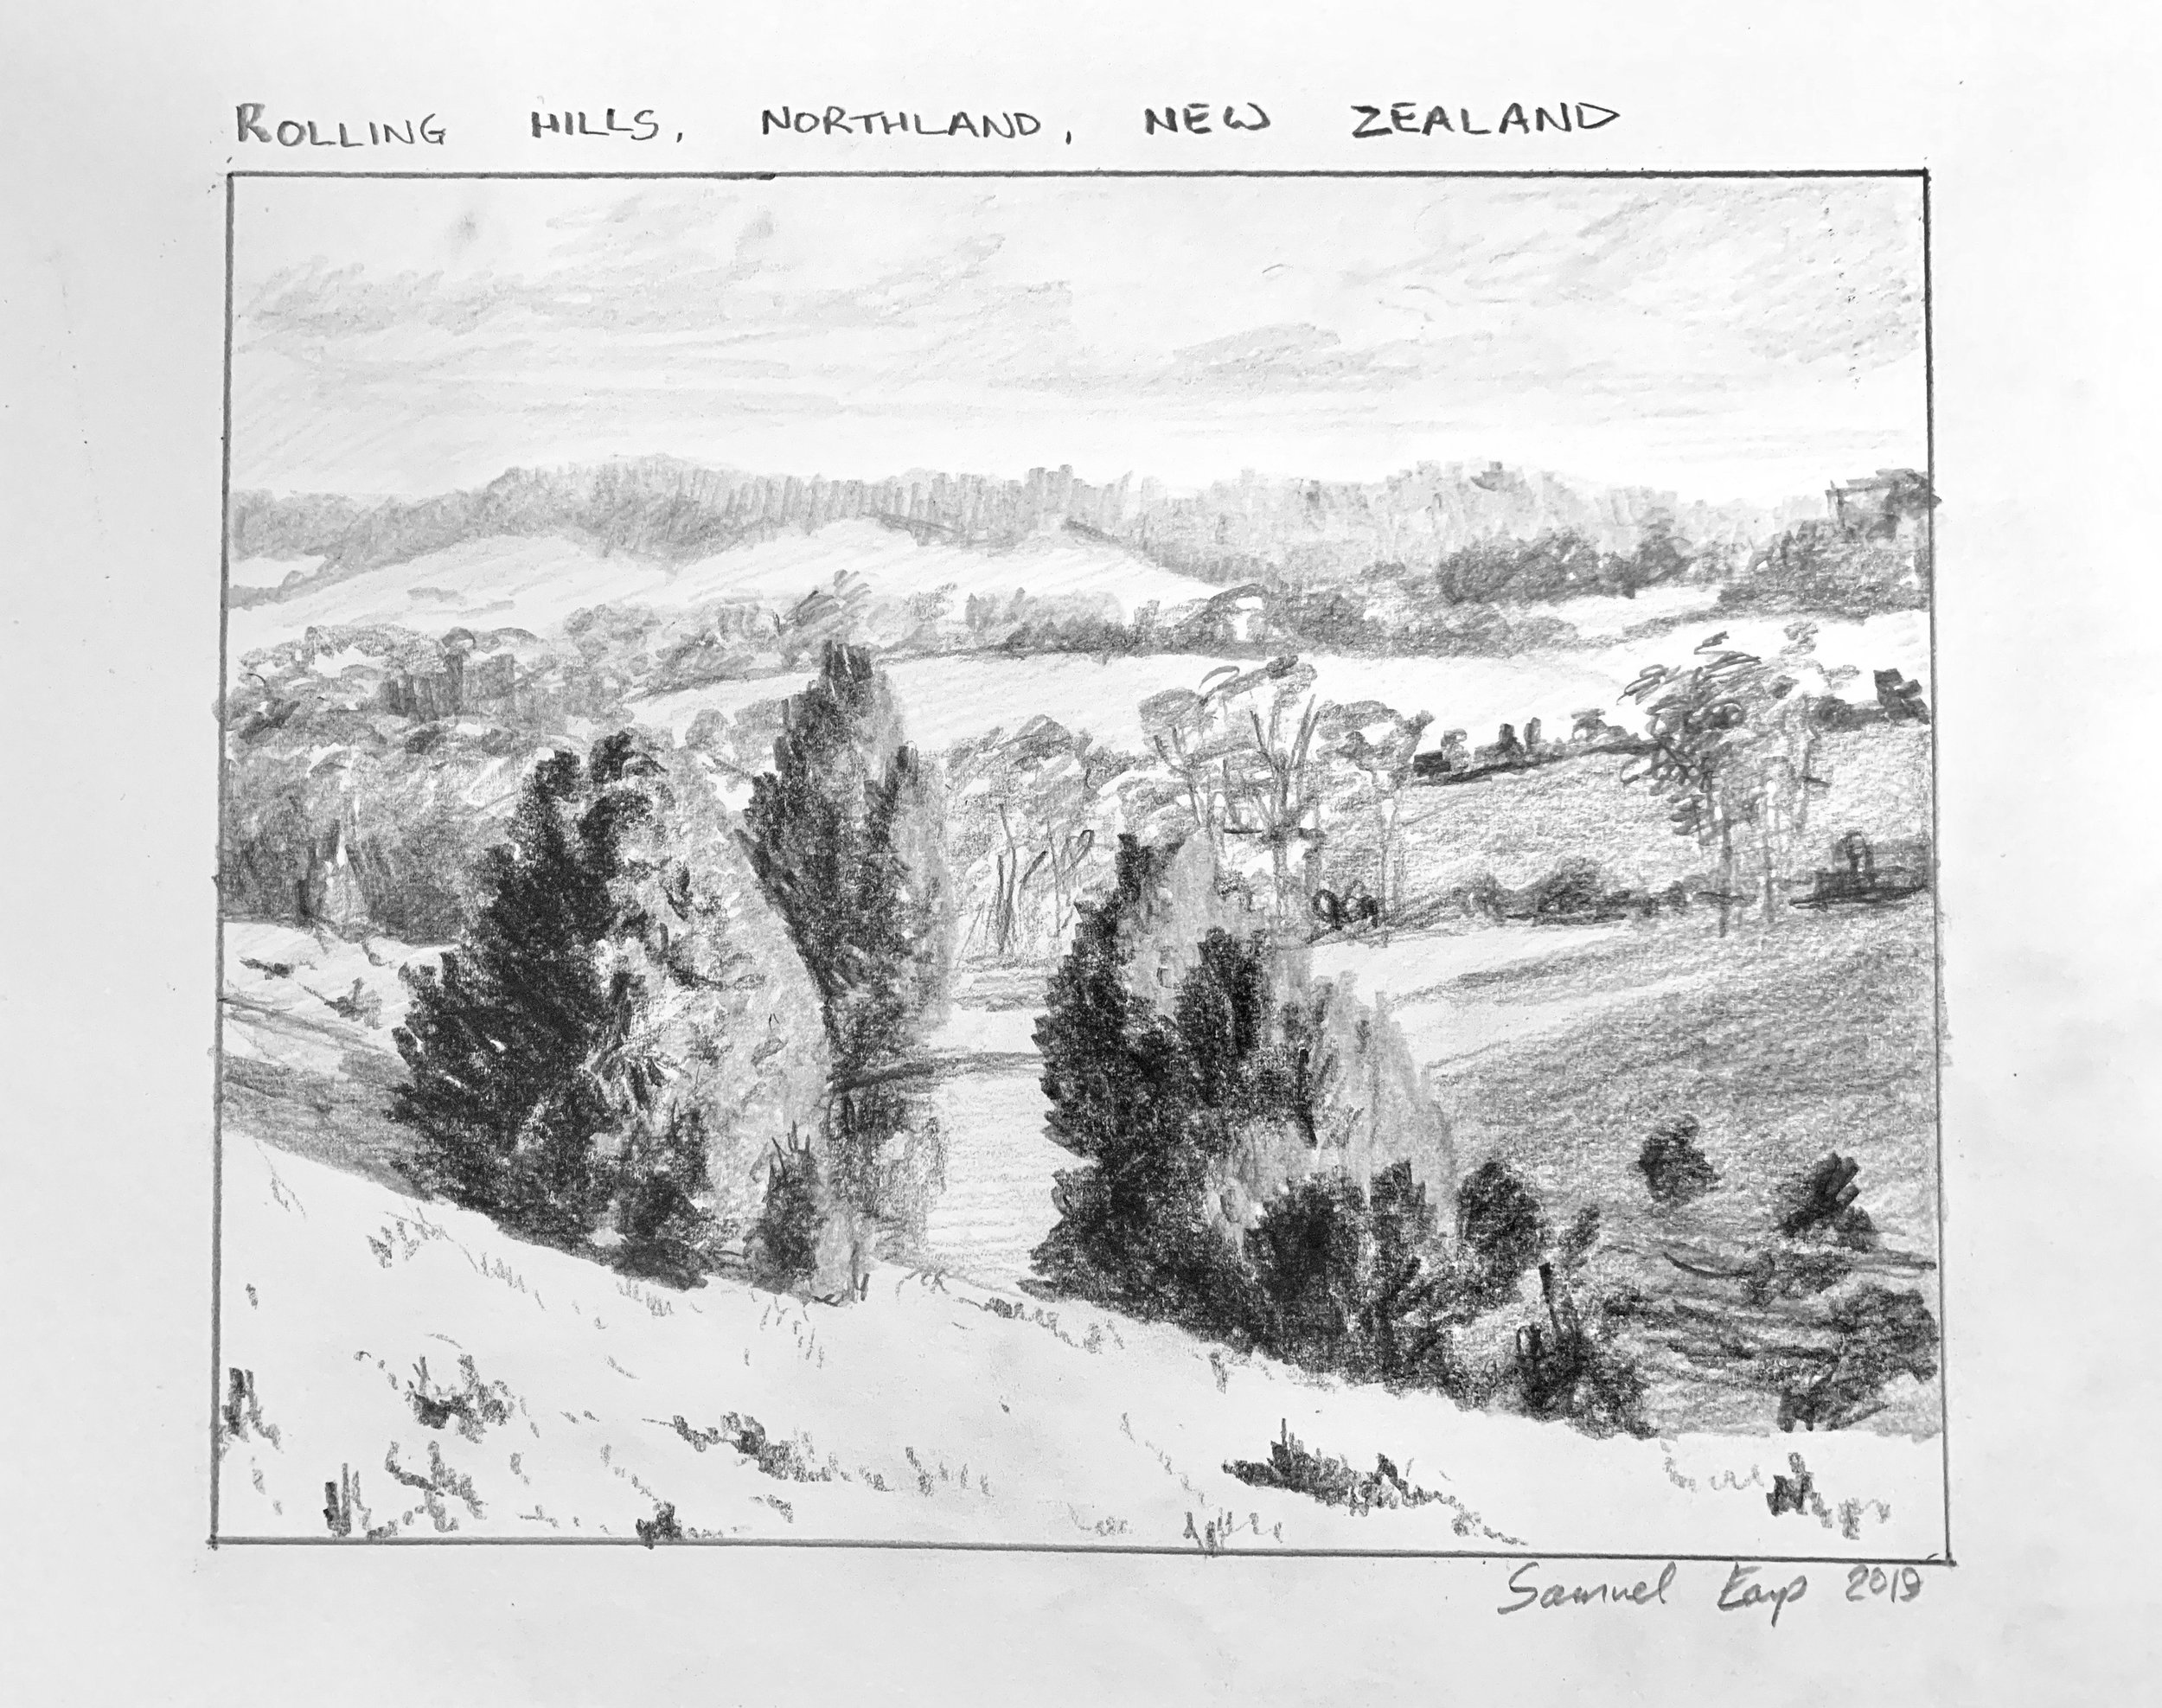
Drawing Demonstration #1 – Rolling Hills of Northland, New Zealand
This drawing features a group of pine trees surrounded by rolling hills that are so characteristic of the region of Northland in northern New Zealand. It is my intention to do a studio painting of this scene.
This is one of the reference photos I have used for the pencil drawing.
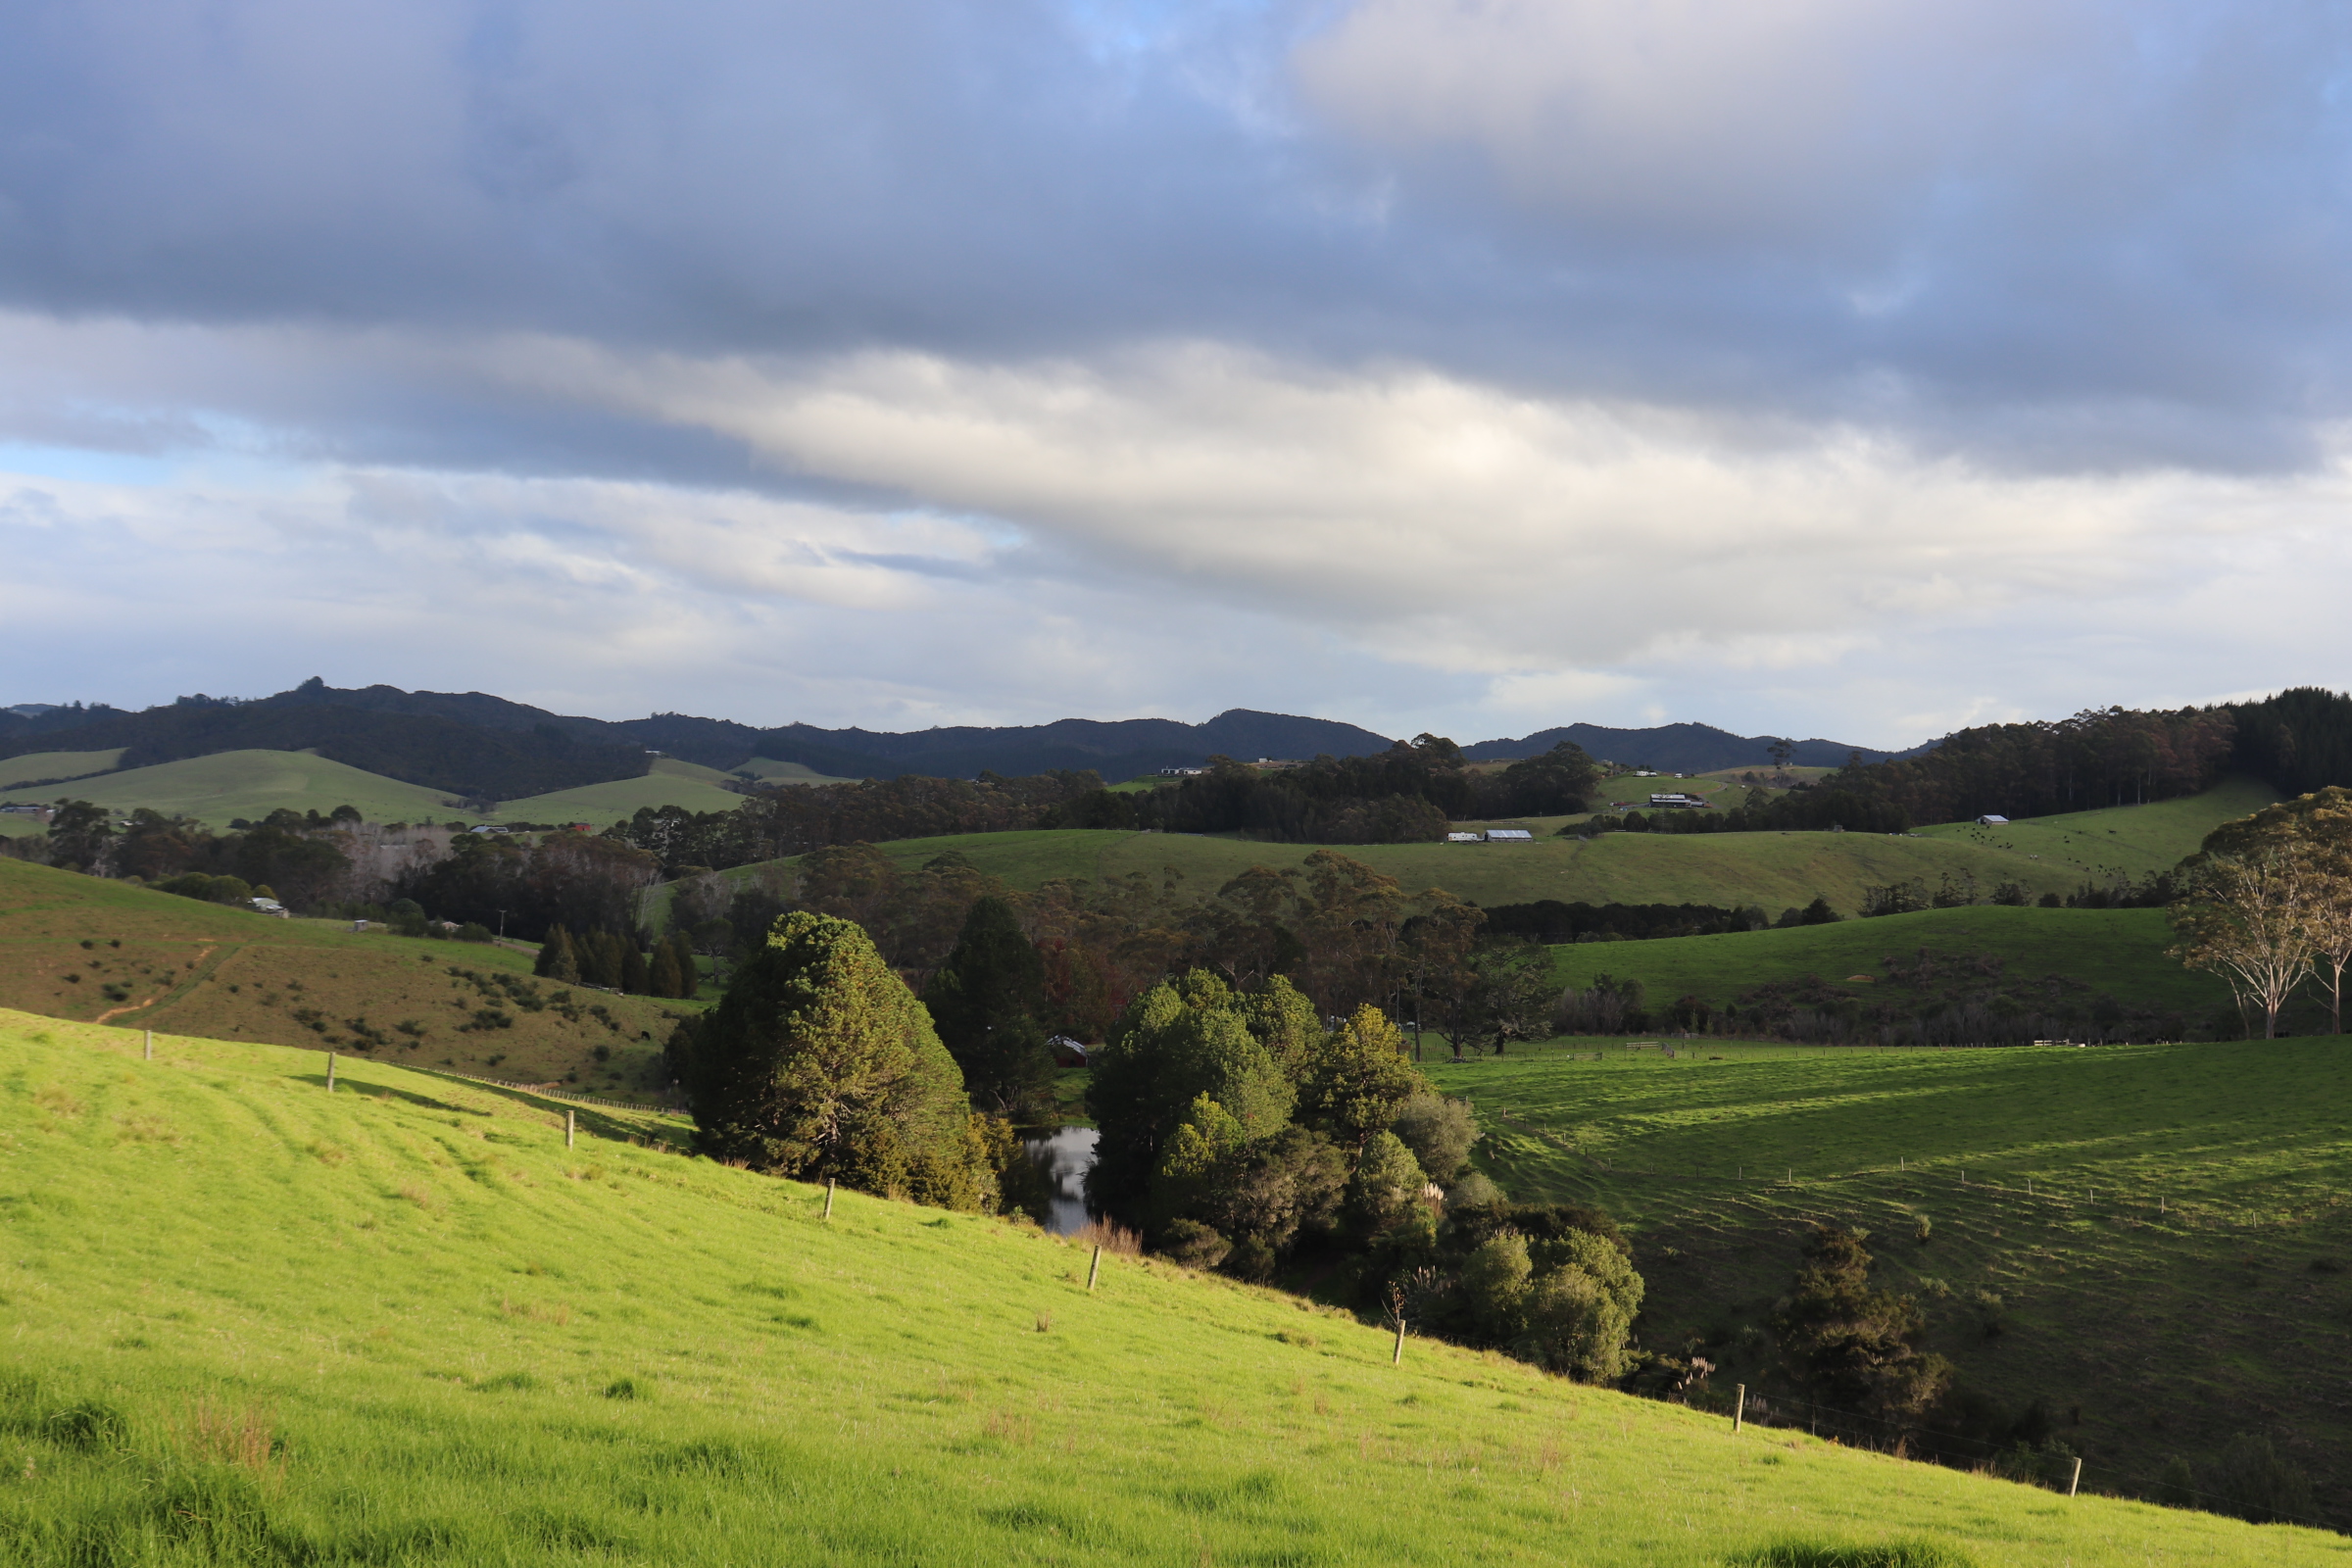
In my composition design, I have made the group of trees the focal area and I have moved the tree closest on the left further forward in the composition as you will see in the demonstration. I have made the group mass of trees bigger.
I am going to be doing a colour study of this scene first so I have made my final sketch the exact same size as the linen panel I will paint on, which measures 8” x 10”.
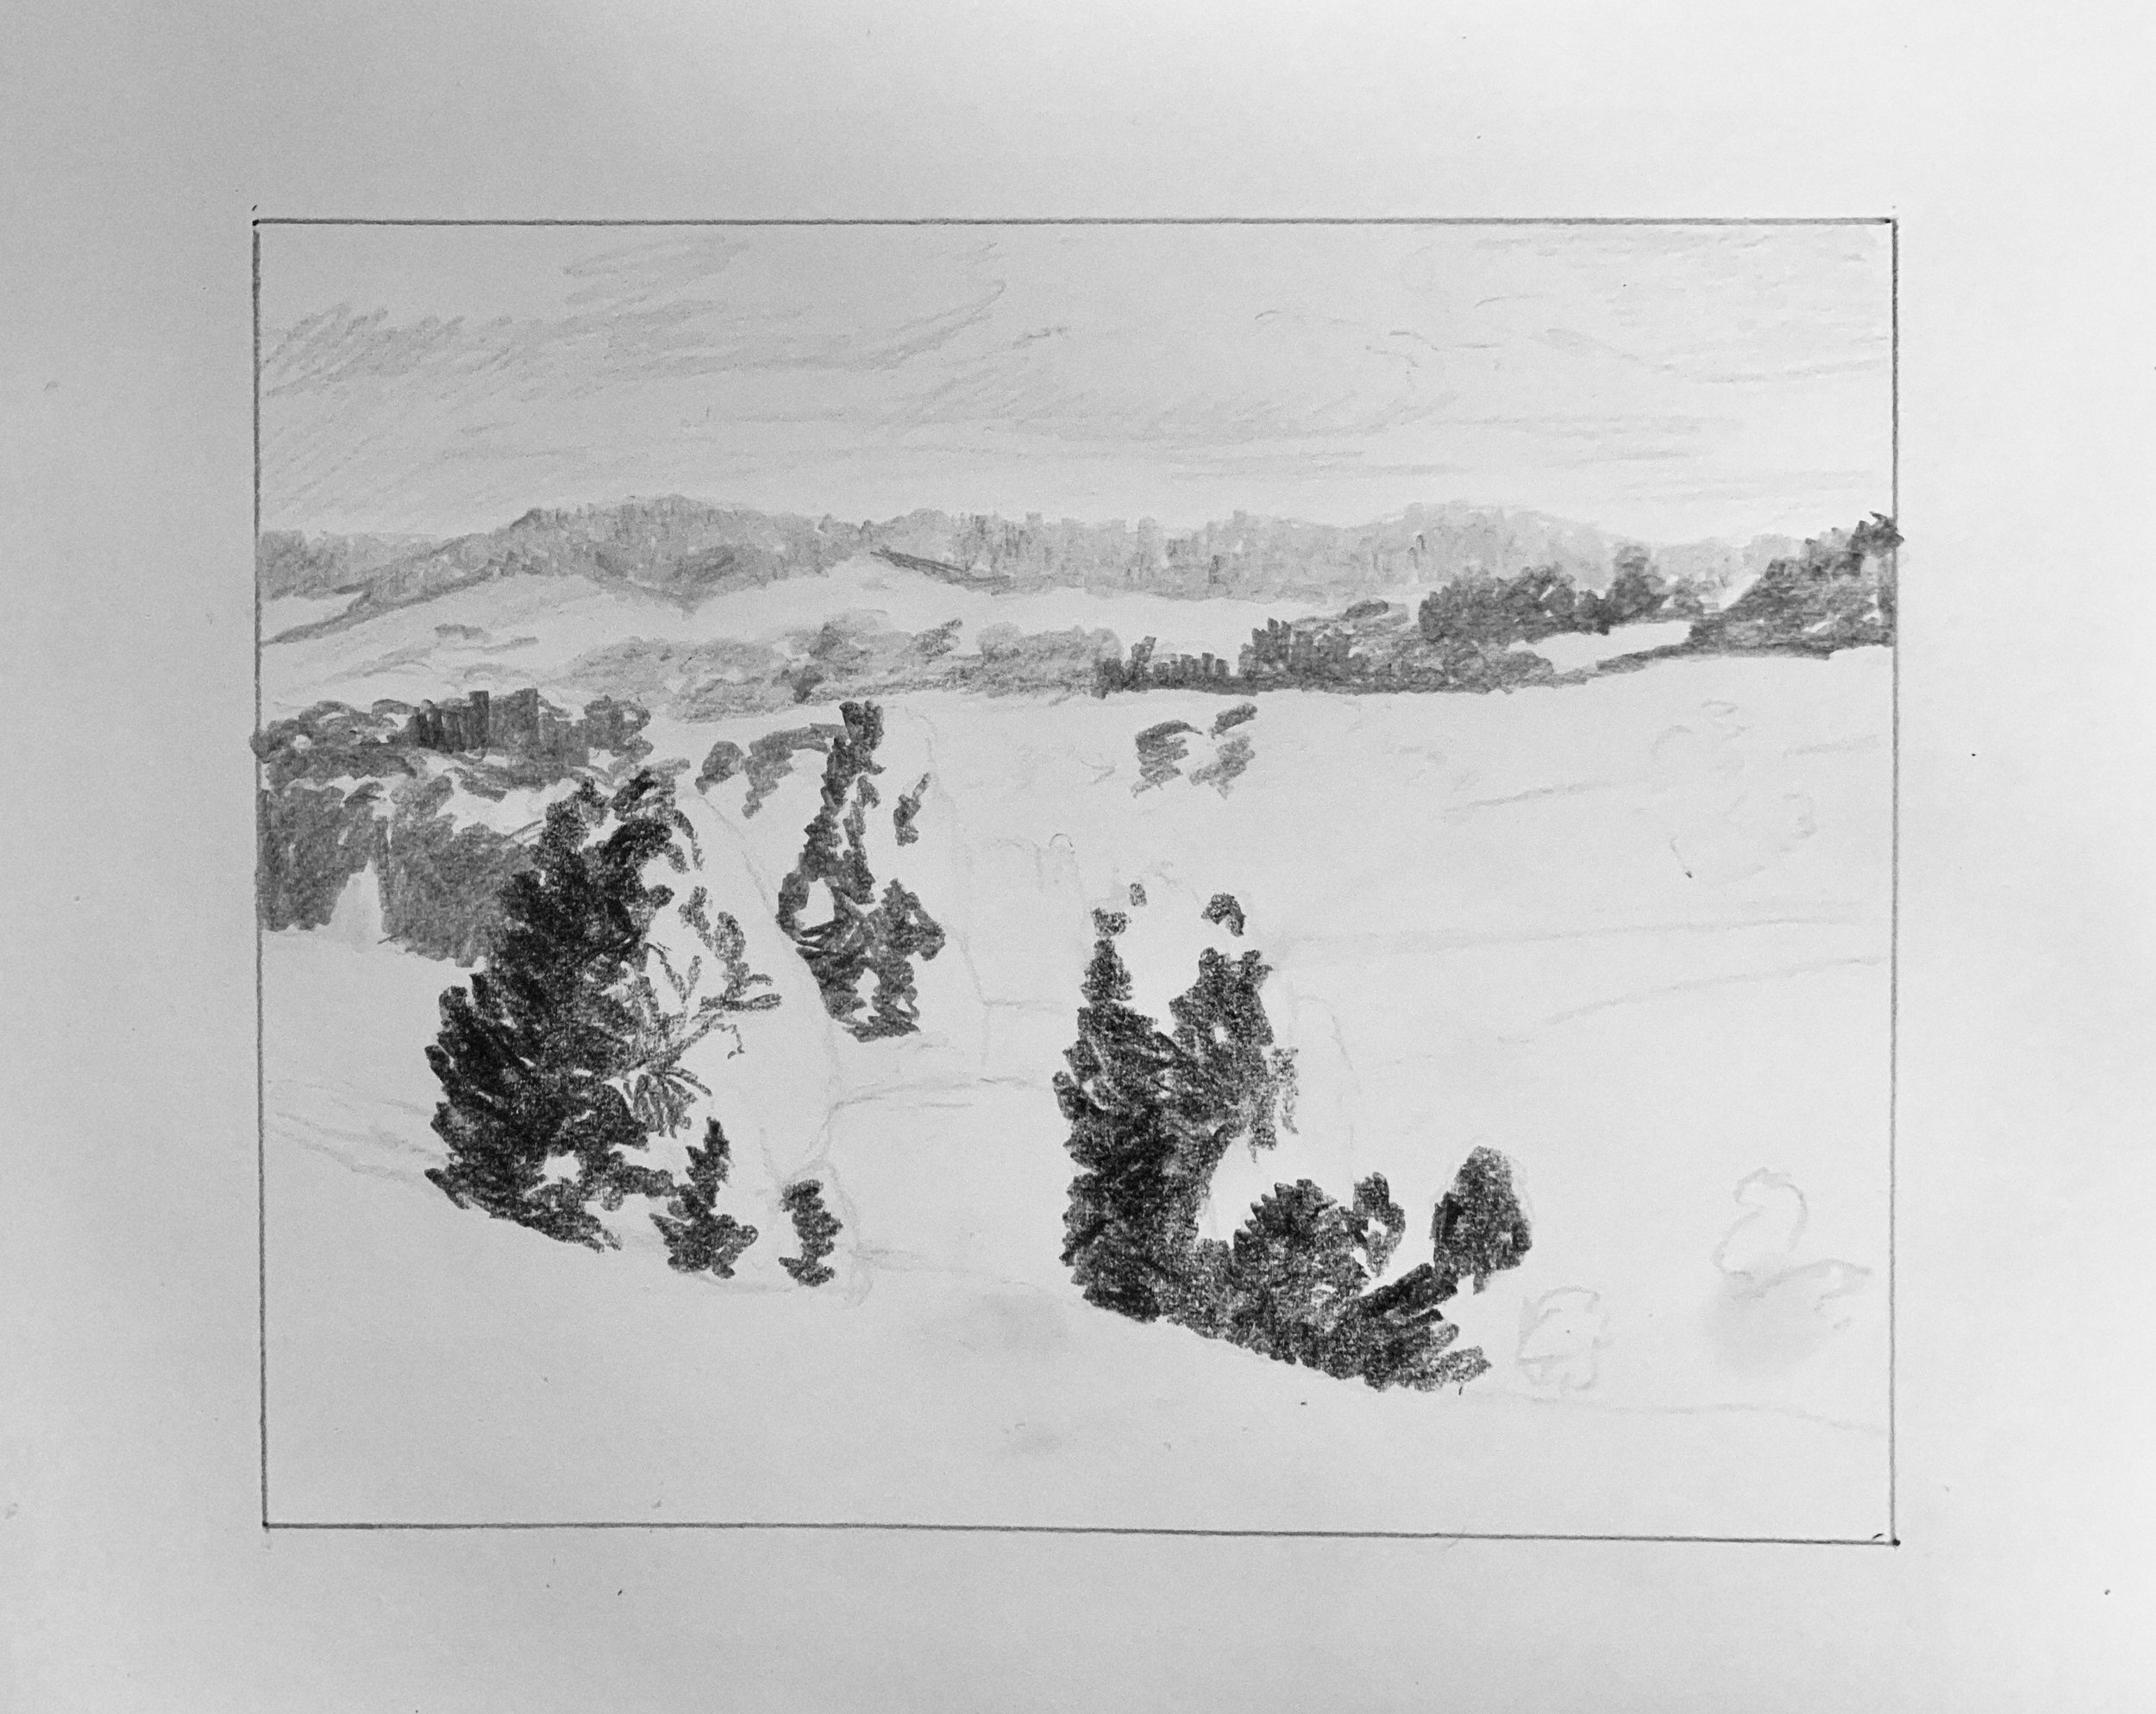
I sketch out the design faintly with a 4H pencil. Once I am happy with the proportions I can use the broad-stroke pencil method to shade in the various zones within the scene.

Now that I am happy with the sketch outline I start shading in the darkest values within the scene. I start with the distant trees which are a mid-tone so I use a 2H pencil which produces a light mark.
For the trees in the mid-ground, I use a HB pencil as the value is darker than the trees in the distance. The HB pencil produces a darker mark than the 2H pencil.
The shadows in the pine trees in the foreground have the darkest values in the scene and for this, I use a 4B pencil. The graphite is soft and it produces a dark mark. The darkest shadows will be found in the foreground of the landscape and so in order to communicate depth in the drawing this must be taken into account.
I use an HB pencil for most of this drawing, especially for the trees and grass in the mid-ground.
I use 2H pencil for the pine tree foliage that’s in full sun as pine trees are generally tonally dark and in this case are the darkest values within the landscape.
As grass is light in value I leave the grass with the white paper exposed, however, I add a few suggestions of clumps of grass. I use a 4H pencil to lightly shade the grass in the distant hills as well as the base of the clouds.
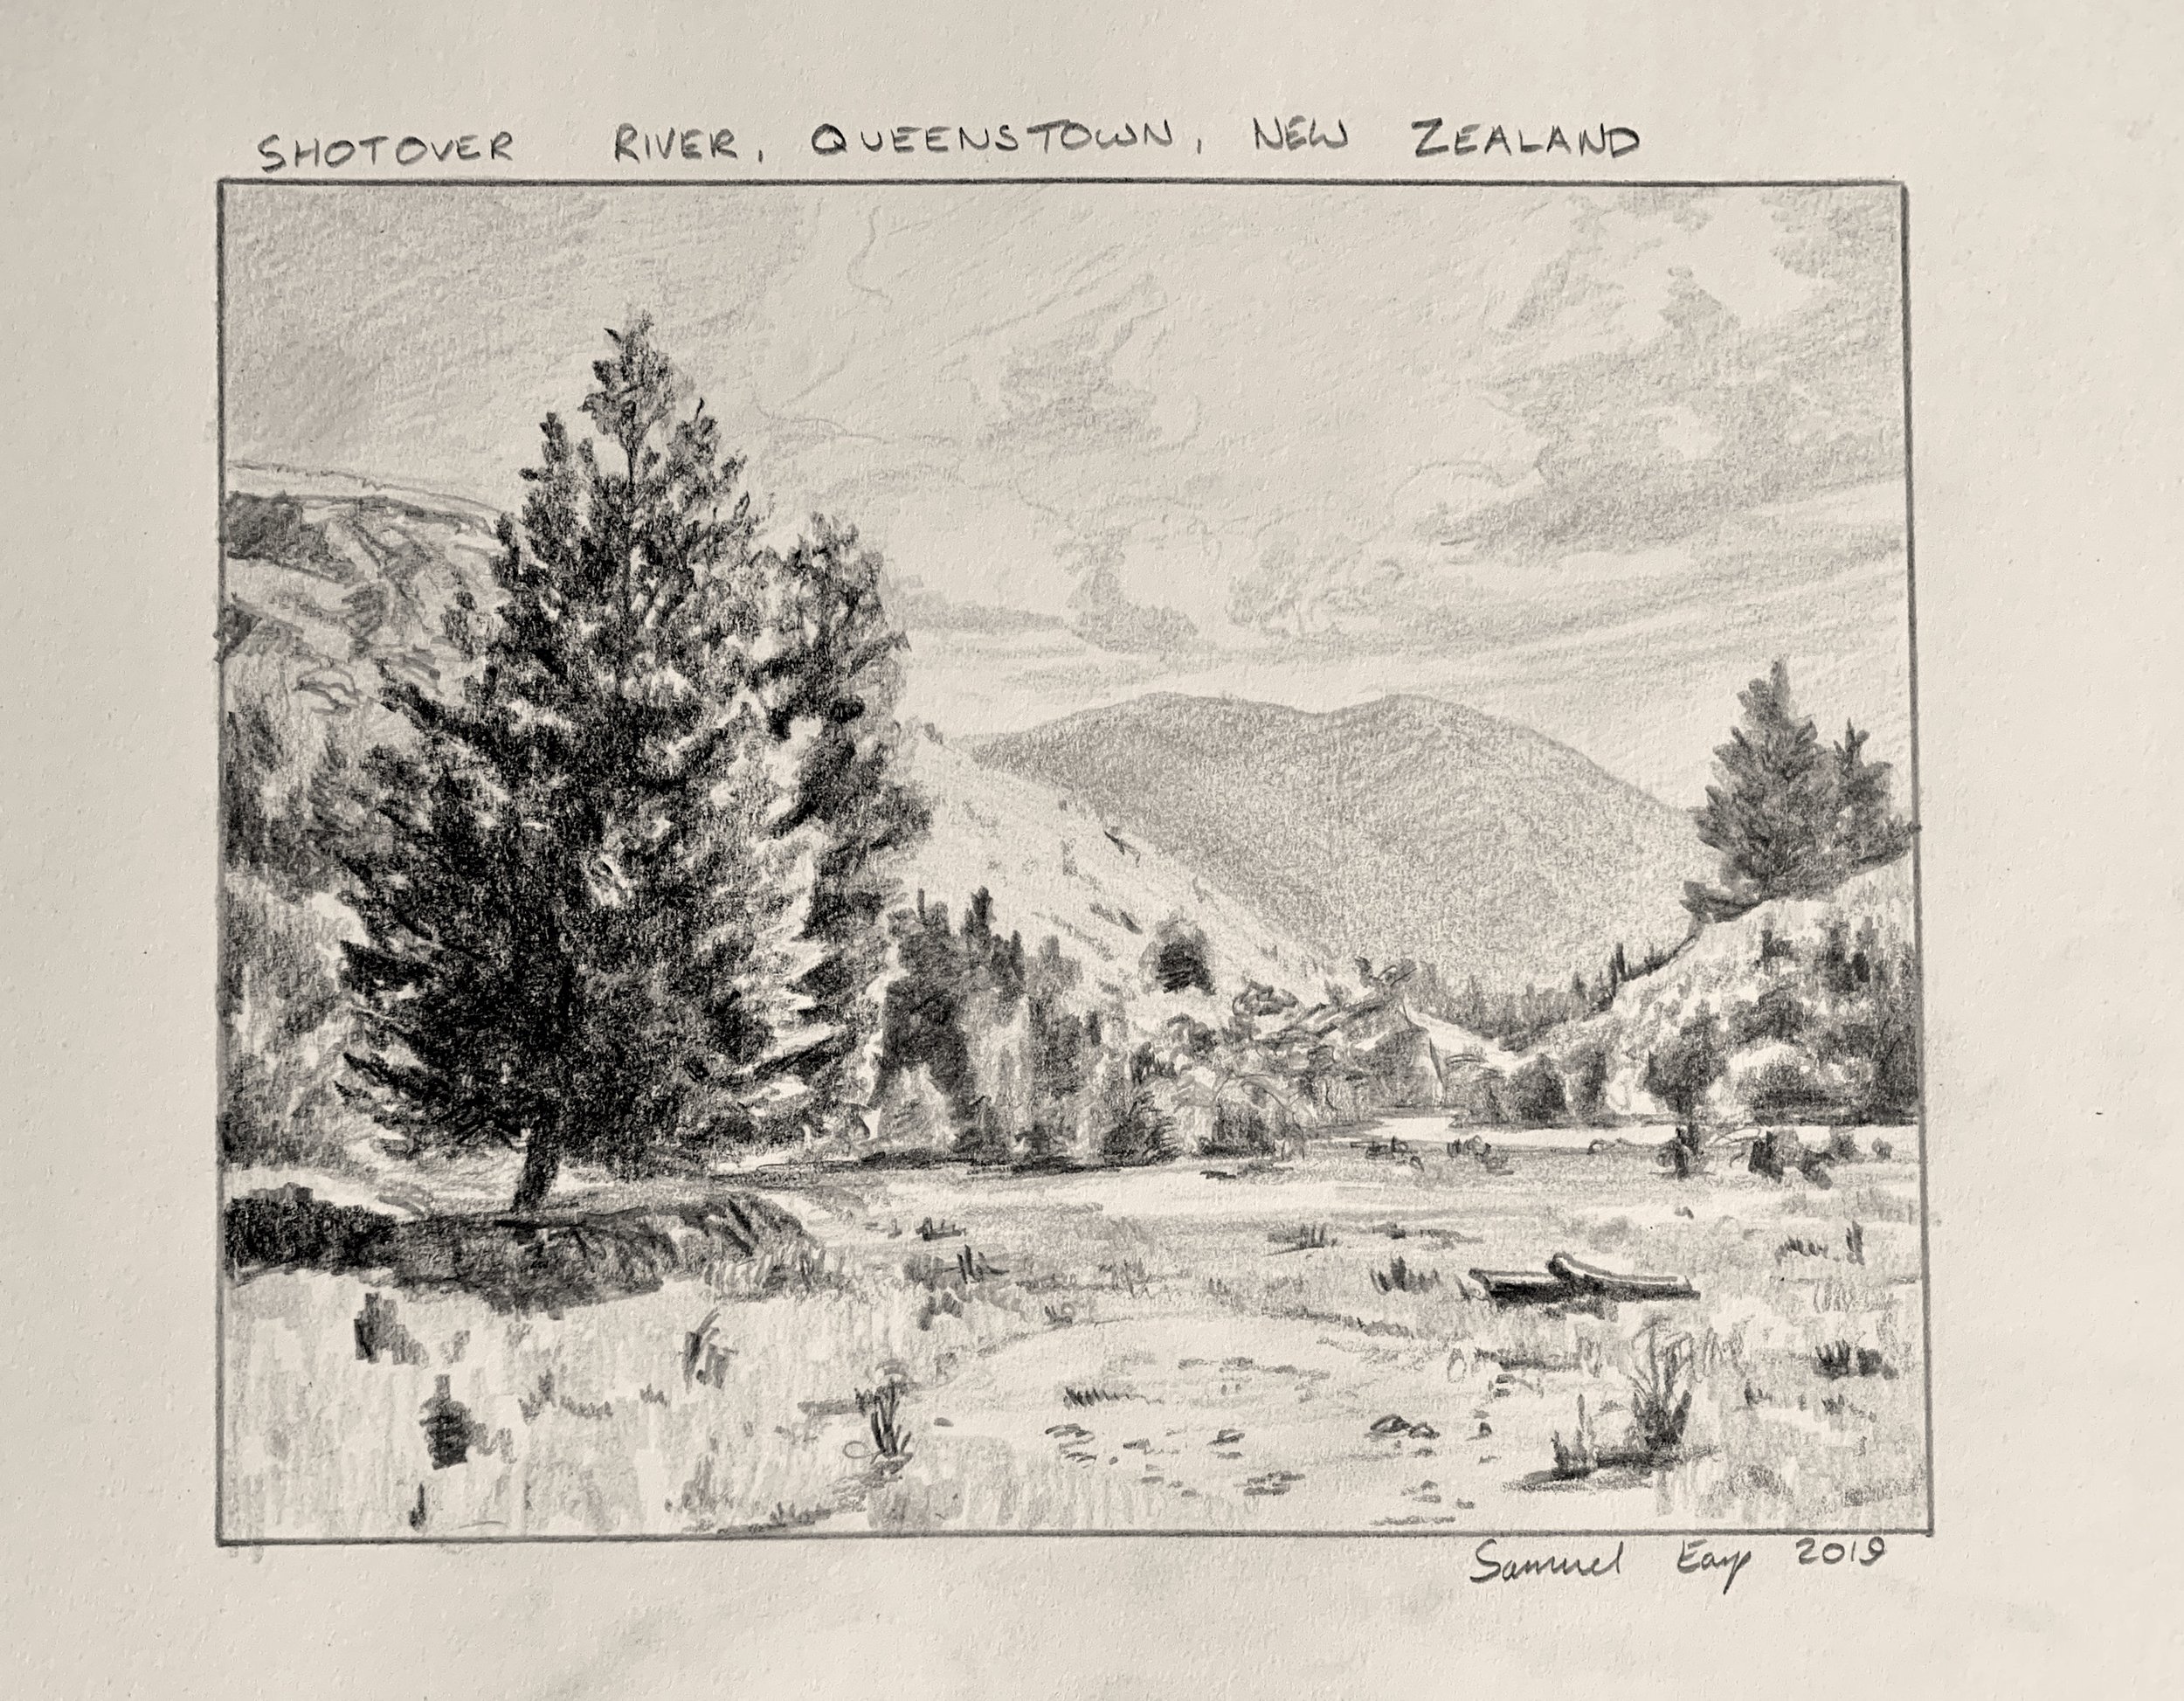
Drawing Demonstration #2 – Shotover River, Queenstown, New Zealand
This drawing features a mountain river valley surrounded by broadleaf trees. One of the reference photos I am using (seen below) depicts by chance a naturally pleasing composition so didn’t need to change it too much when I was designing the drawing.
Again I will use this drawing as a reference for a colour study and then a final studio painting.
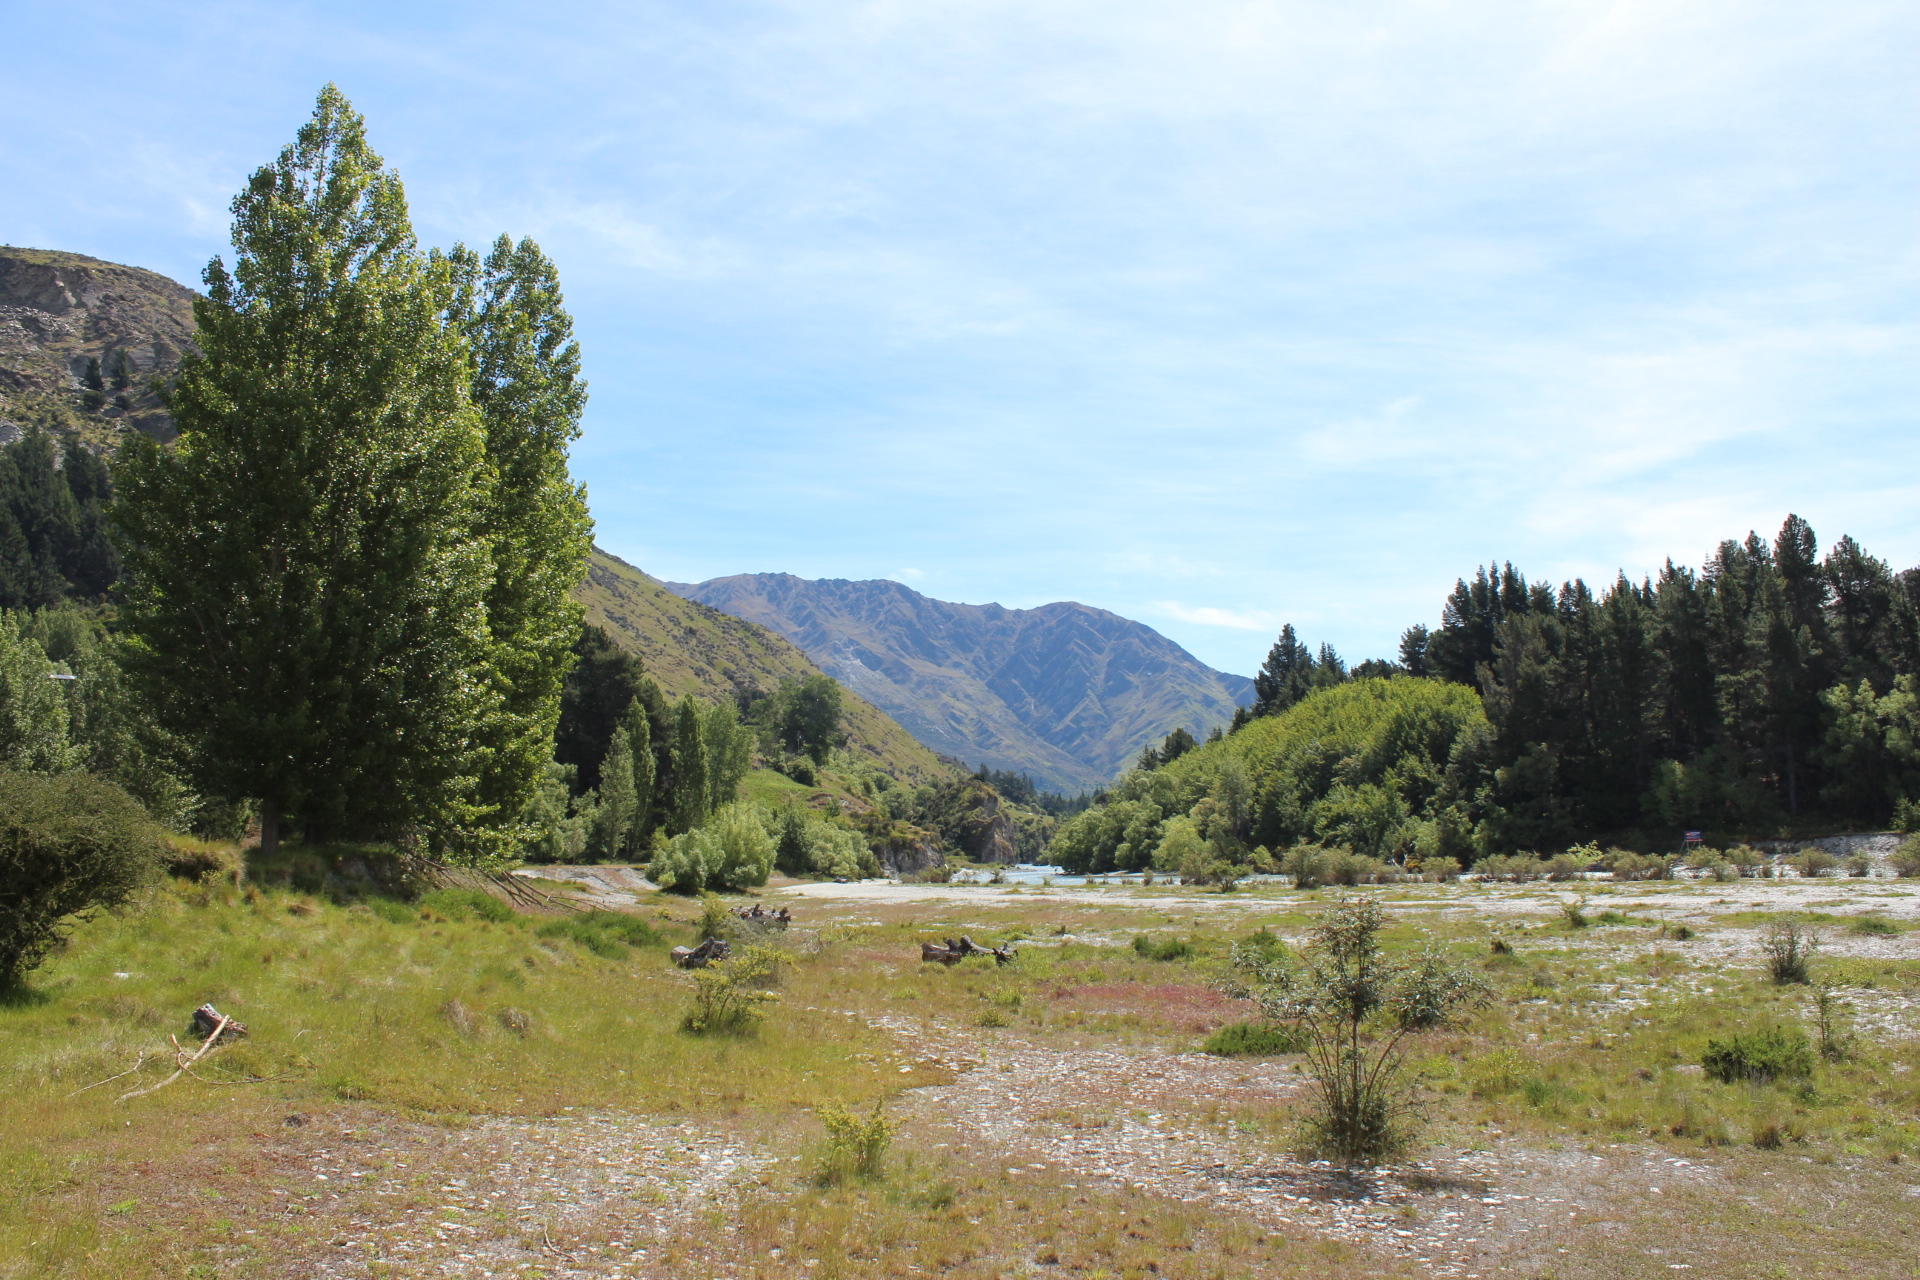
In this composition, I have incorporated a design called a ‘steelyard’ composition where the trees on the left constitute a large weight in the scene that is counterbalanced on a theoretical fulcrum by the smaller pine trees in the mid-ground on the right.
As with the Rolling Hills, Northland drawing, I faintly sketched of the composition with a 4H pencil. This is a hard pencil and so it produces a light mark.
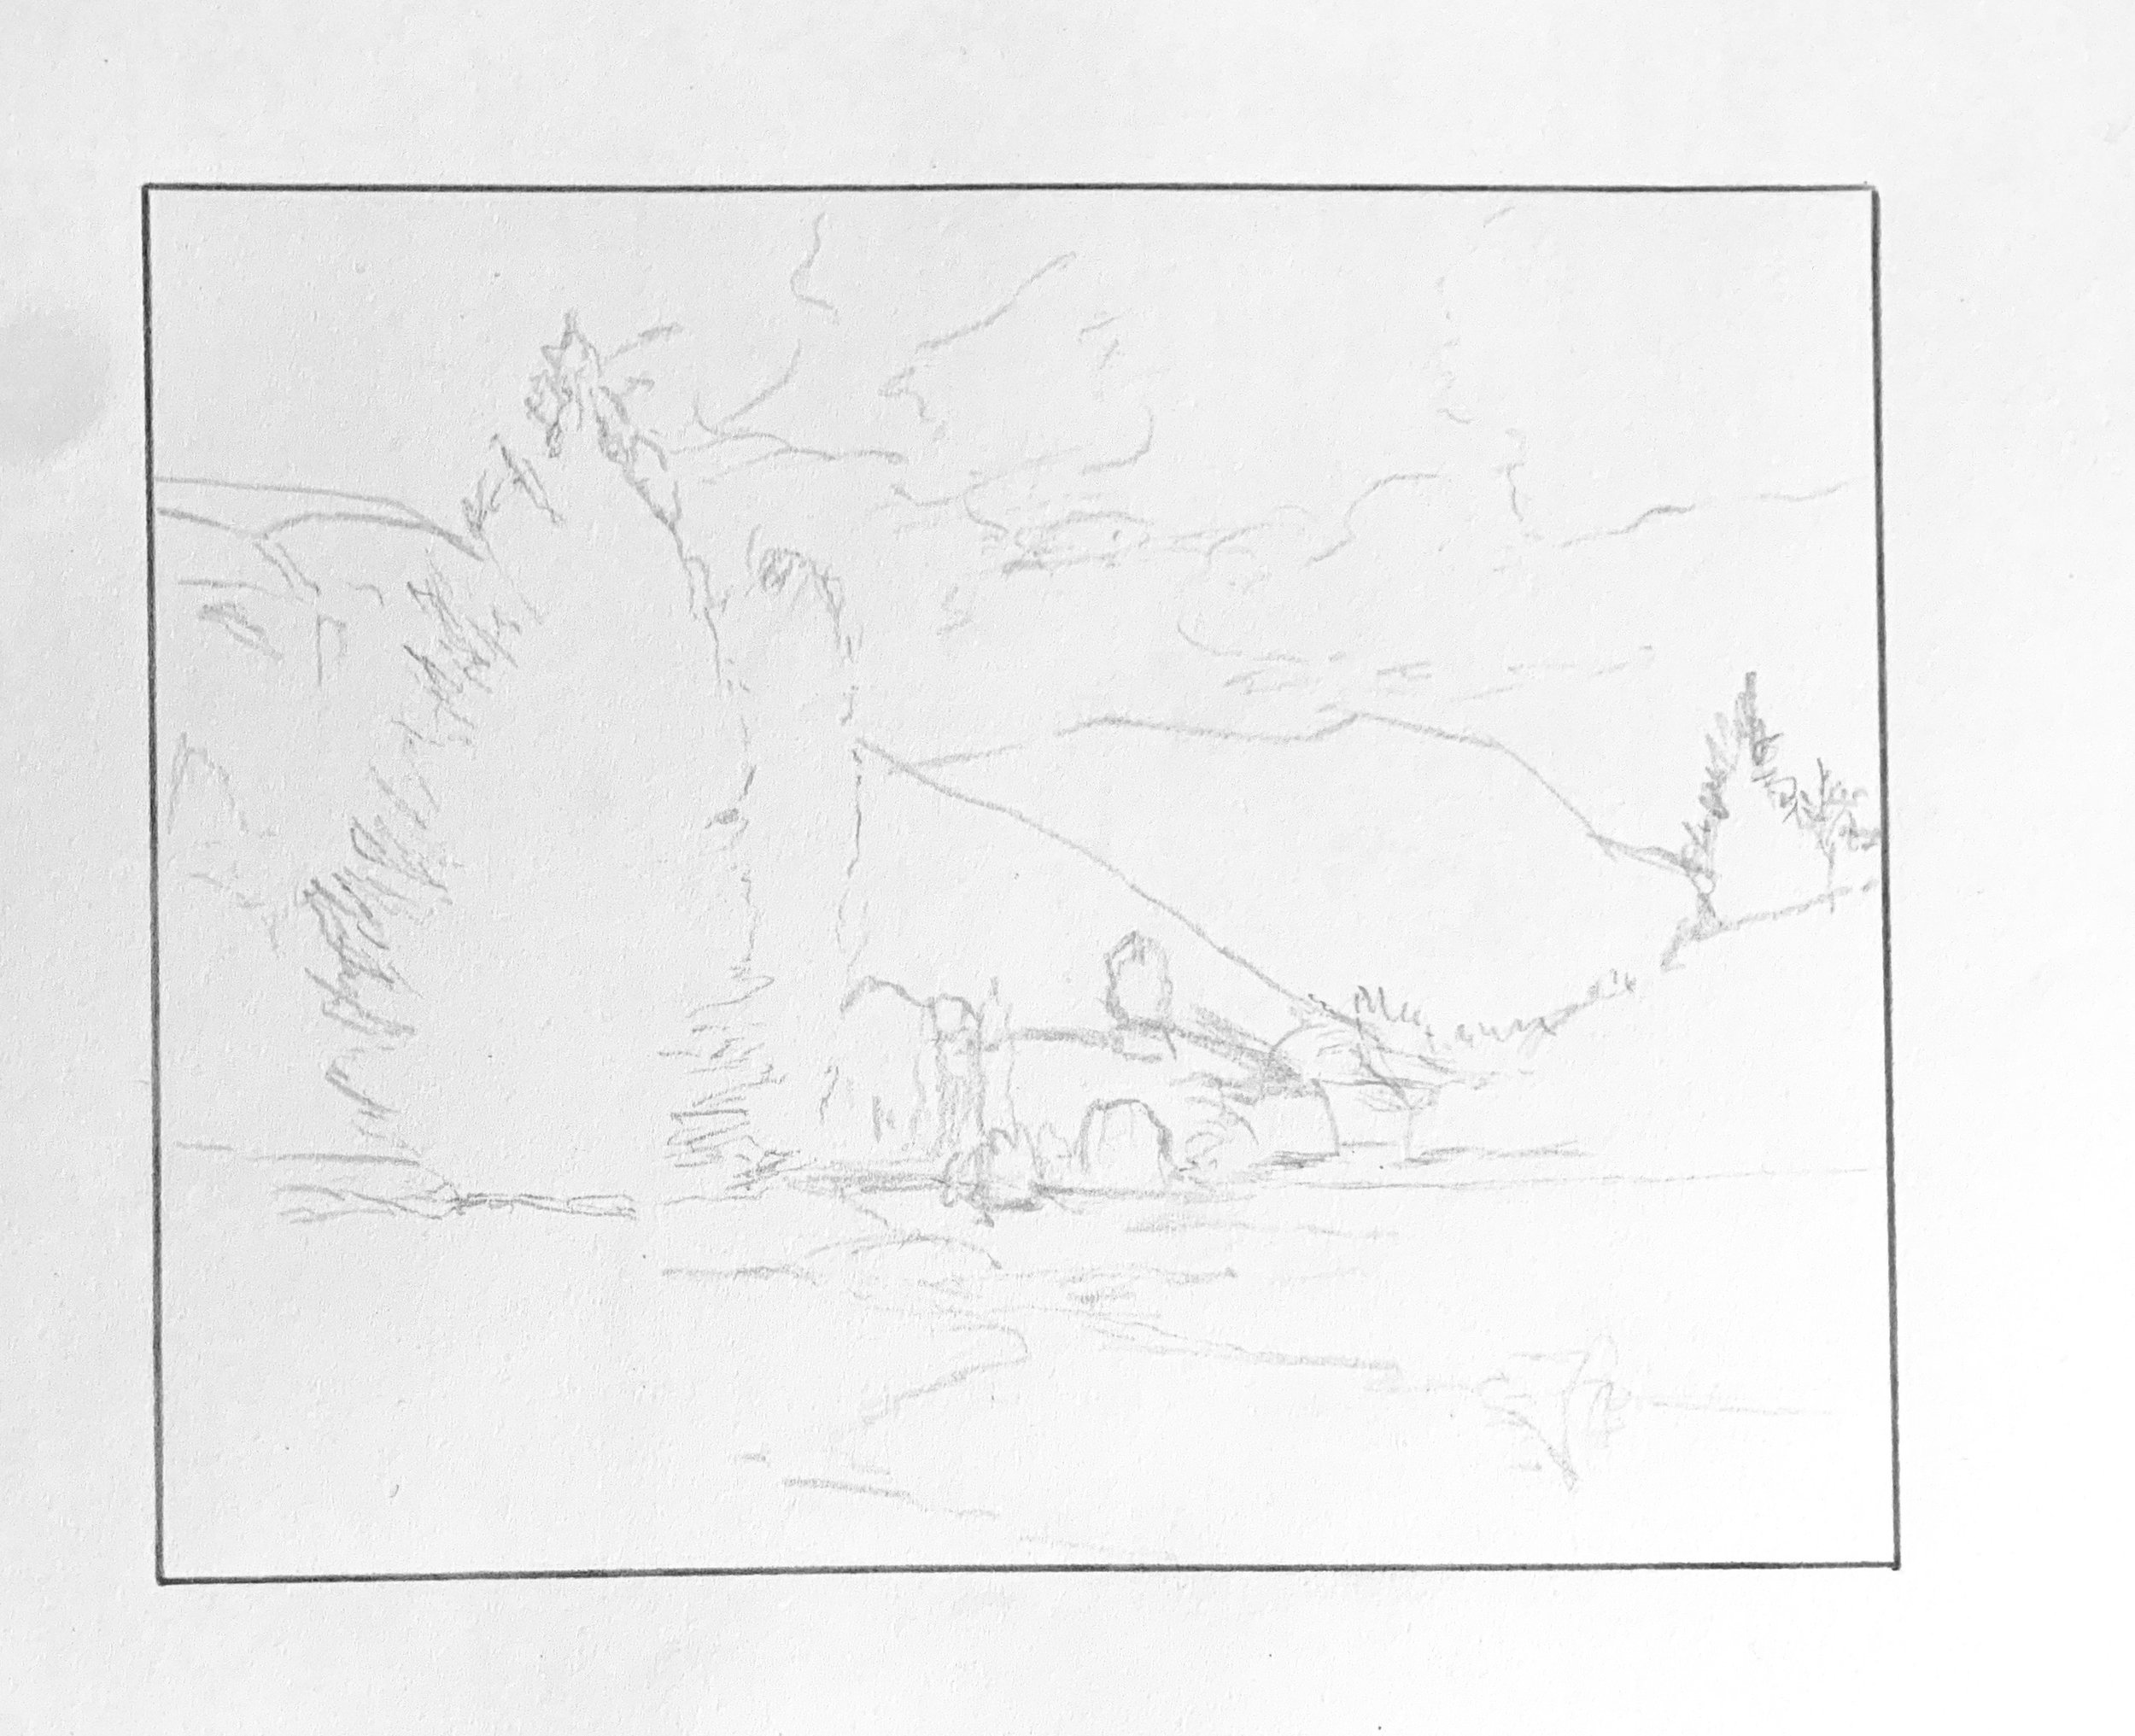
Before I start shading in the drawing I determine where my dark values are. They are to be found in the cloud shadows, the distant mountain, the shadows in the mid-ground trees and the trees in the foreground.
I use a 4H pencil to draw and shade the clouds and a 2H pencil for the distant mountain.
I use an HB pencil for the mid-ground trees and use a 4B pencil for the shadows of the trees in the foreground.
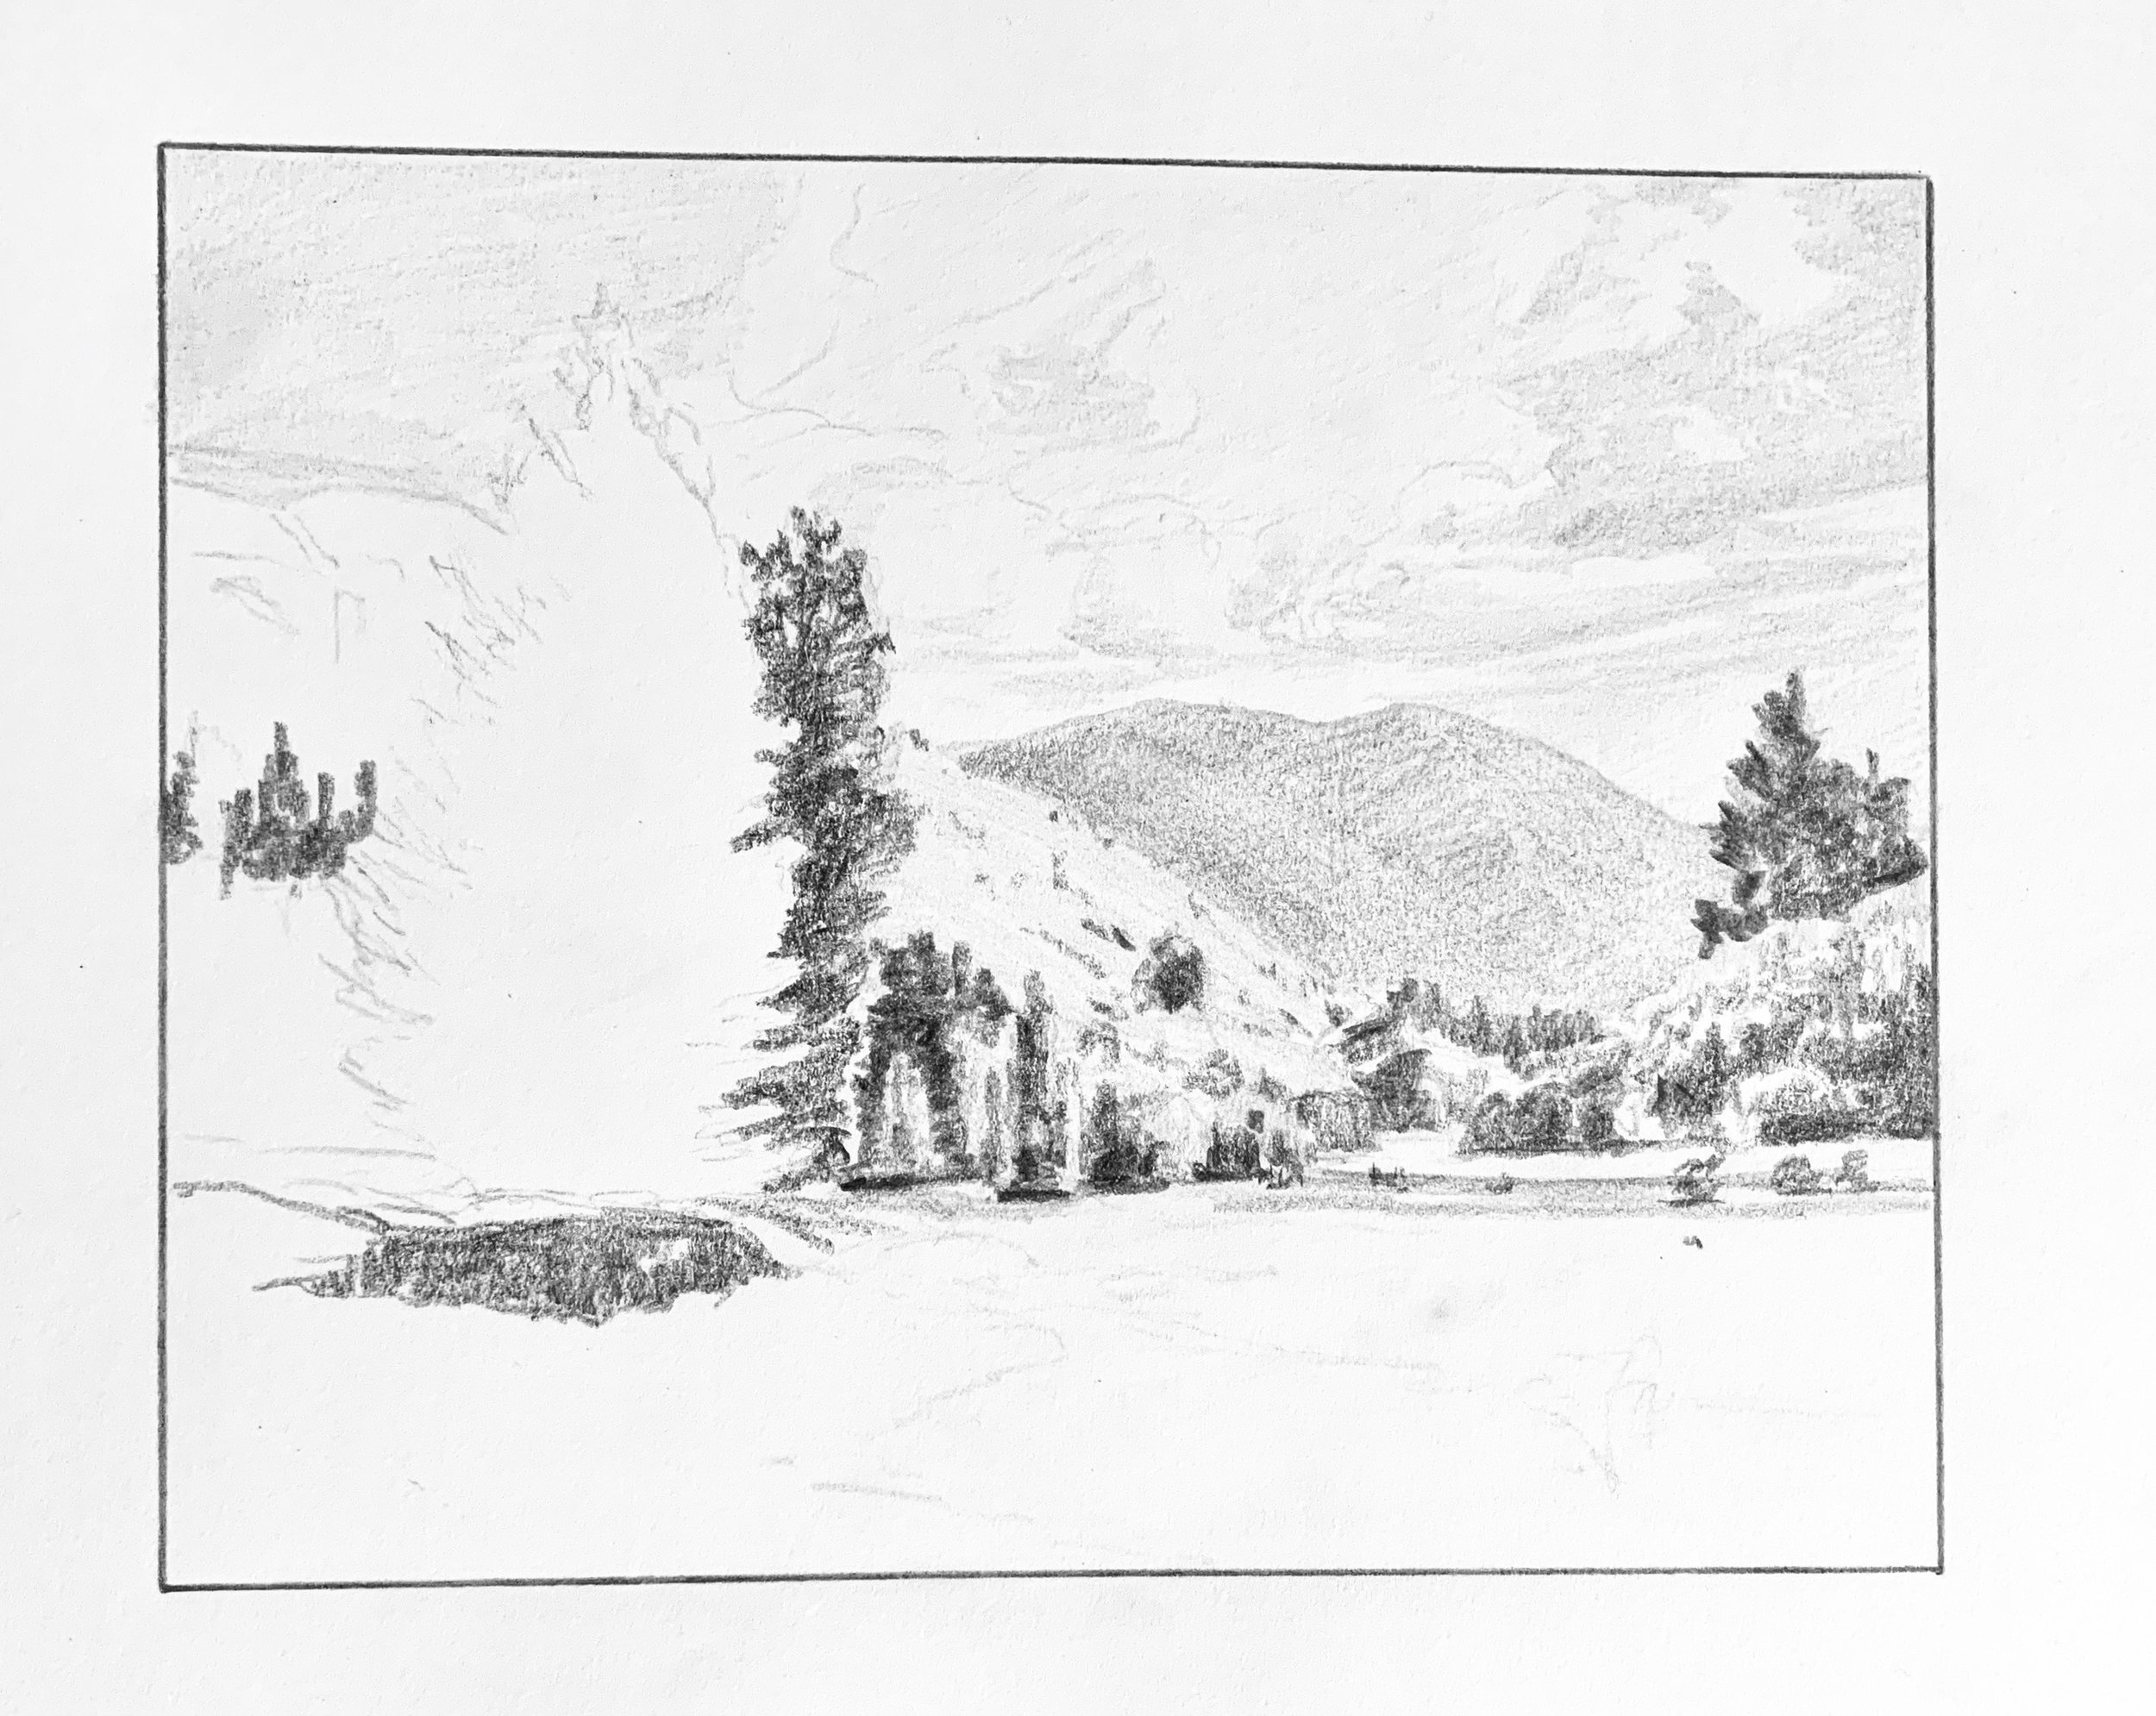
I finish the drawing by shading the prominent shadow within the poplar tree in the foreground. This is the darkest value in the drawing and so I use a 4B pencil.
The grass is light in value so I use a 4H pencil, I also use a 4H for the foliage that is in light within the foreground trees.
With a 4B pencil I add in a few final details such as the suggestion of clumps of grass and bits of wood.
Thanks for reading 😊
References
Ted Kautzky, 1979. The Ted Kautzky Pencil Book. Van Nostrand Reinhold Company.
Edgar Payne, 1941. Composition of Outdoor Painting. DeRu’s Fine Arts.
