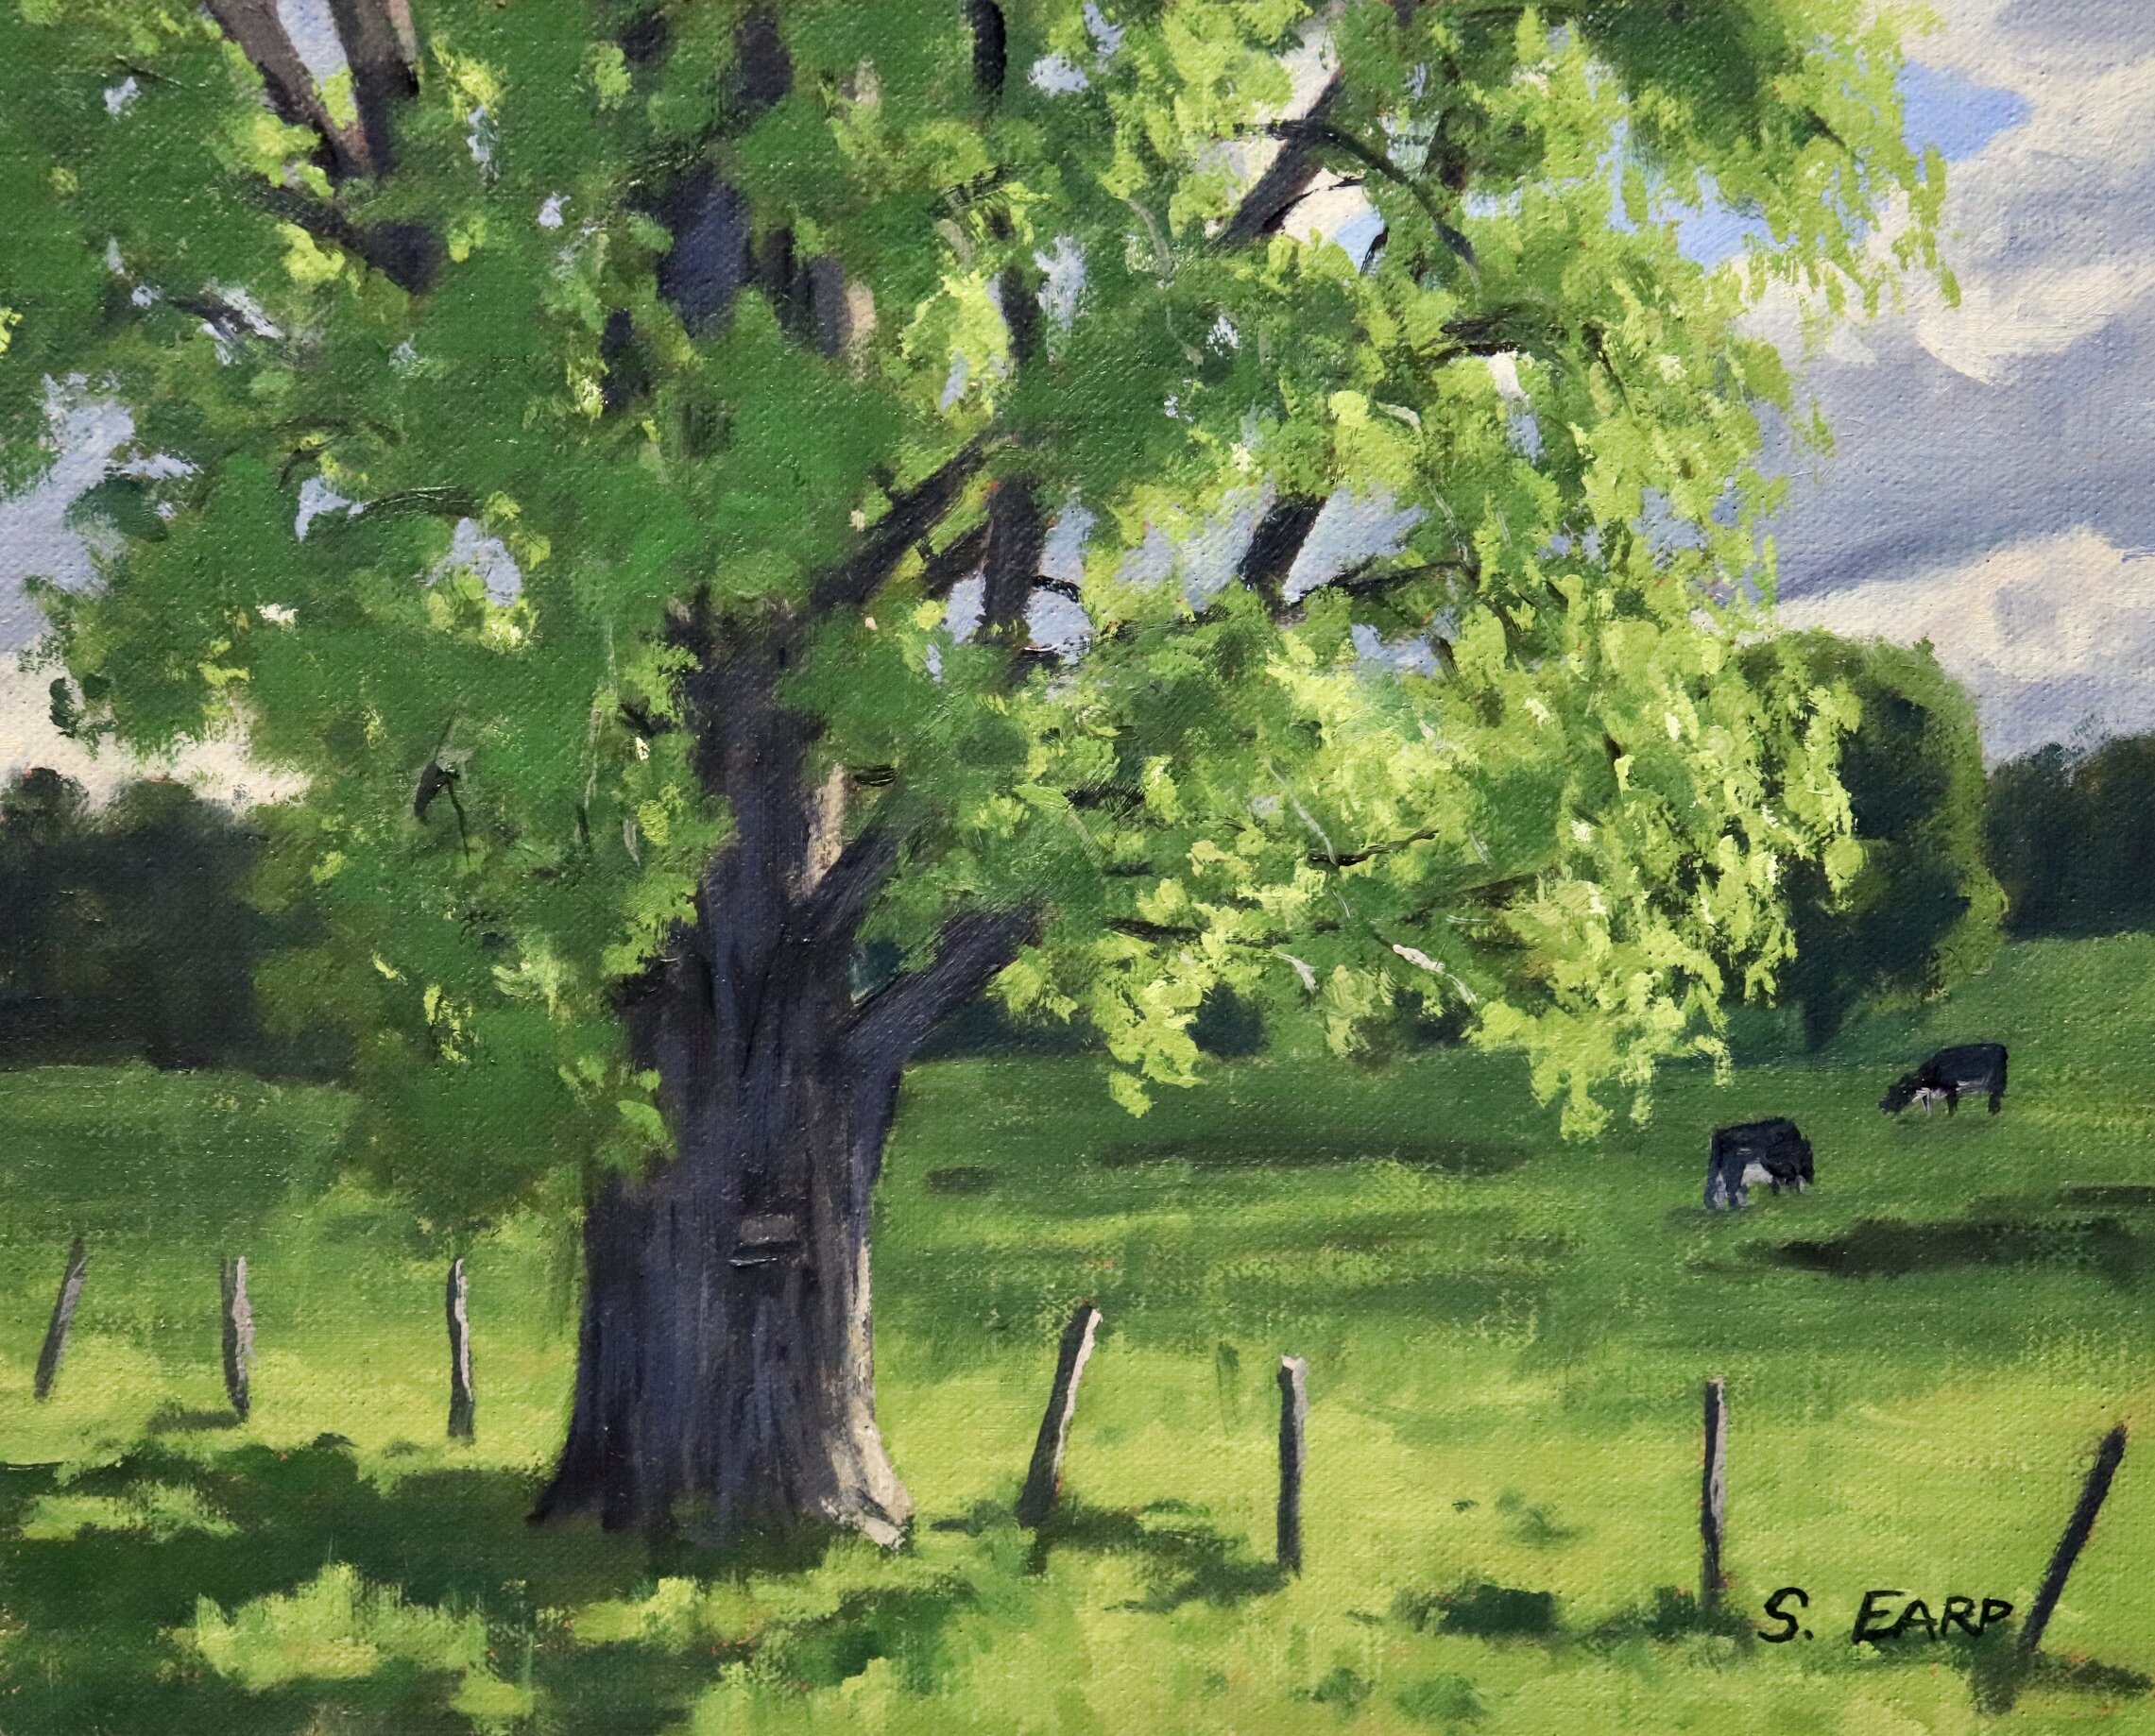
In this blog post I will show you how to paint a poplar tree with particular focus on the trunk and leaves. This painting started off as a plein air painting (painting outdoors) and then I added more details in the studio.
Trees are a great subject to paint and they can be very impactful when they are the main subject of a landscape painting.
In this blog post I will give you some tips on painting tree trunks, branches and leaves.
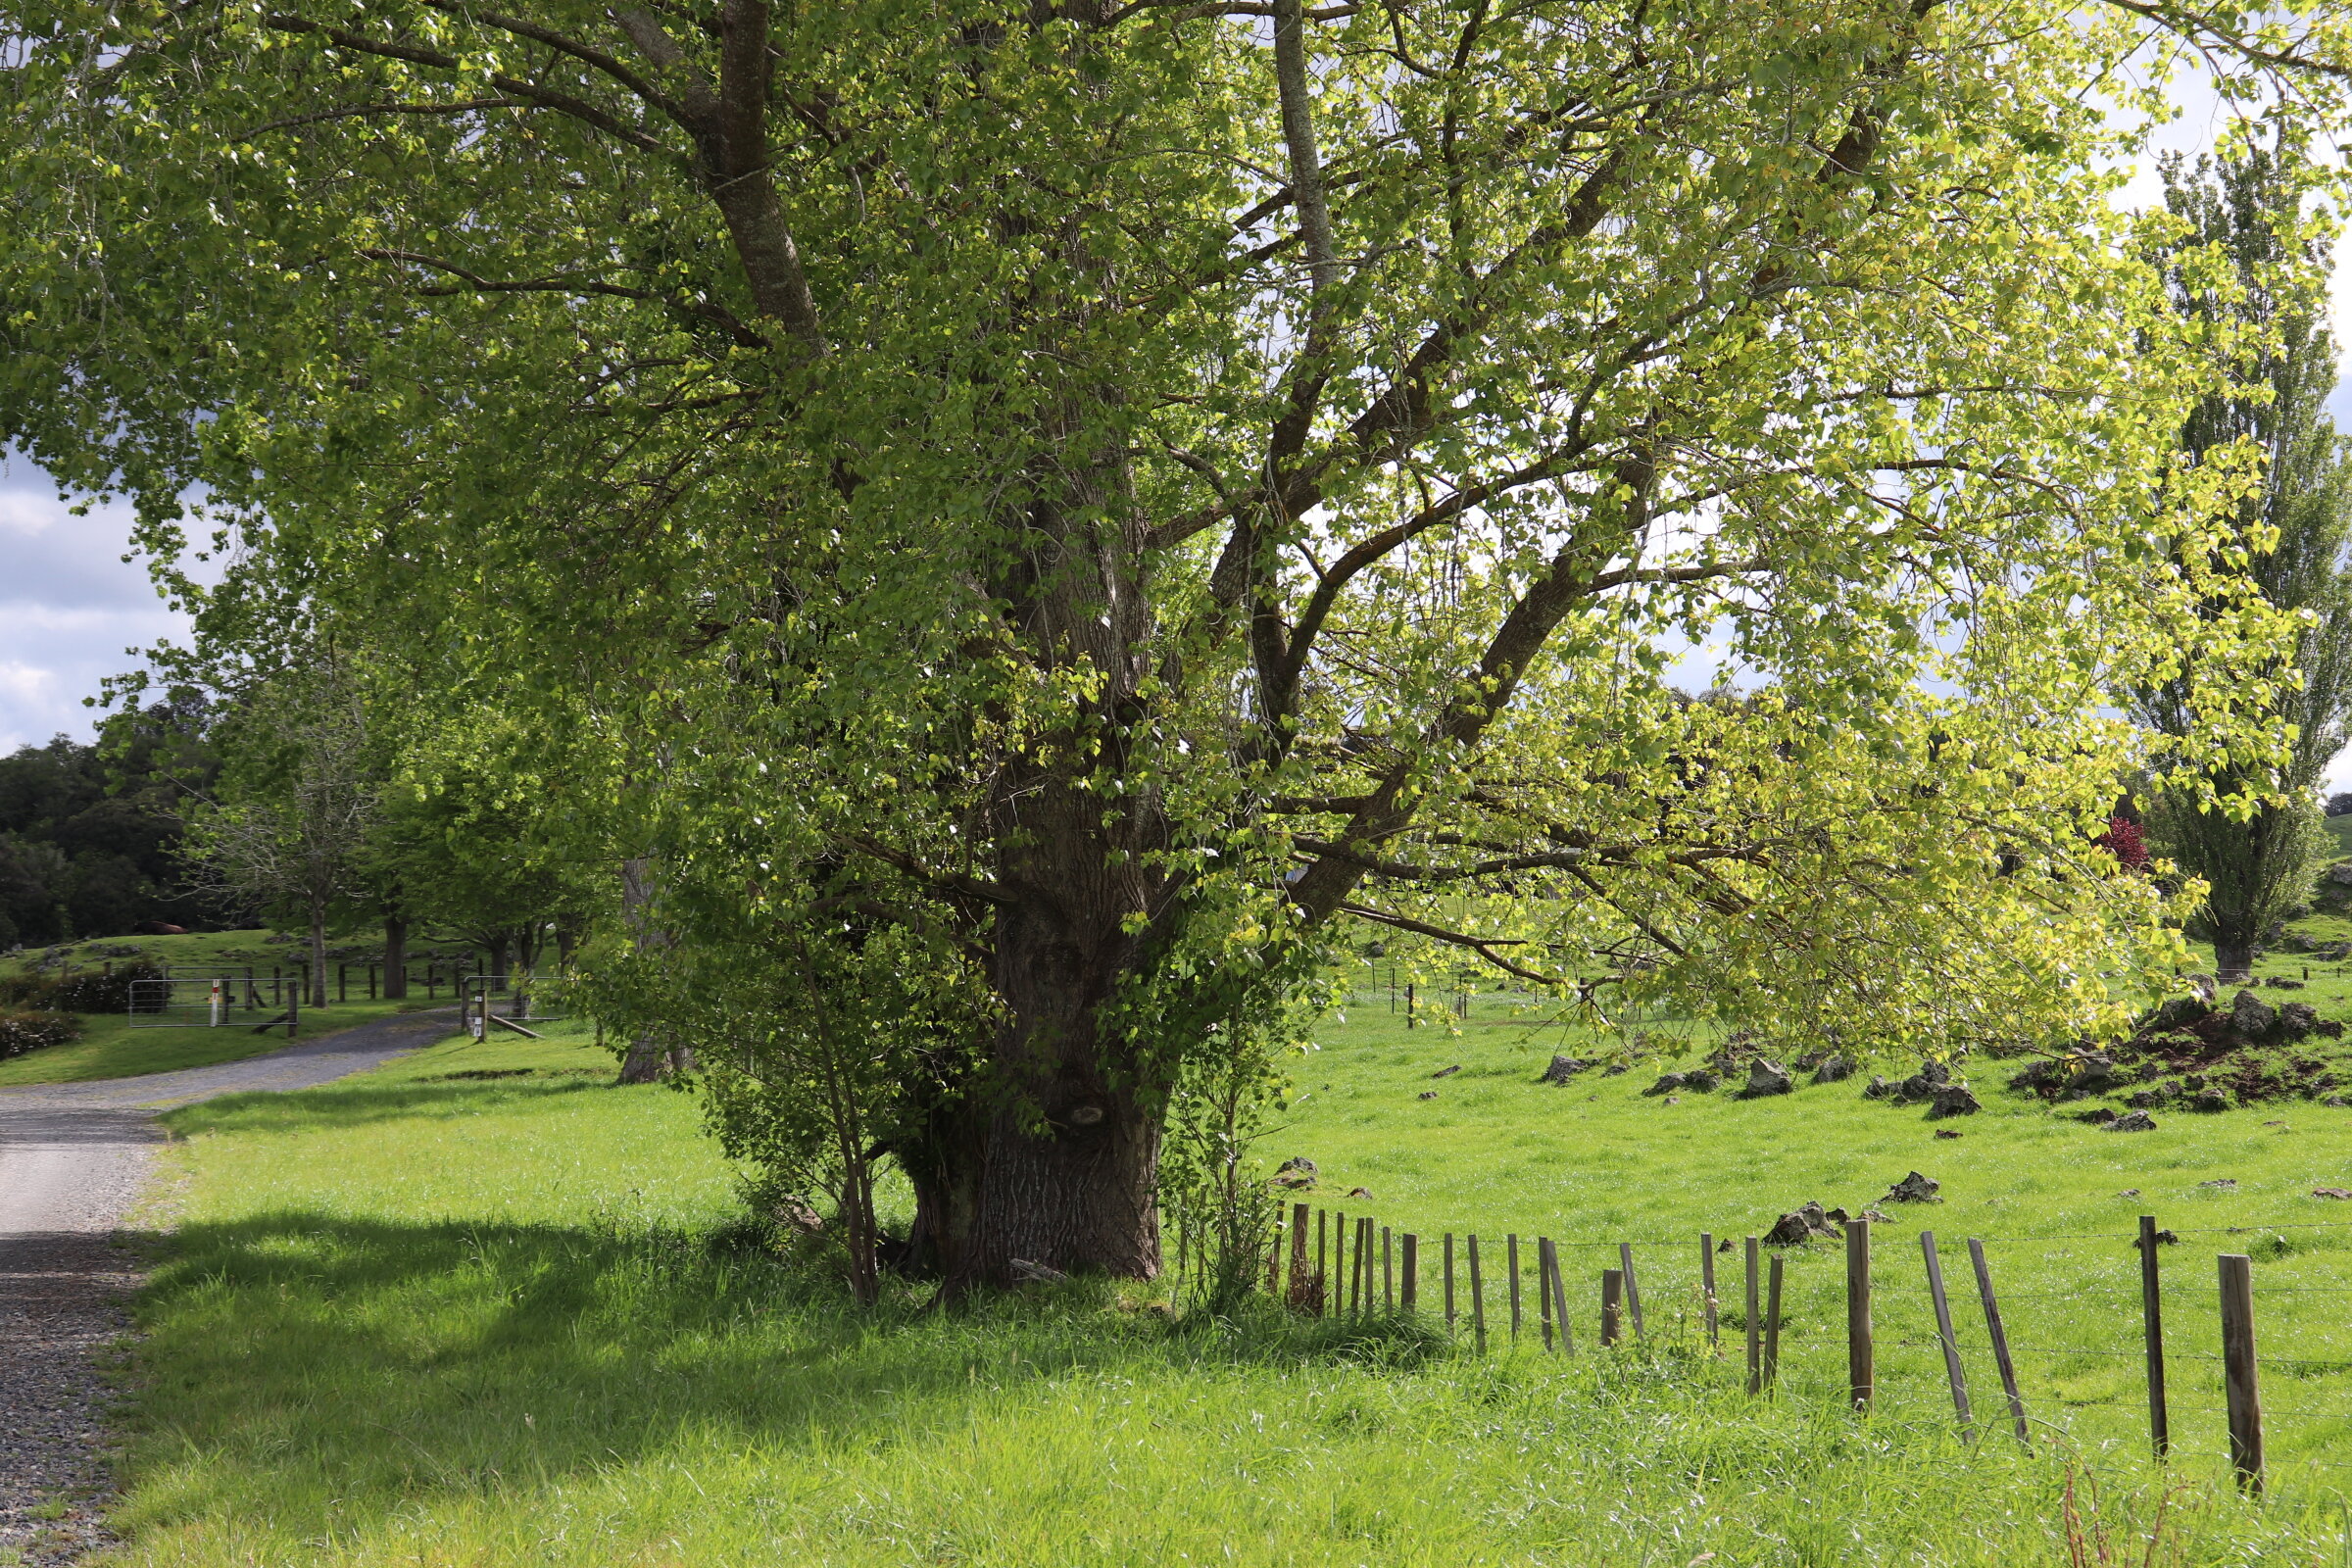
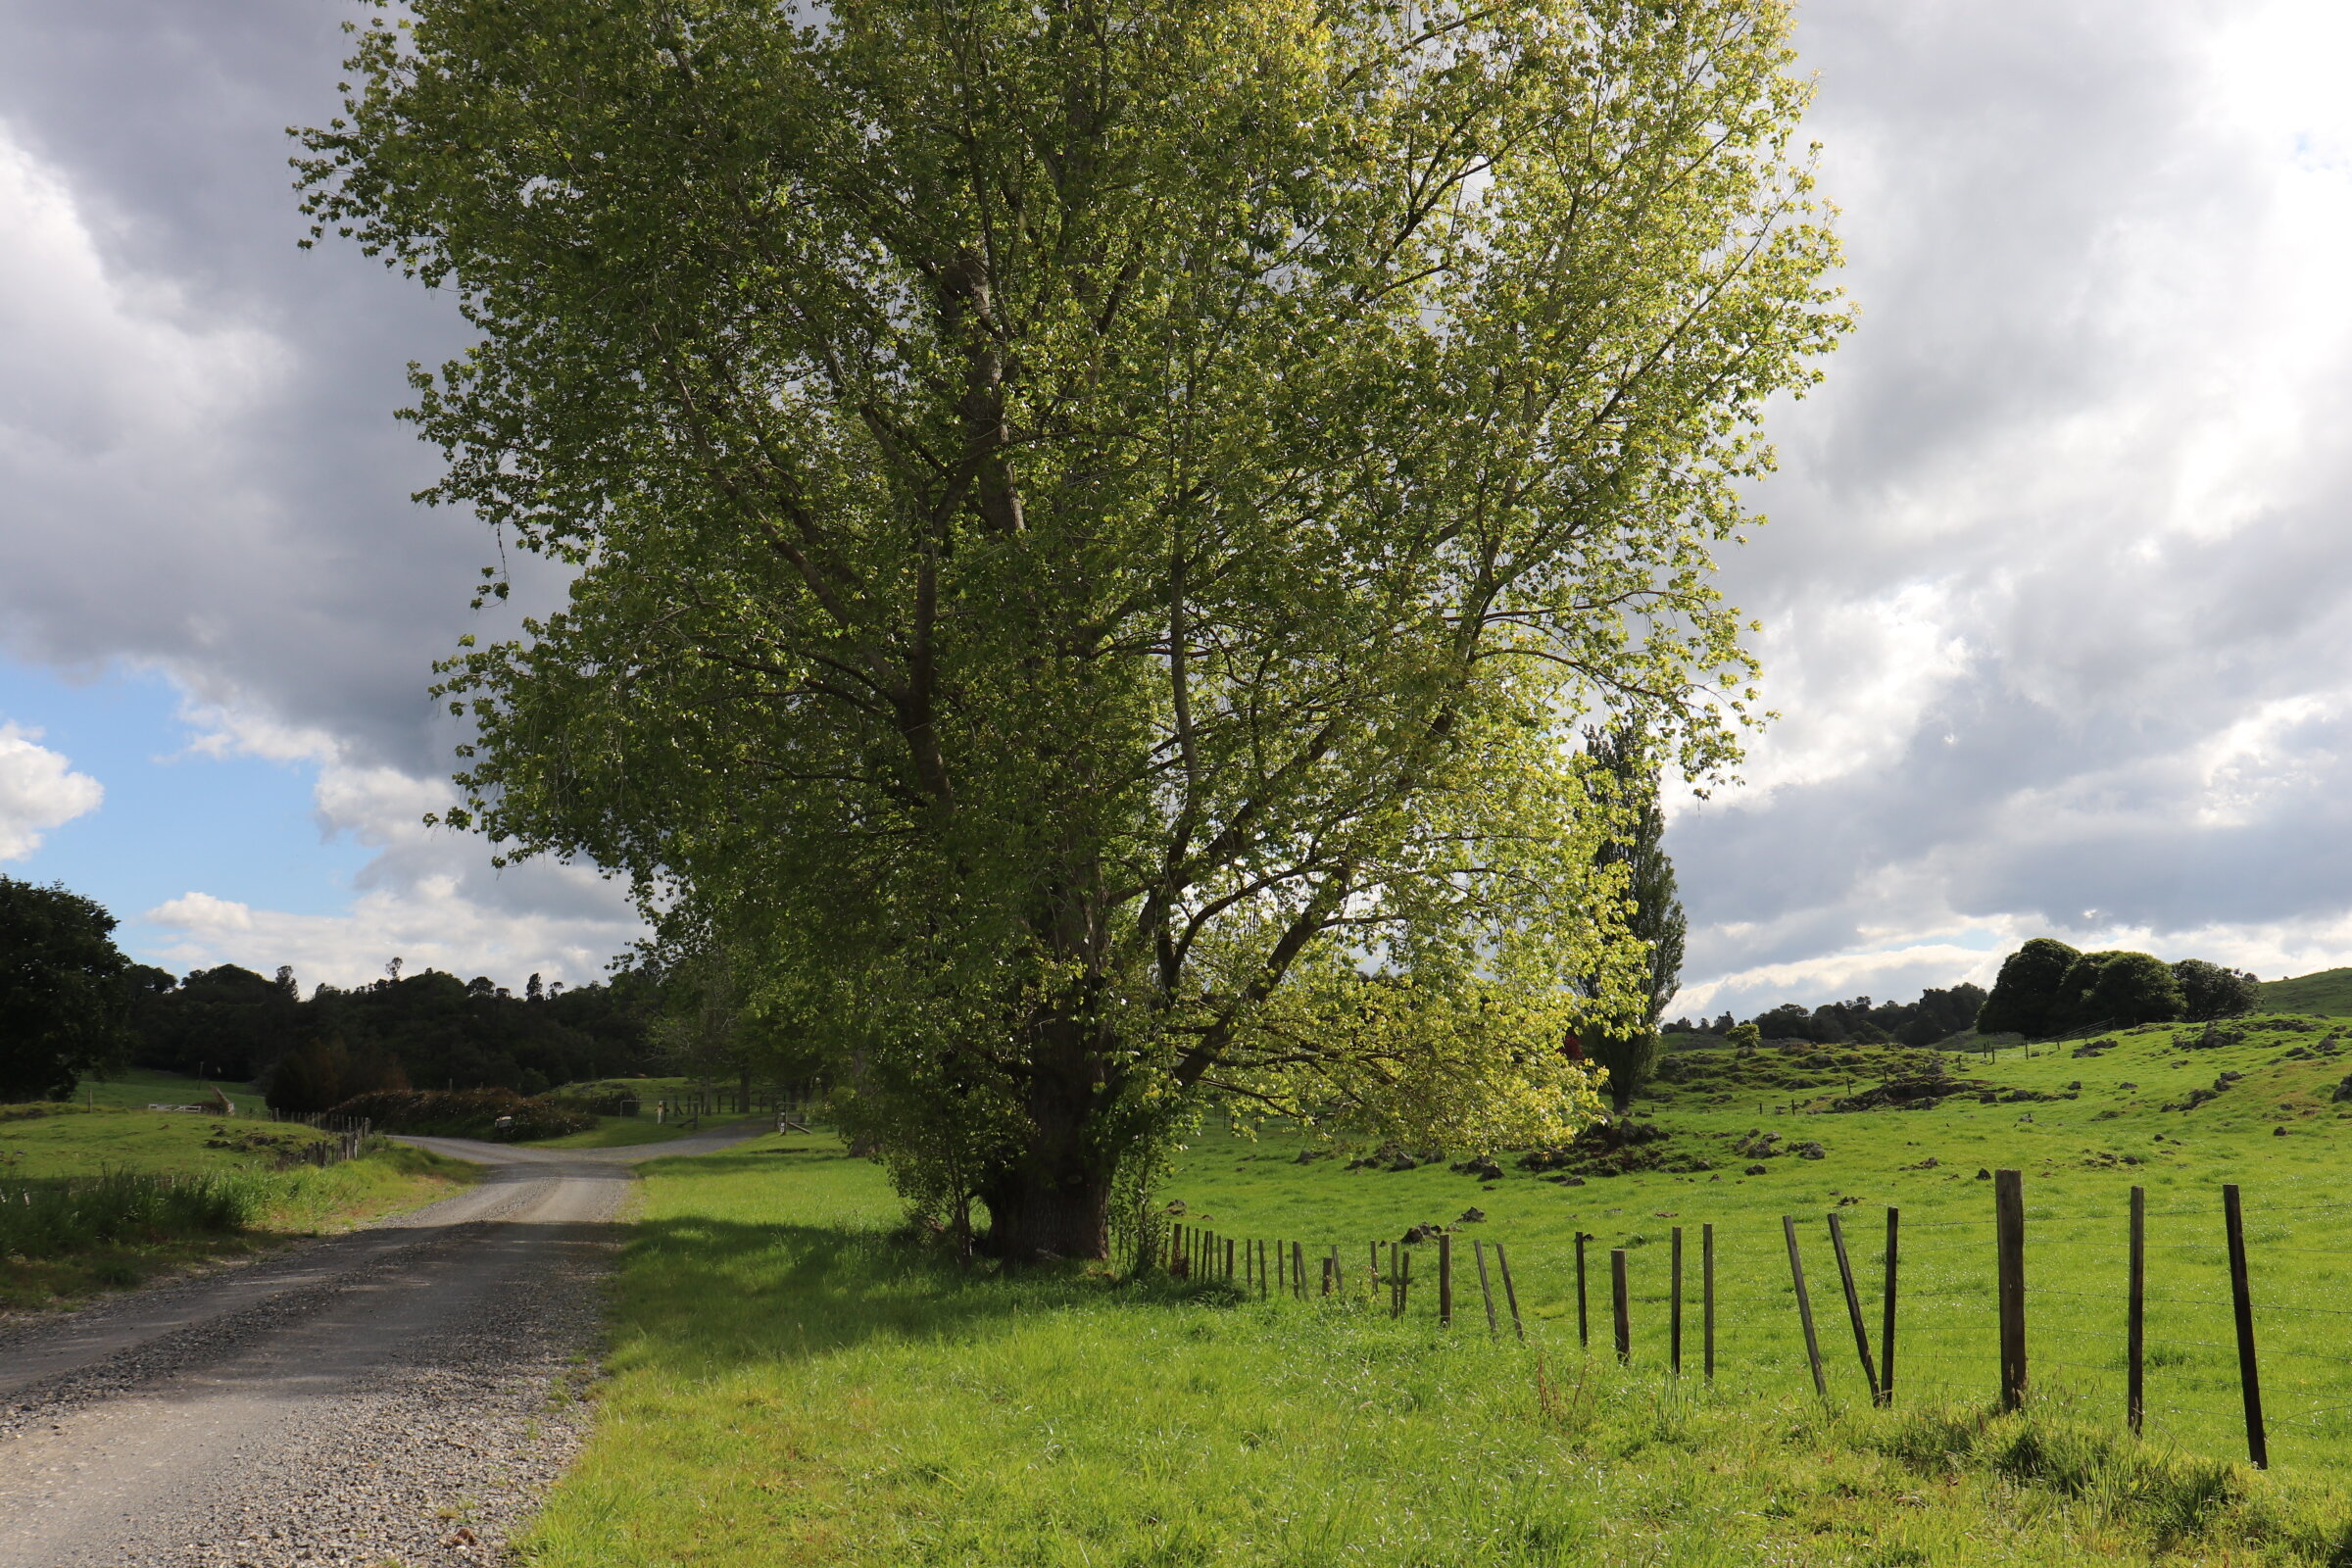
Reference Photos
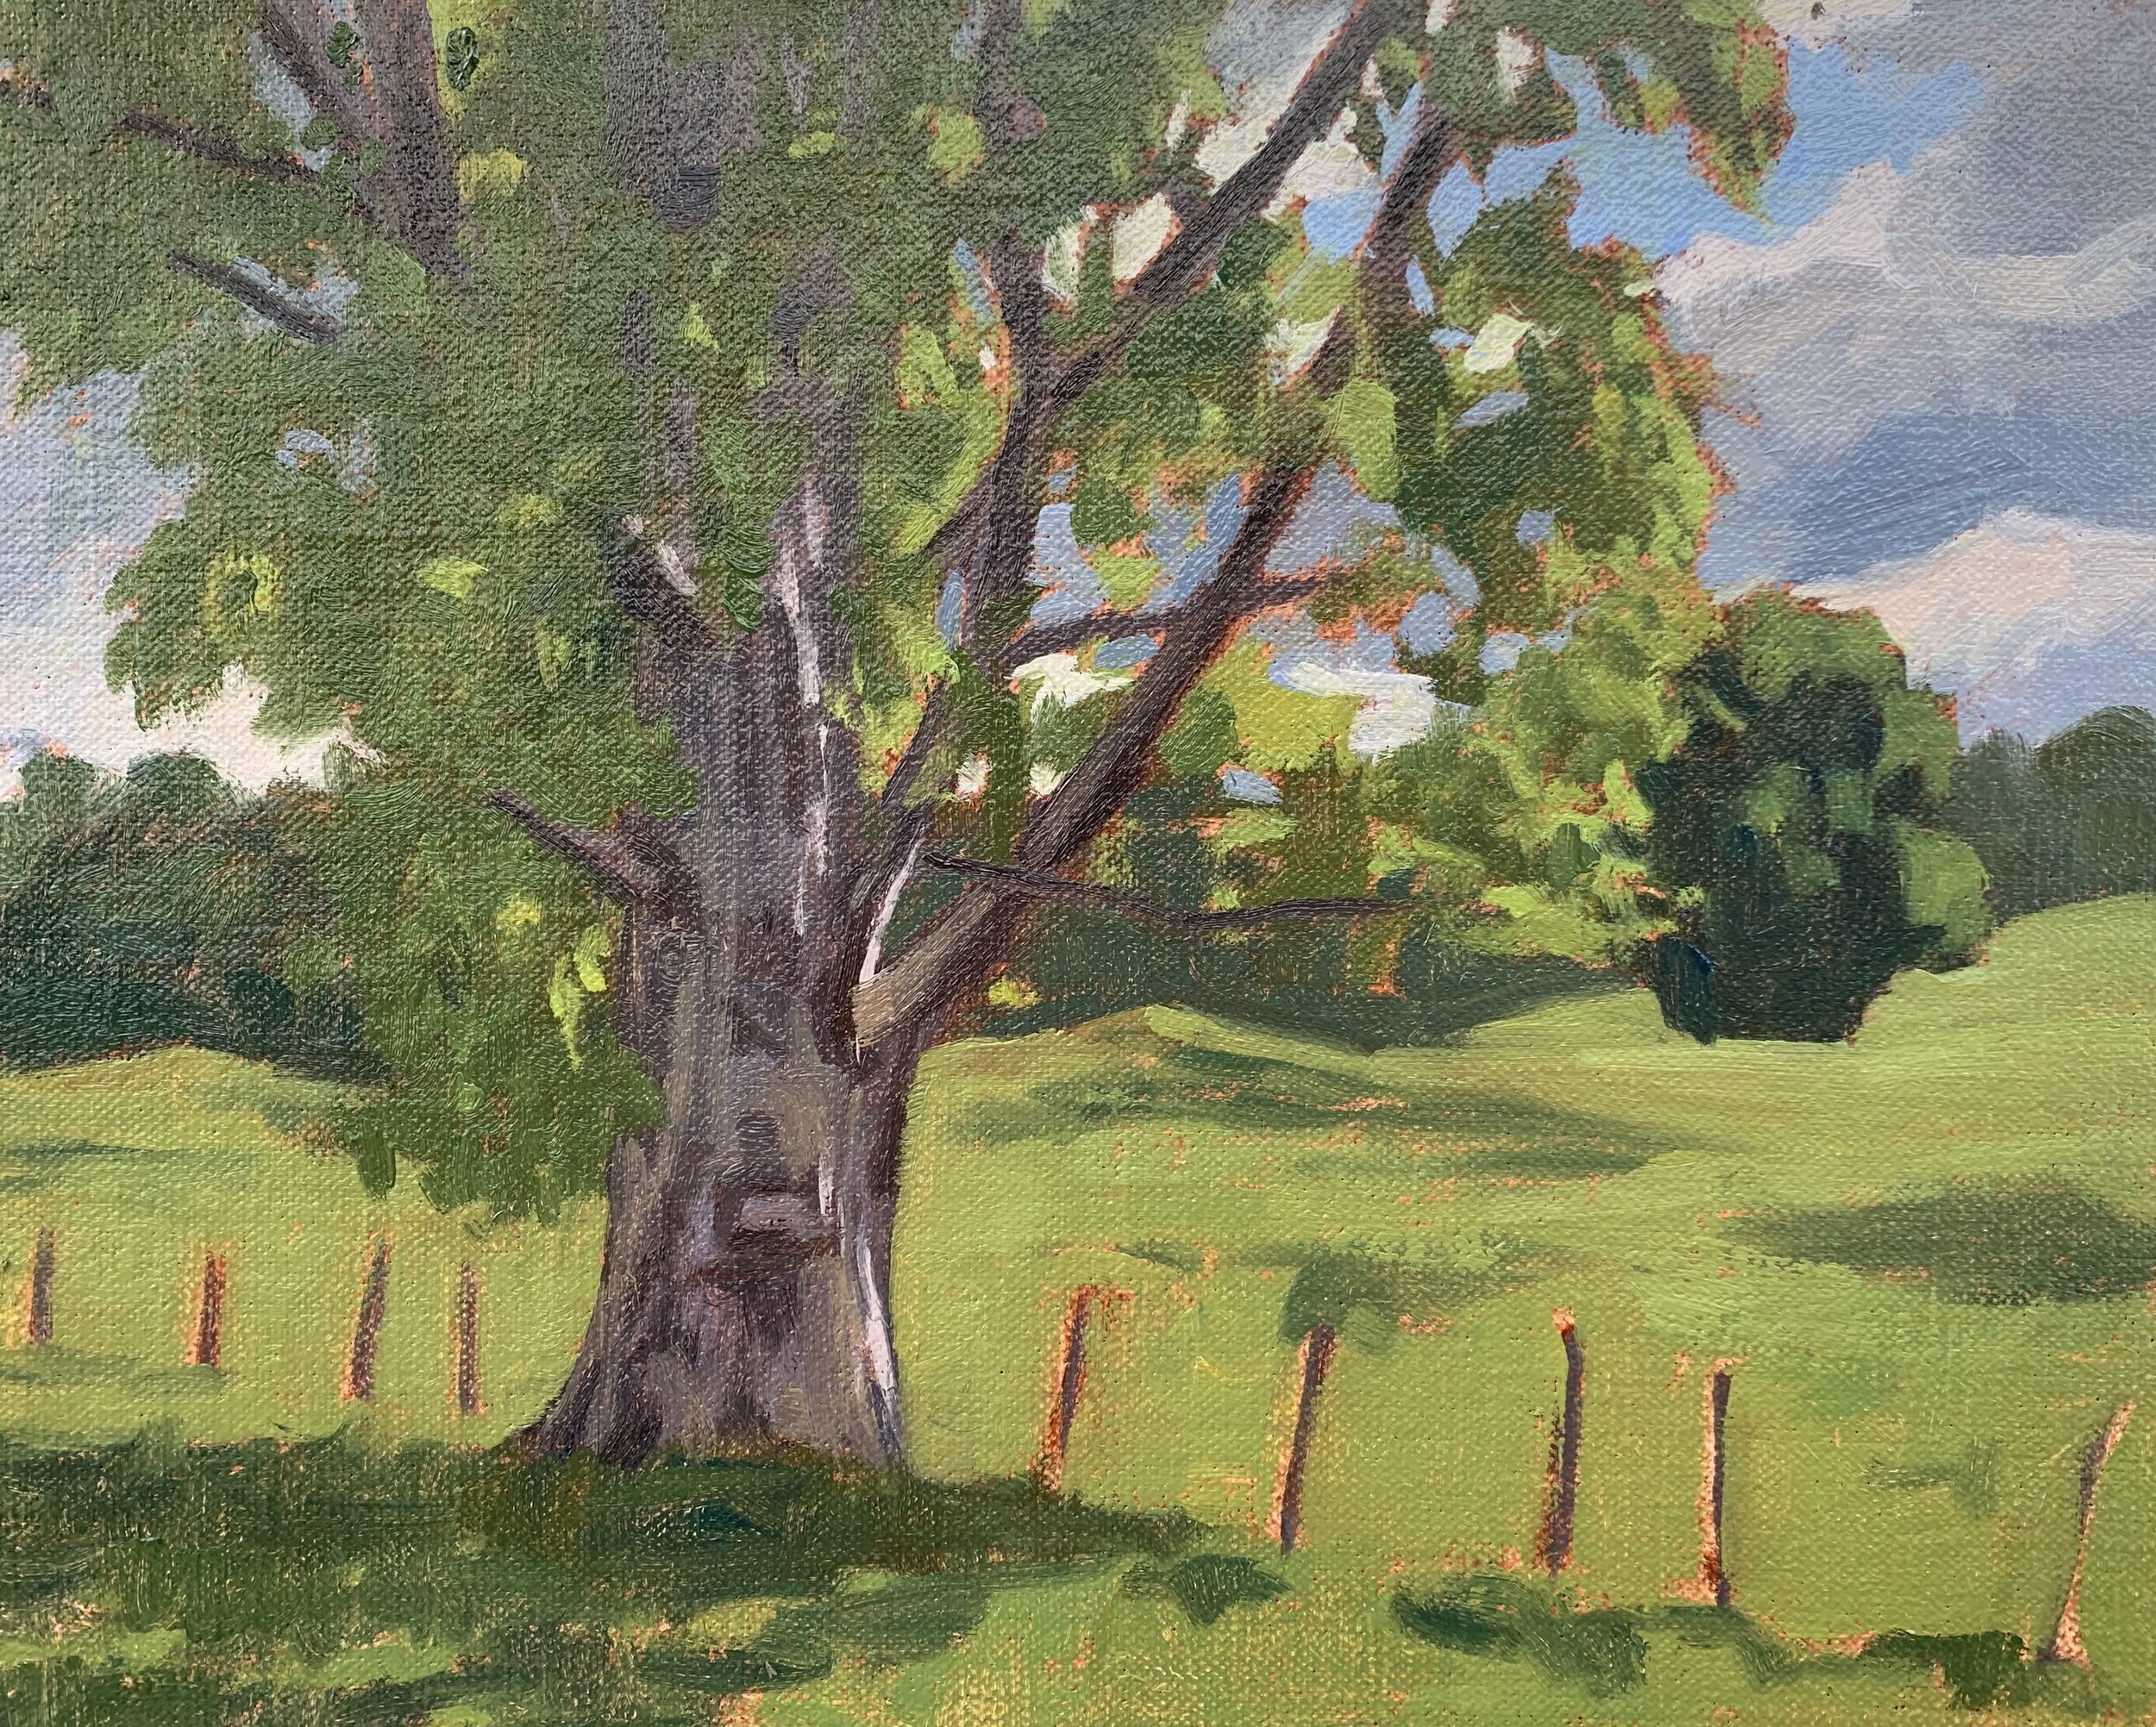
Here is the reference photo I used to create this painting. Please feel free to copy it if you would like to have a go at painting this art work.
Colours
I painted this artwork using oil paint and the colours I used in this painting are as follows:
- Titanium white
- Burnt sienna
- Yellow oxide
- Cadmium yellow
- Cadmium orange
- Quinacridone crimson
- Ultramarine blue
- Phthalo green
Brushes
Here is a list of the brushes I used in this painting:
- No.5 flat
- No.3 flat
- No.2 flat
- No.3 filbert
- No.1 round
- No.0 round
First Stage – Plein Air Painting
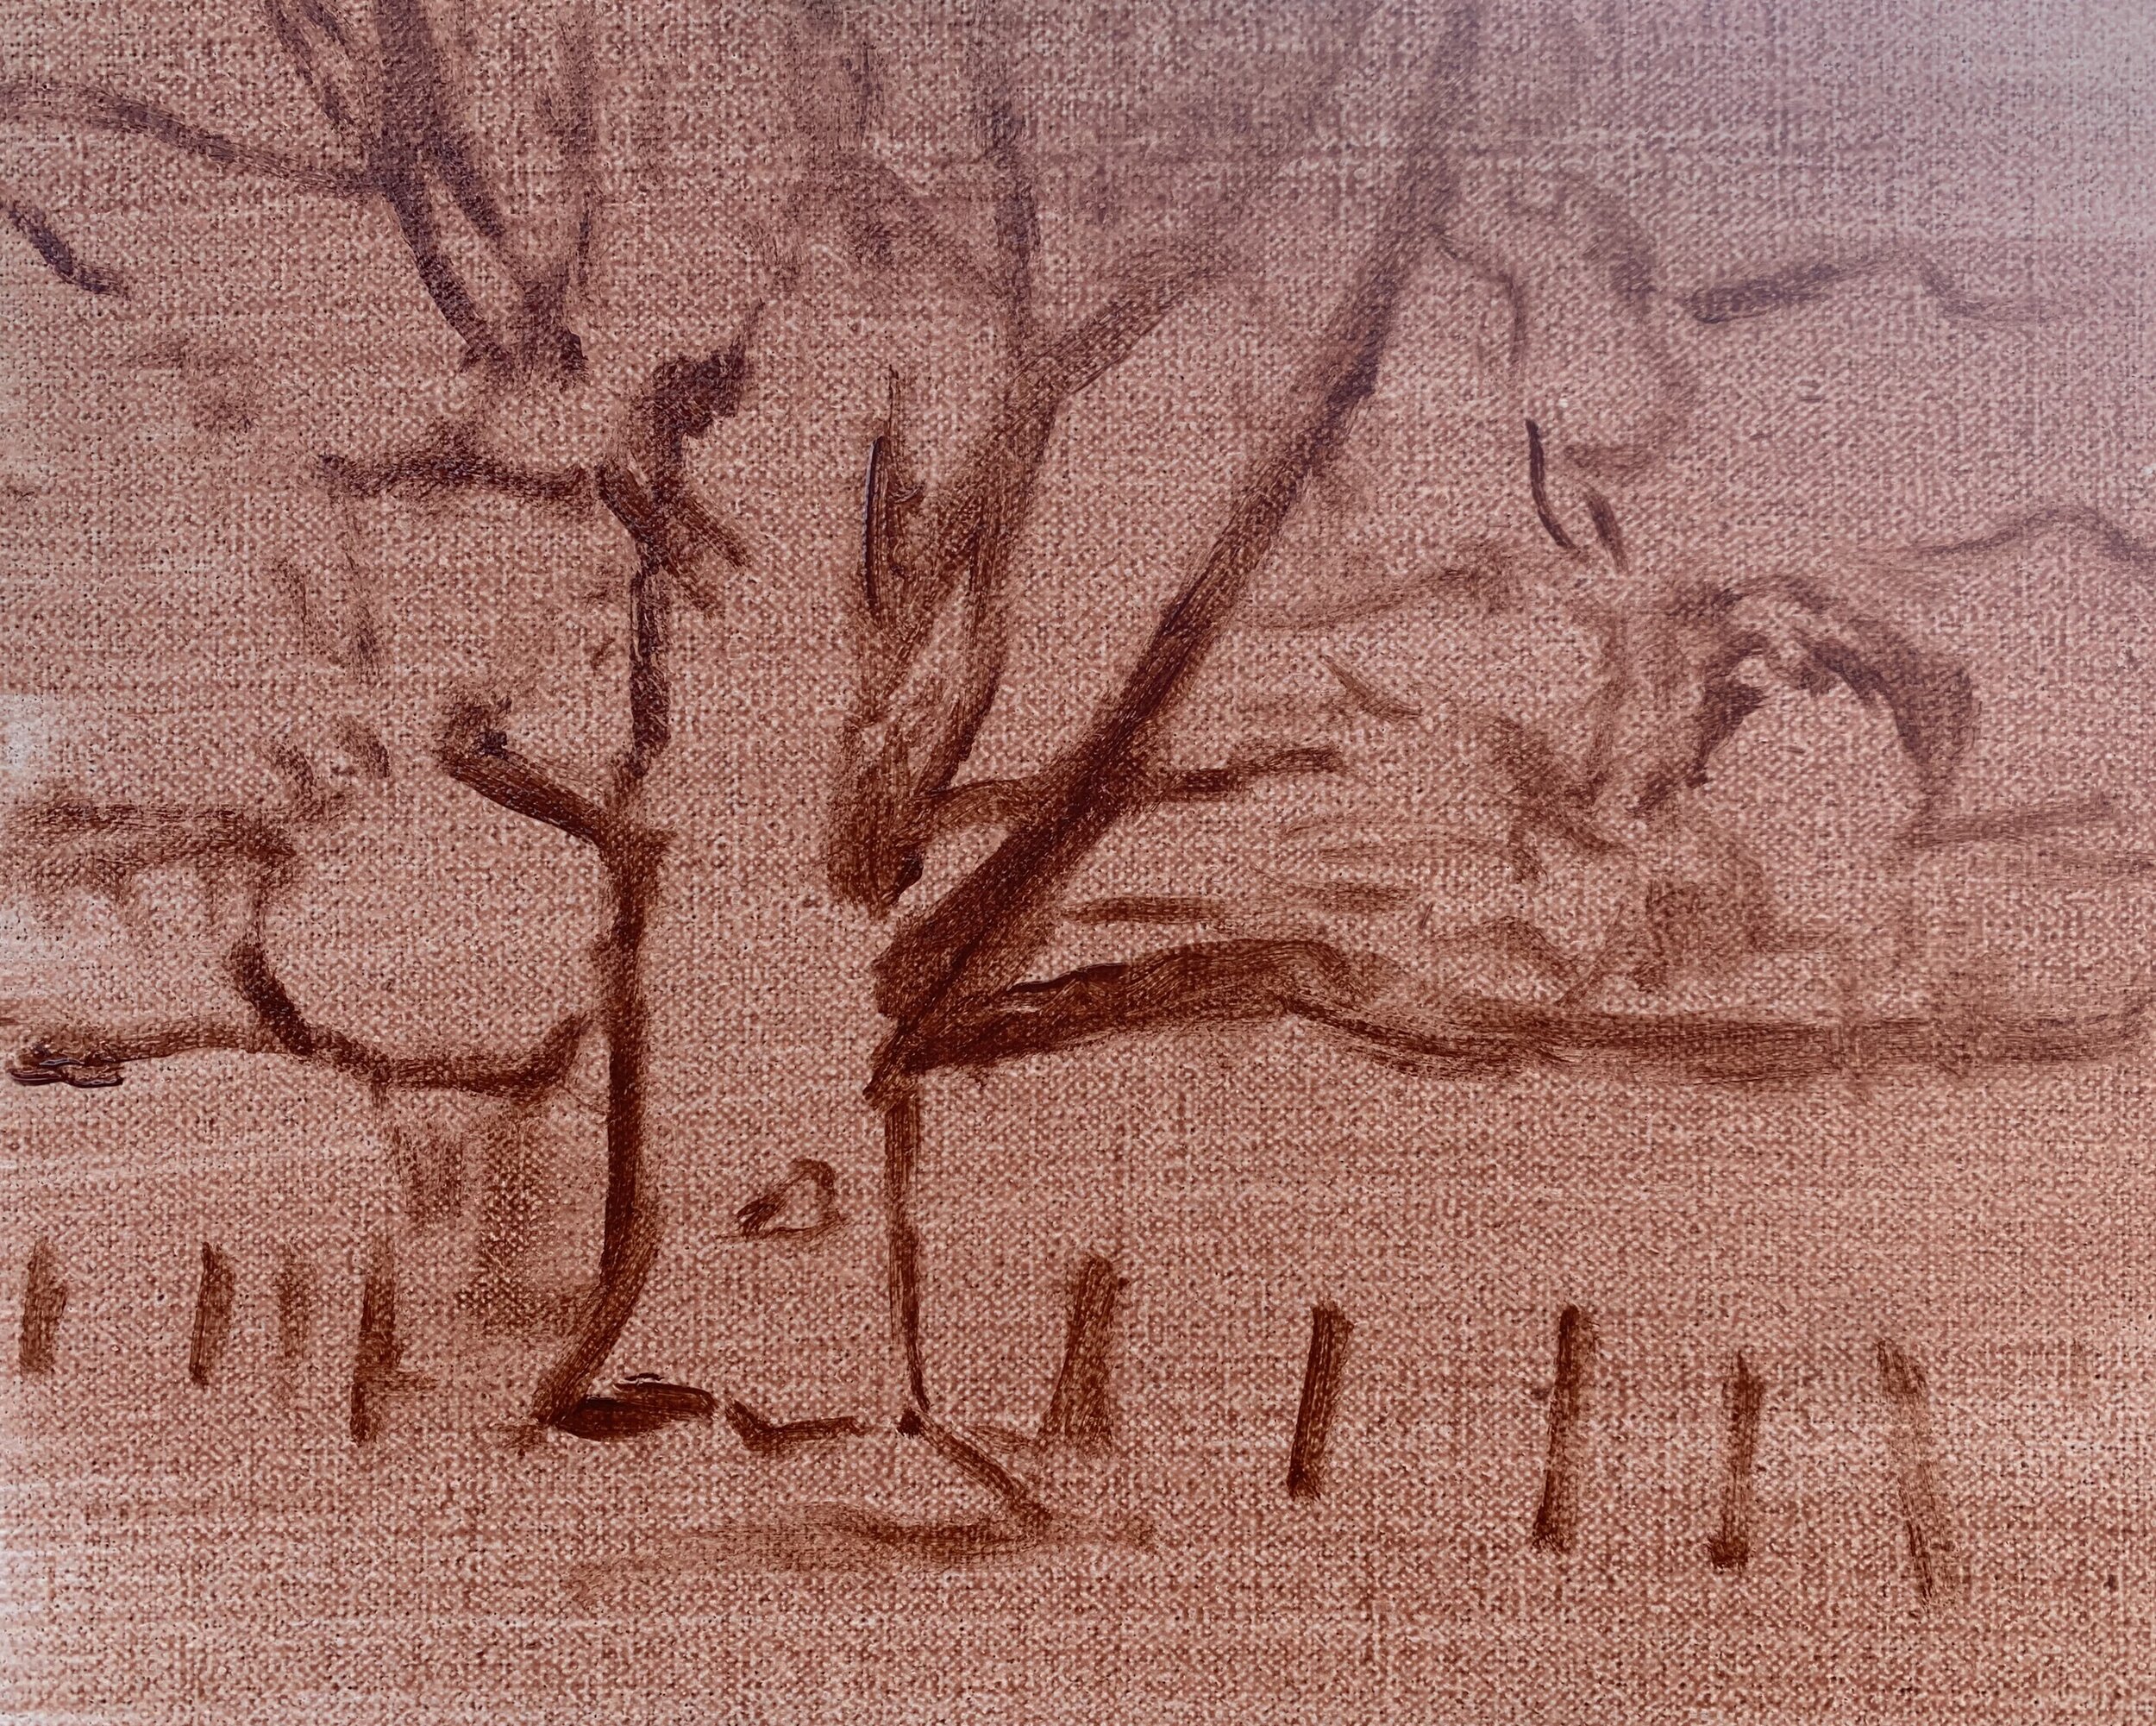
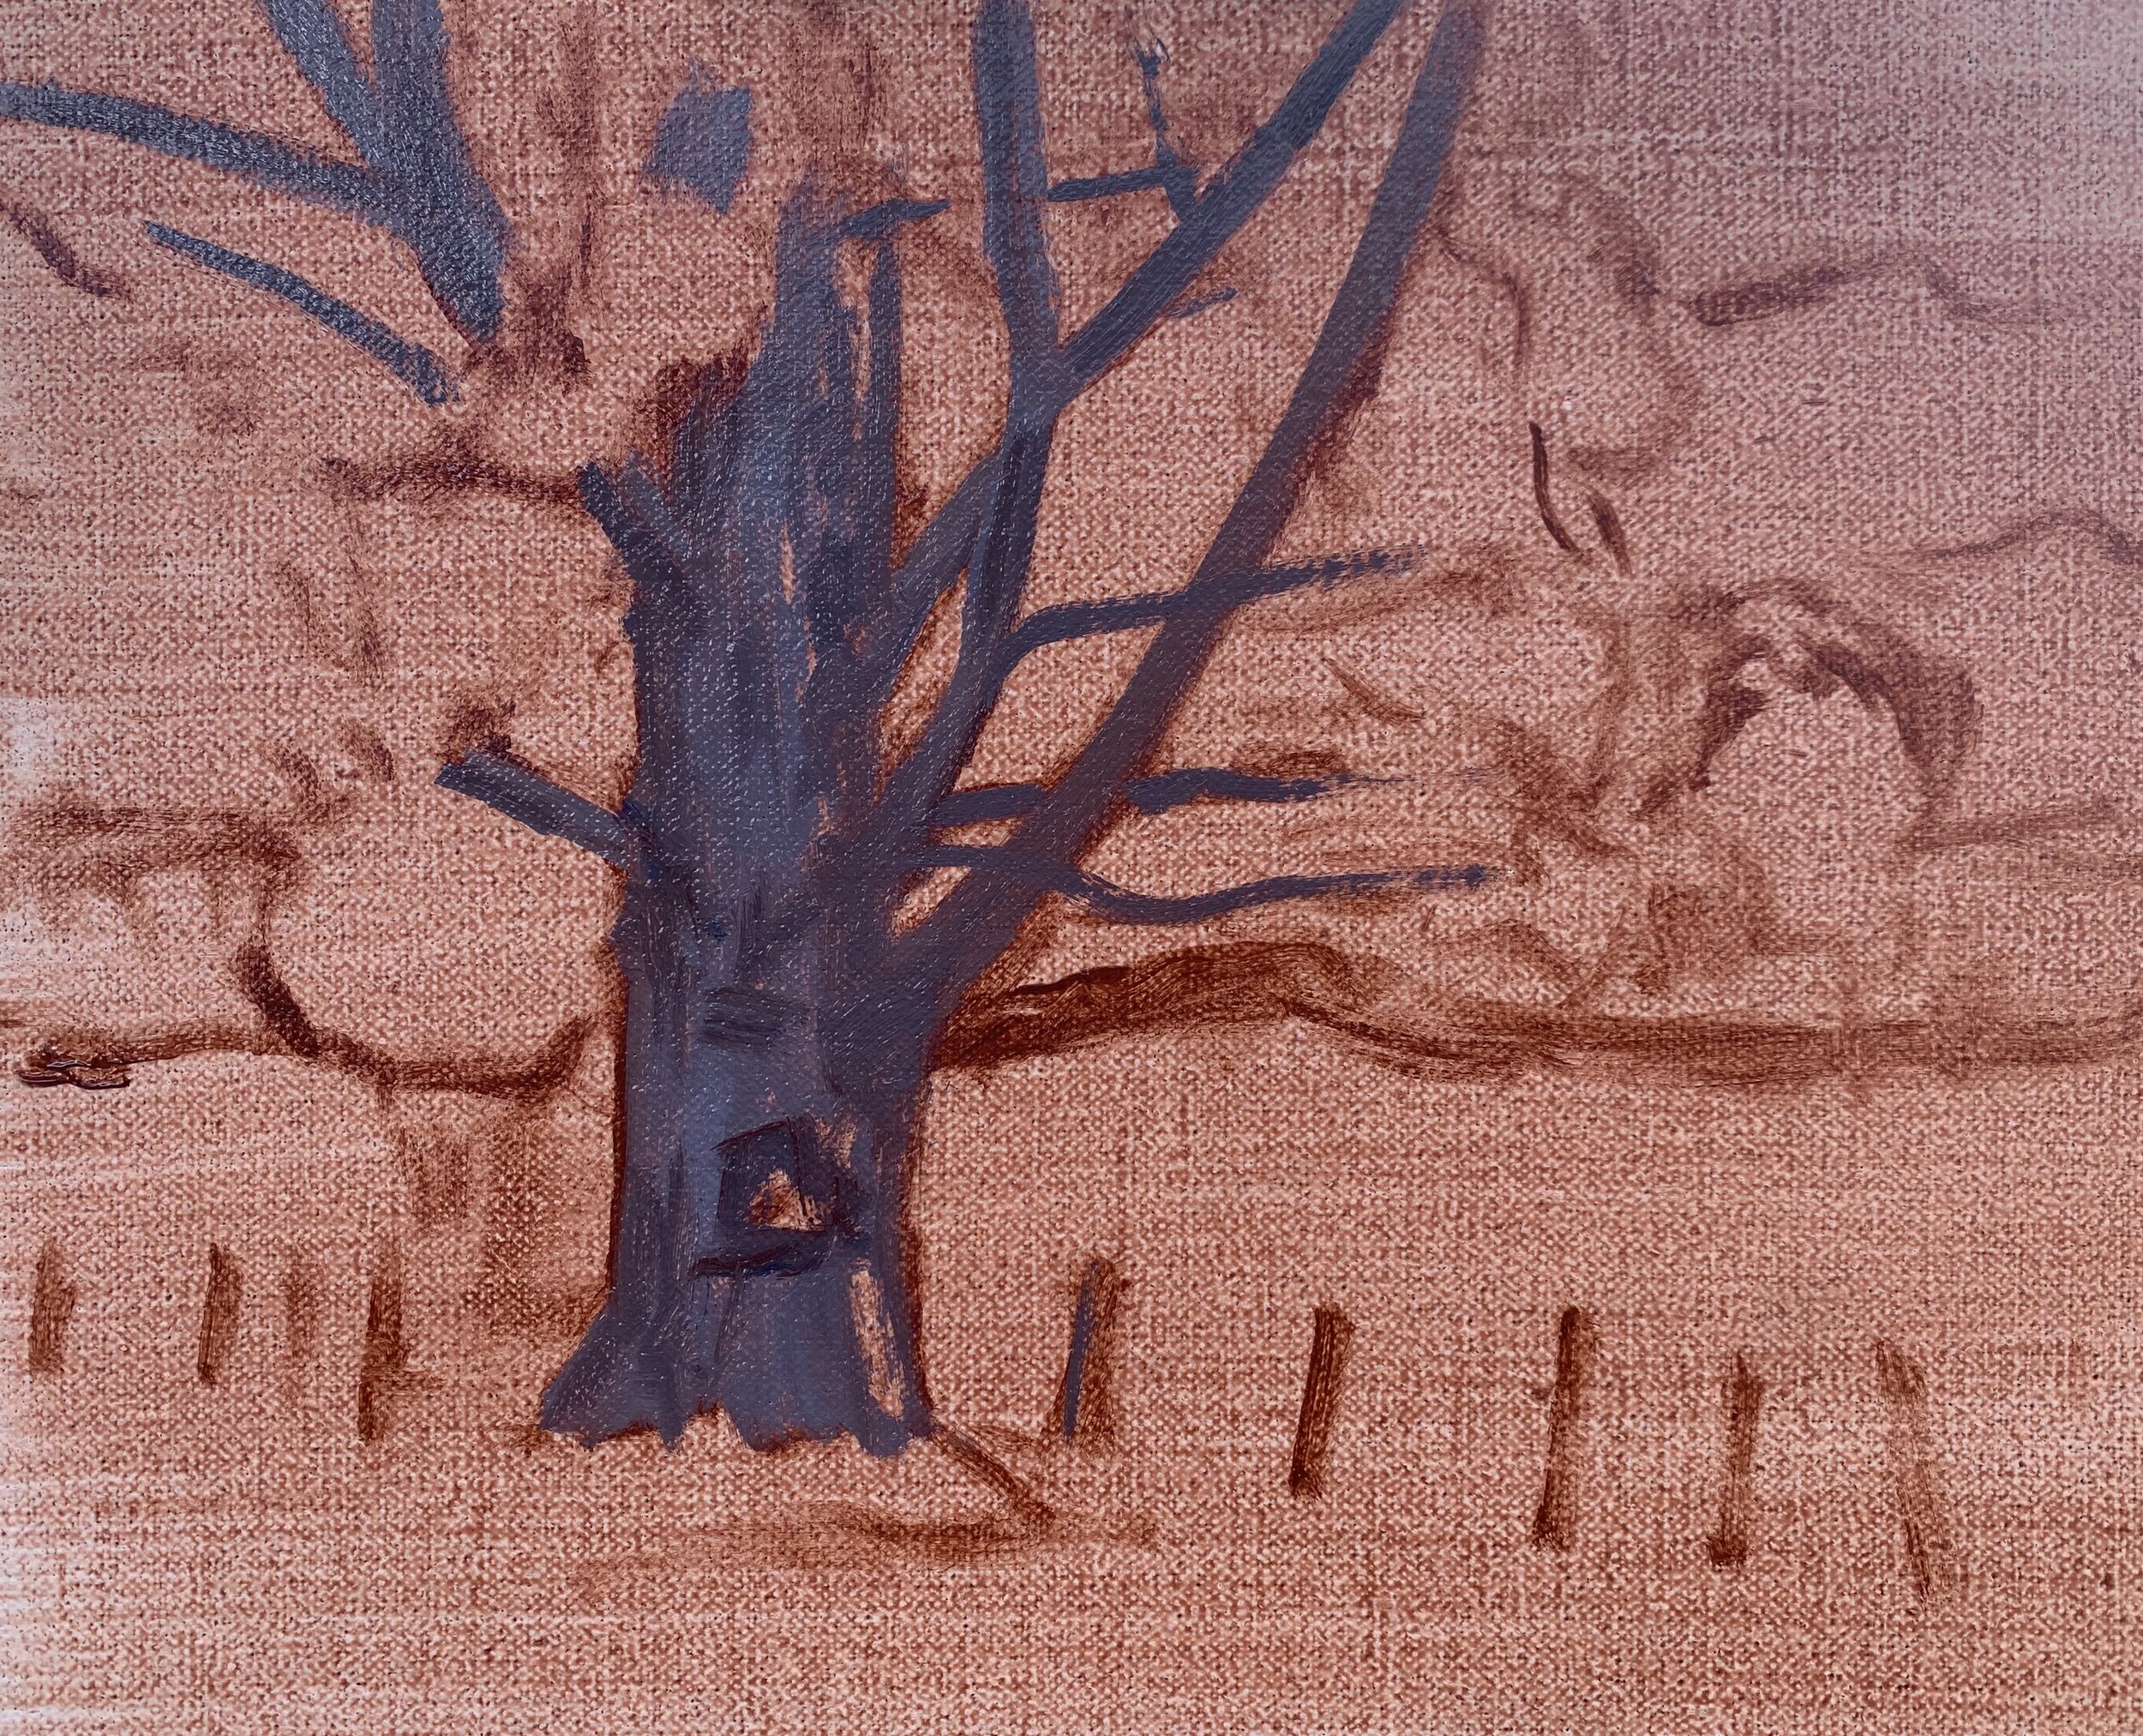
I am painting on an 8” x 10” linen panel which I’ve toned with a thin wash of burnt sienna. This warms up the painting and helps with colour and tone.
I sketched out the composition with a No.1 round brush and burnt sienna. I am using oil paint and I have mixed the burnt sienna with Liquin Original which thins the paint and speeds up the drying time.
I begin by painting the areas in shadow first and I start with the tree trunk and the scaffold branches. This is a mix of ultramarine blue, burnt sienna, quinacridone crimson and titanium white.
I paint the shadows in the distant trees with a mix of yellow oxide, ultramarine blue and a little titanium white. I use the same colours for the grass shadows in the foreground but with no titanium white in the mix so the value of the colour is darker.
Most of the poplar tree’s crown is in shadow and this is a mix of yellow oxide, cadmium yellow, ultramarine blue and a little burnt sienna. There is also a little phthalo green in the mix as well.
For the leaves that are in the full sun I use a combination of yellow oxide, cadmium yellow, ultramarine blue, titanium white and cadmium orange.
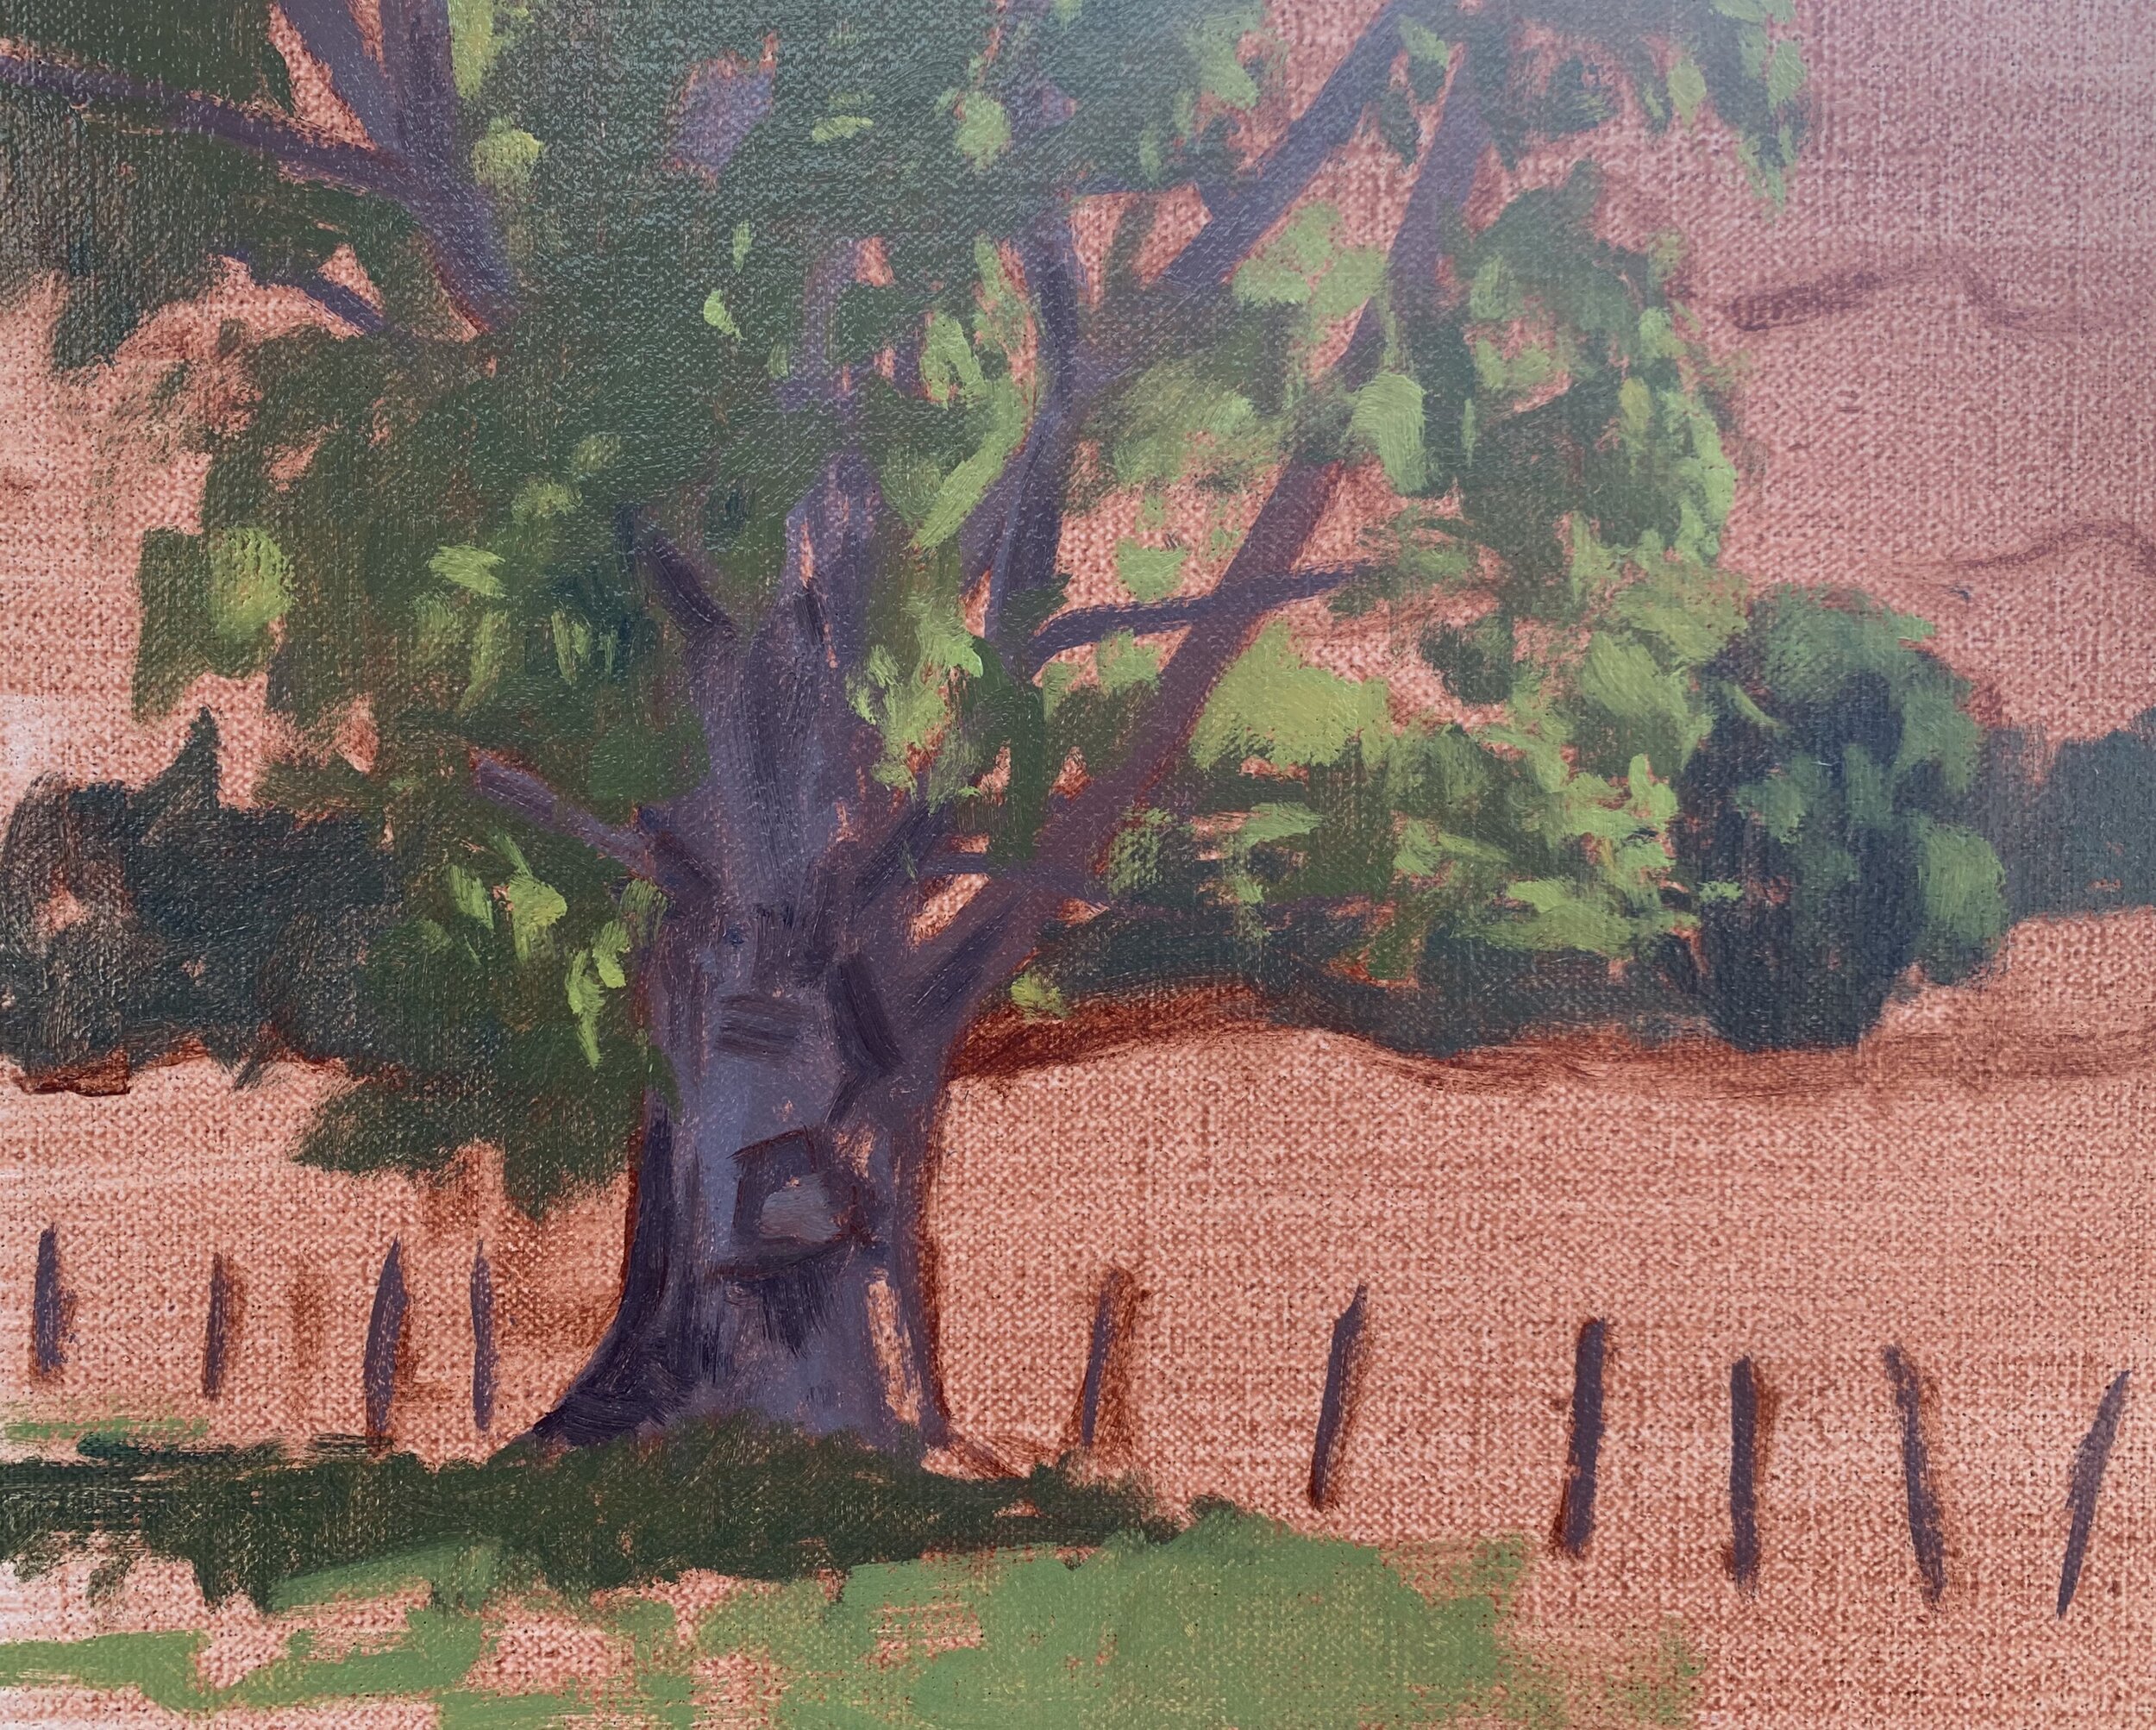
I paint the grass with the same colours I used for the leaves in the full sun as both the leaves and the grass are a similar colour and value. Keep in mind that trees are usually much darker in value than grass, however I have noticed that the greens exhibited in some deciduous trees species such as poplars and willows are often a similar colour and value to grass in spring.
I paint the sky and fill in the gaps between the clumps of leaves and branches. I mix the cloud shadows with ultramarine blue, burnt sienna, quinacridone crimson and titanium white.
The cloud highlights is a mix of titanium white and a little burnt sienna. The sky is a mix of ultramarine blue and titanium white.
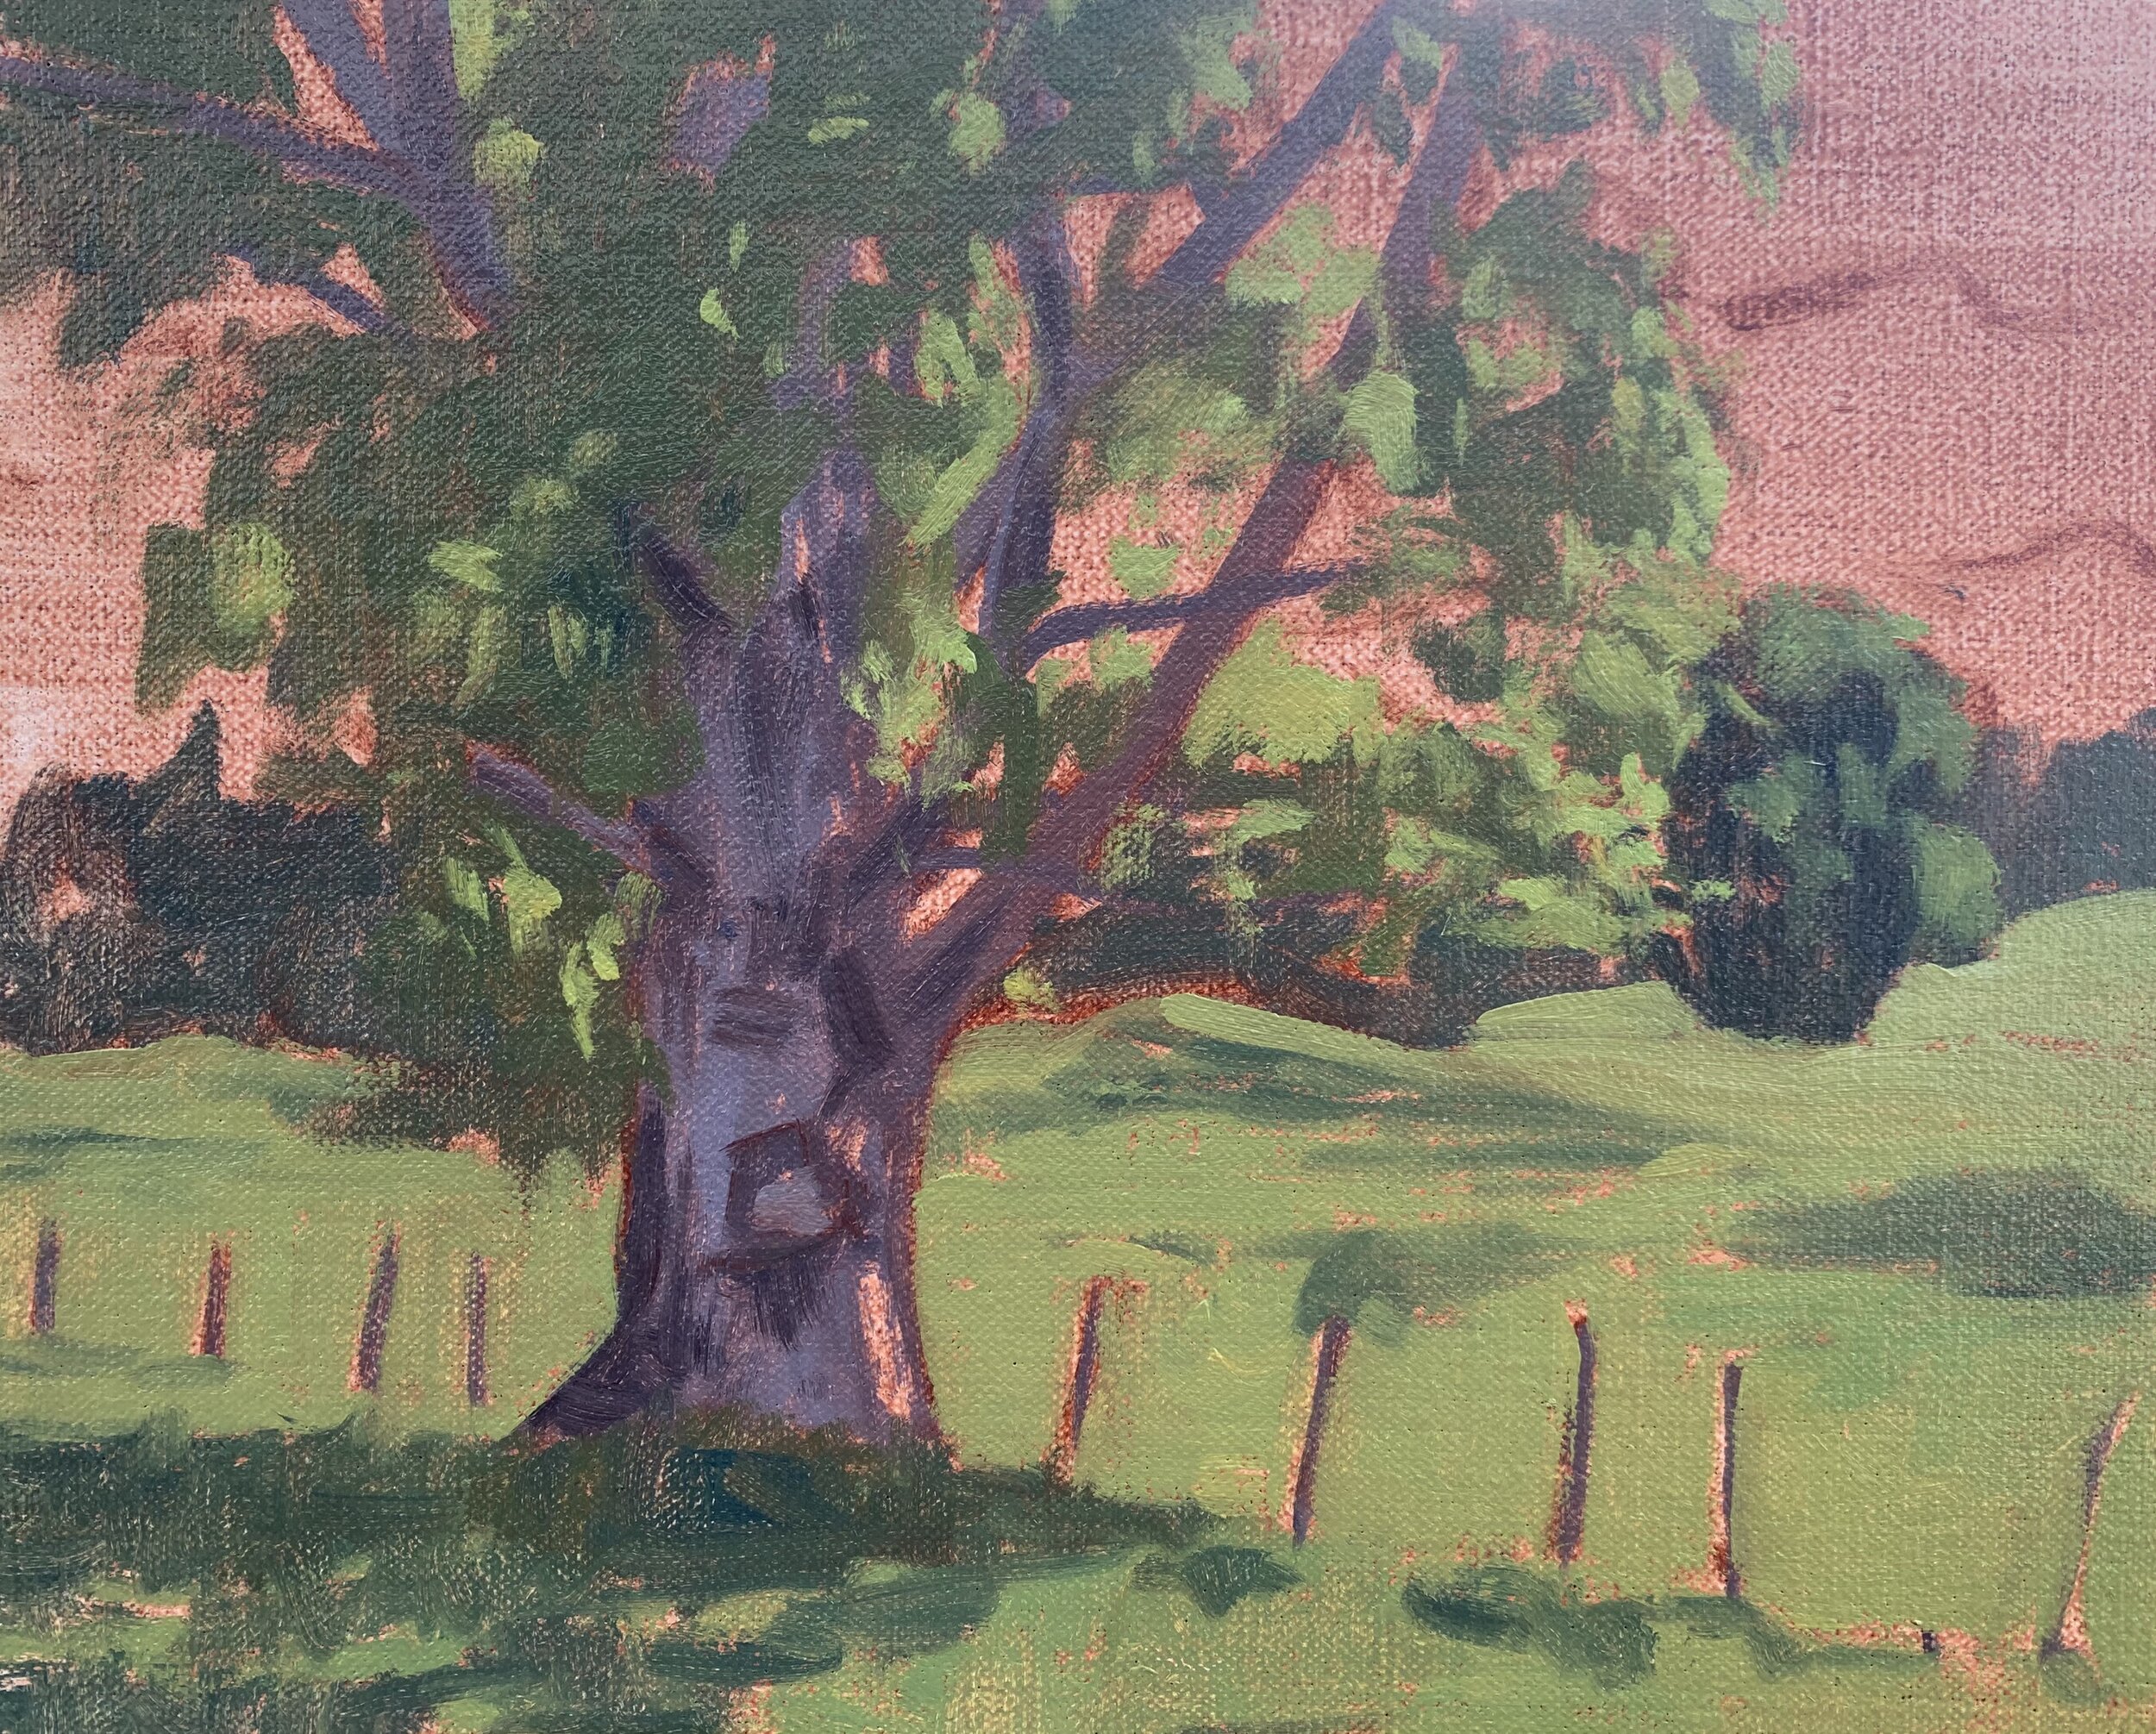
I add a few subtle highlights to the trunk of the poplar tree with a mix of titanium white, burnt sienna and ultramarine blue.
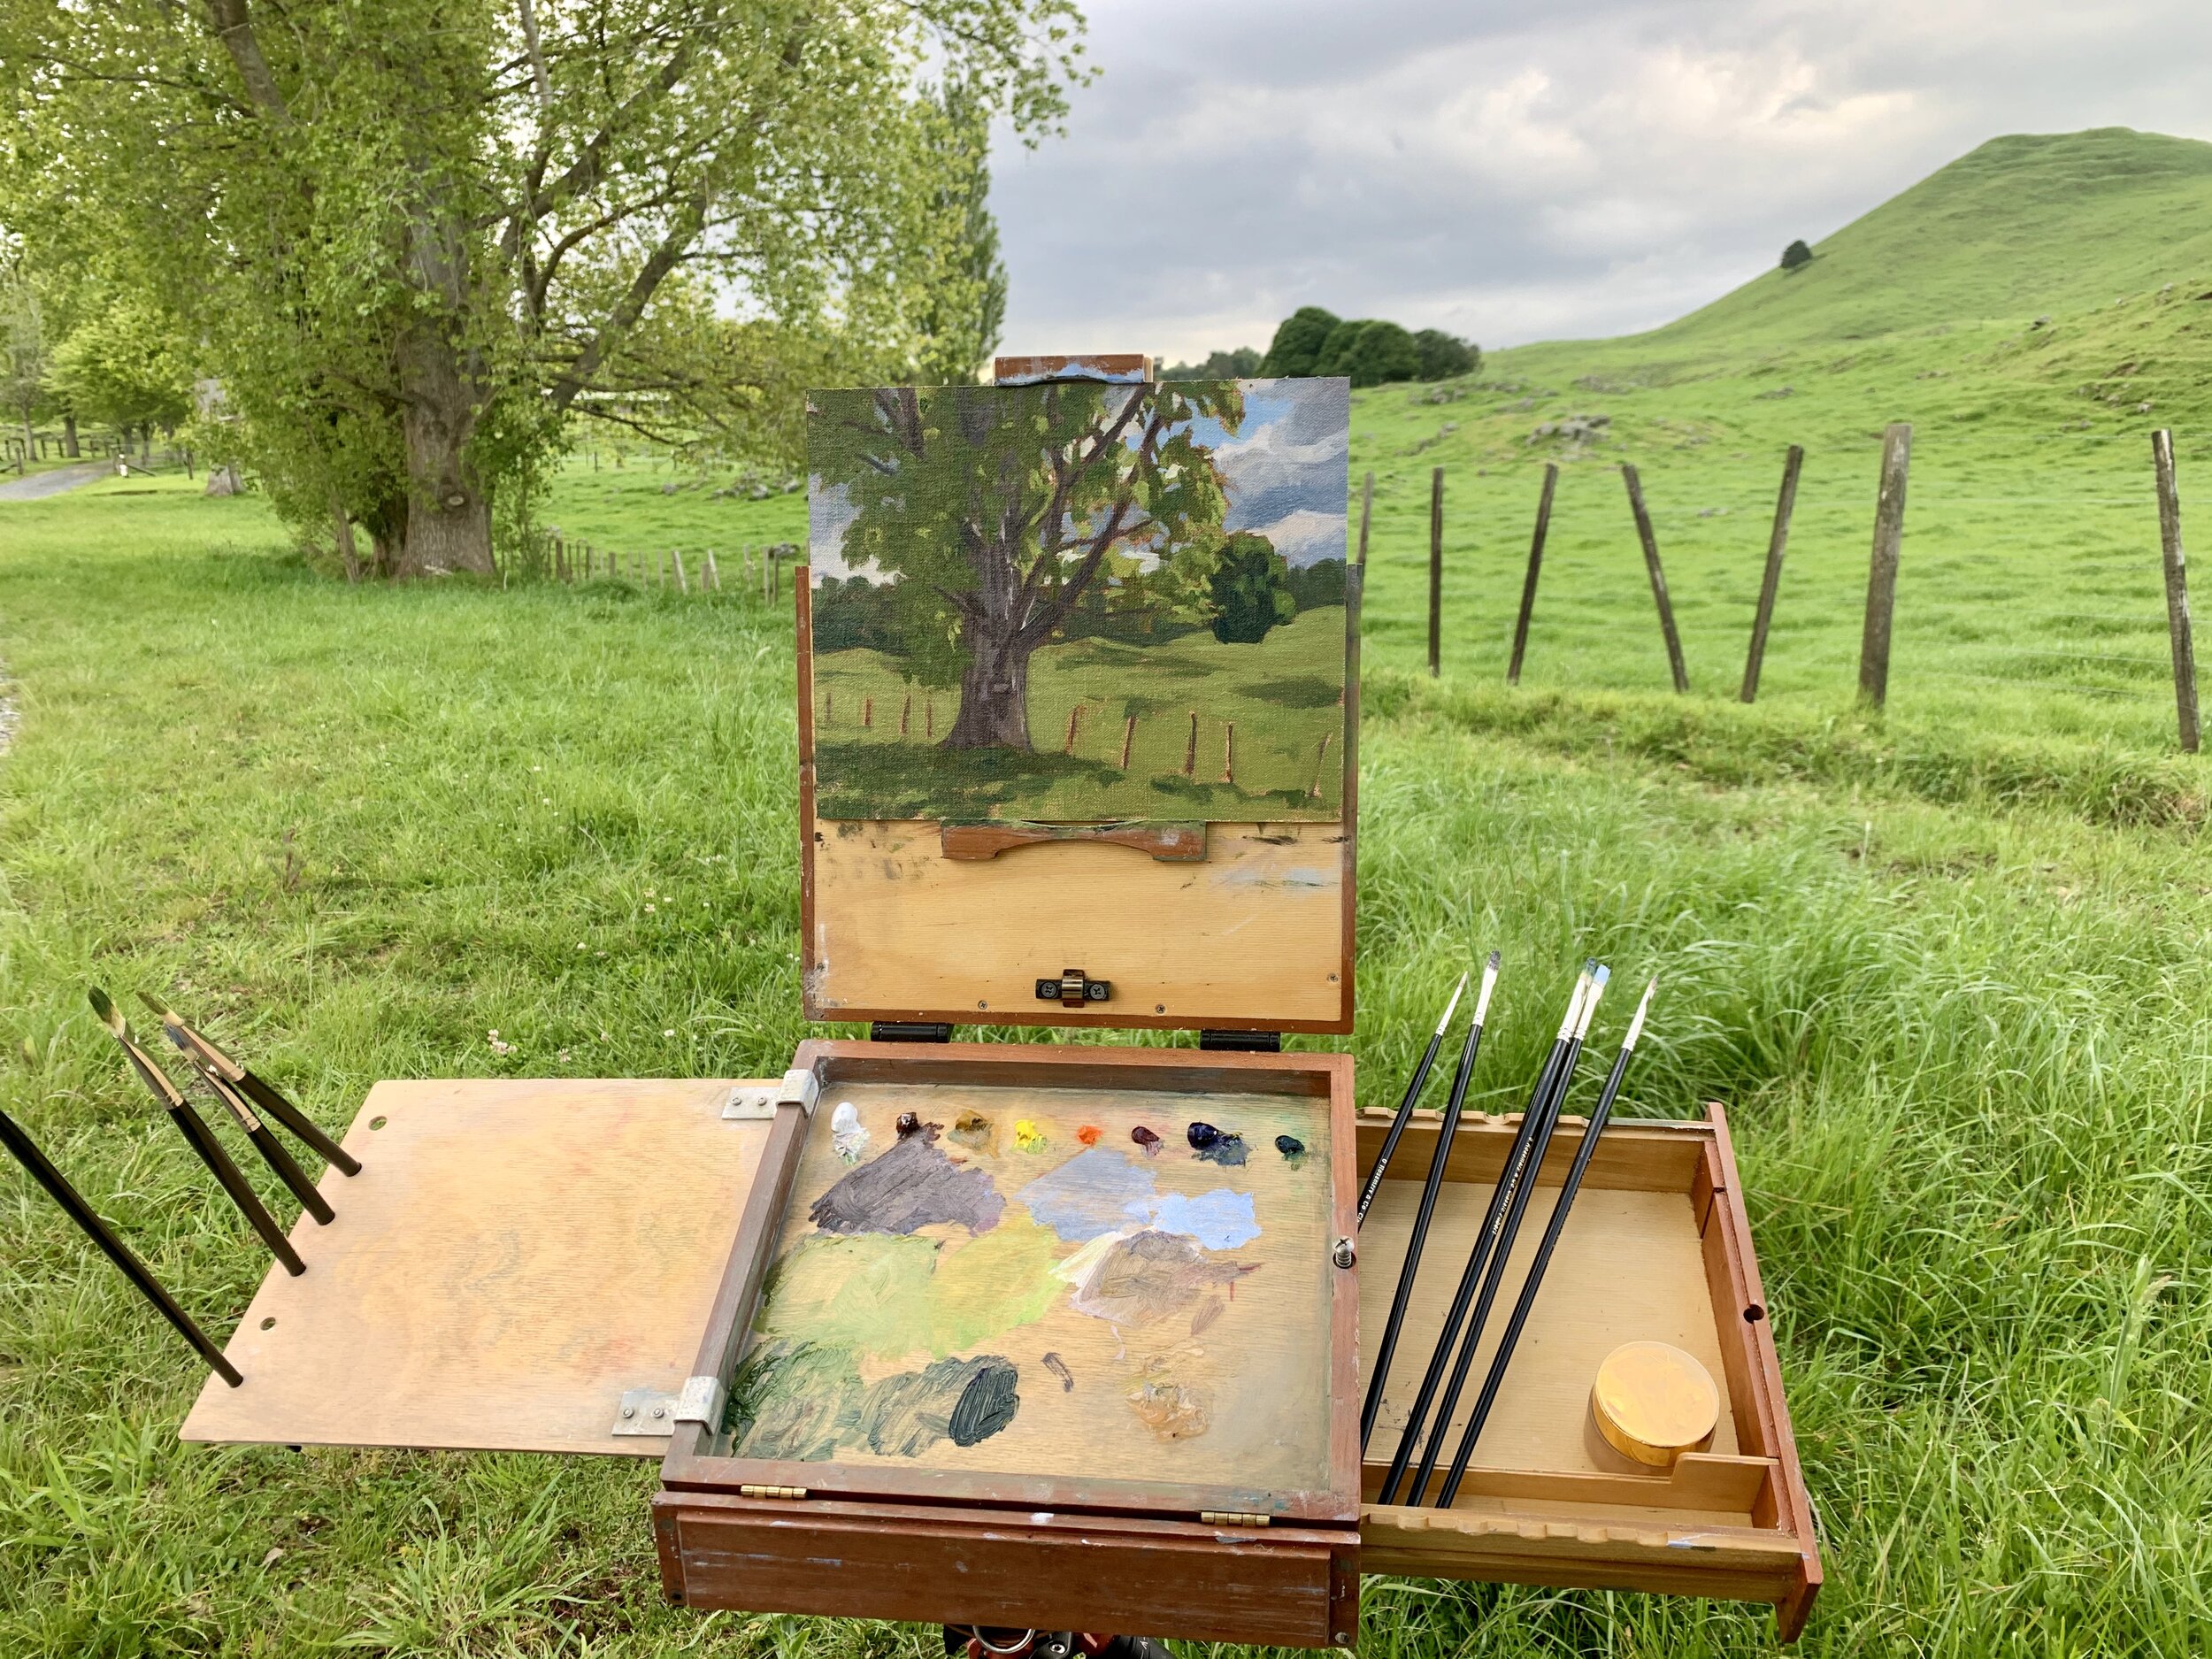
When I got to this stage of the painting I decided to call it a day as the light was fast disappearing. I knew I was going to add a lot more details to the painting back in the studio and I felt I had got enough information whilst painting outdoors.
This is my plein air painting set up. I am painting on an Alla Prima Pochade box easel which is ideal for painting en plein air. It has a built in adjustable easel, palettes, brush holders and storage compartments for materials and wet paintings.
This was my painting after I had just blocked-in the main information from the scene I was painting.
Second Stage – Adding Details in the Studio
When I returned to my studio I allowed my painting to completely dry and then I began adding more details to the tree’s canopy using a No.3 filbert brush and a mix of yellow oxide, cadmium yellow, ultramarine blue and a little cadmium orange. Once the shadow areas were dry I then painted the clumps of leaves in the full sunlight.
When painting tree foliage you don’t need to be overly detailed, just the suggestion of detail goes a long way to communicating clumps of leaves. The leaves in the full sun were create with a mix of yellow oxide, cadmium yellow, ultramarine blue and titanium white. I also mixed in a little cadmium orange and phthalo green but keep in mind when I am mixing my greens I don’t mix the colours on my palette thoroughly. This is so I can get some variations in the colour of the greens when I paint the leaves.
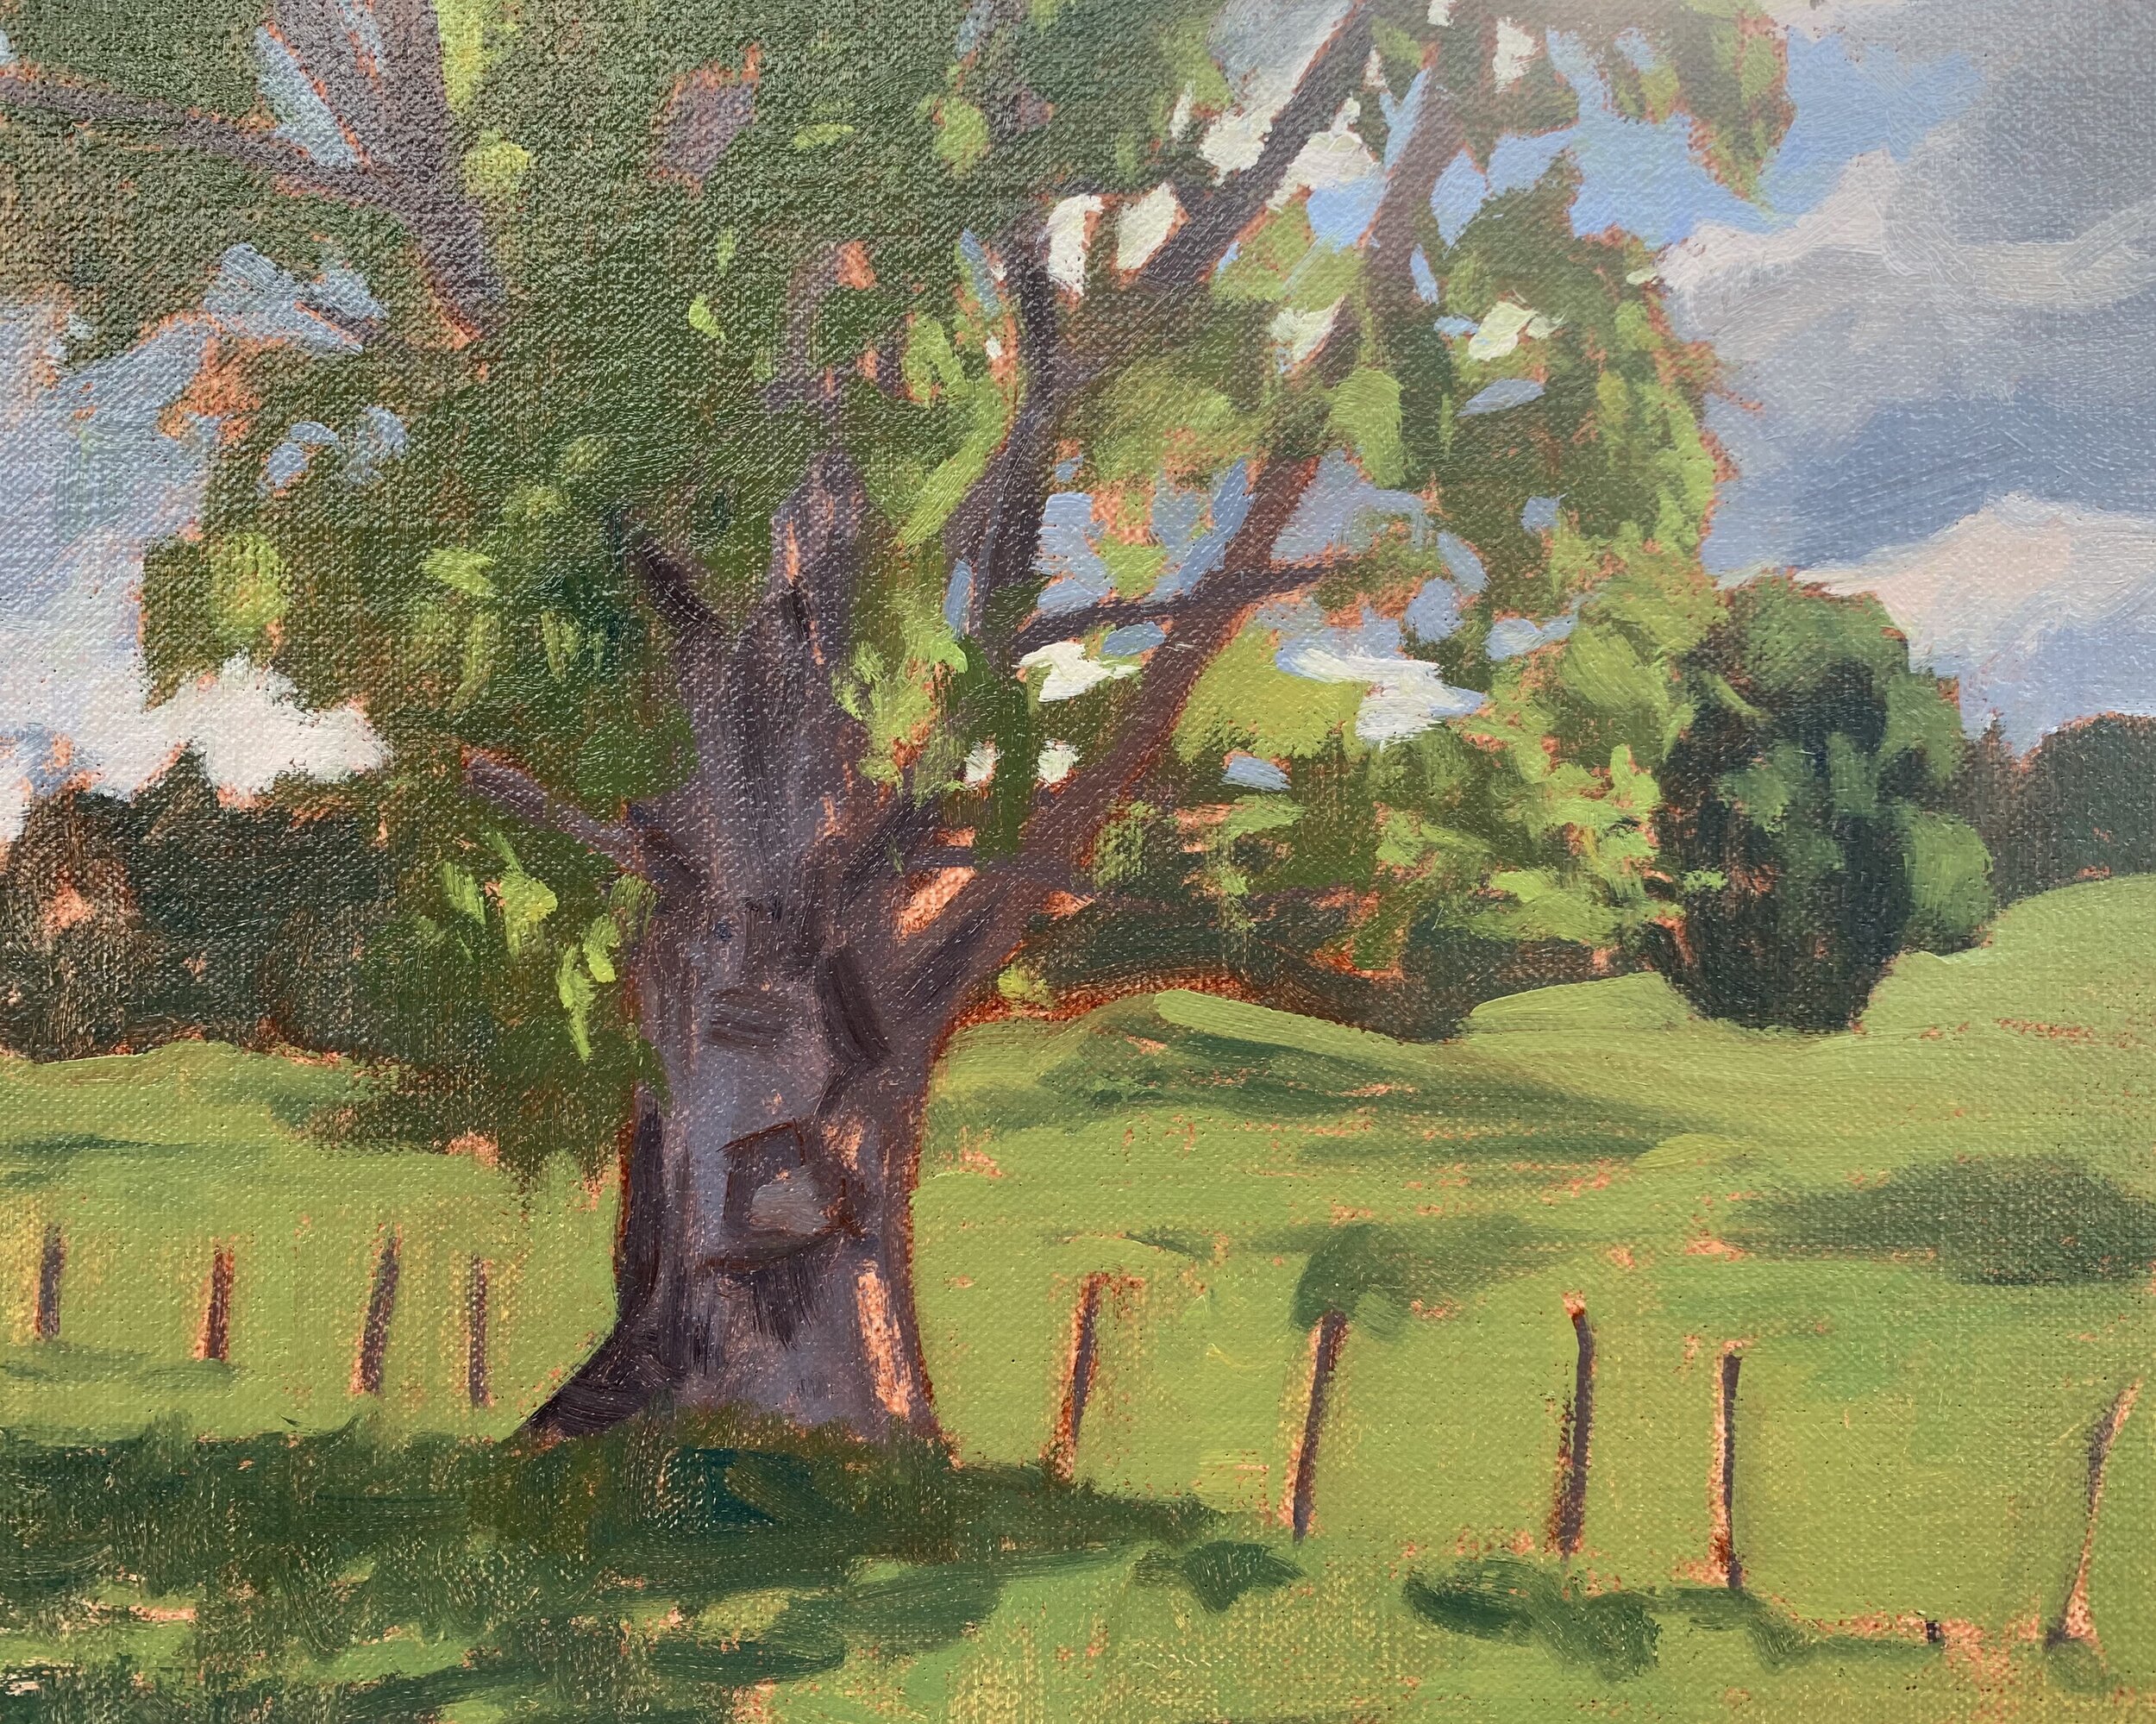
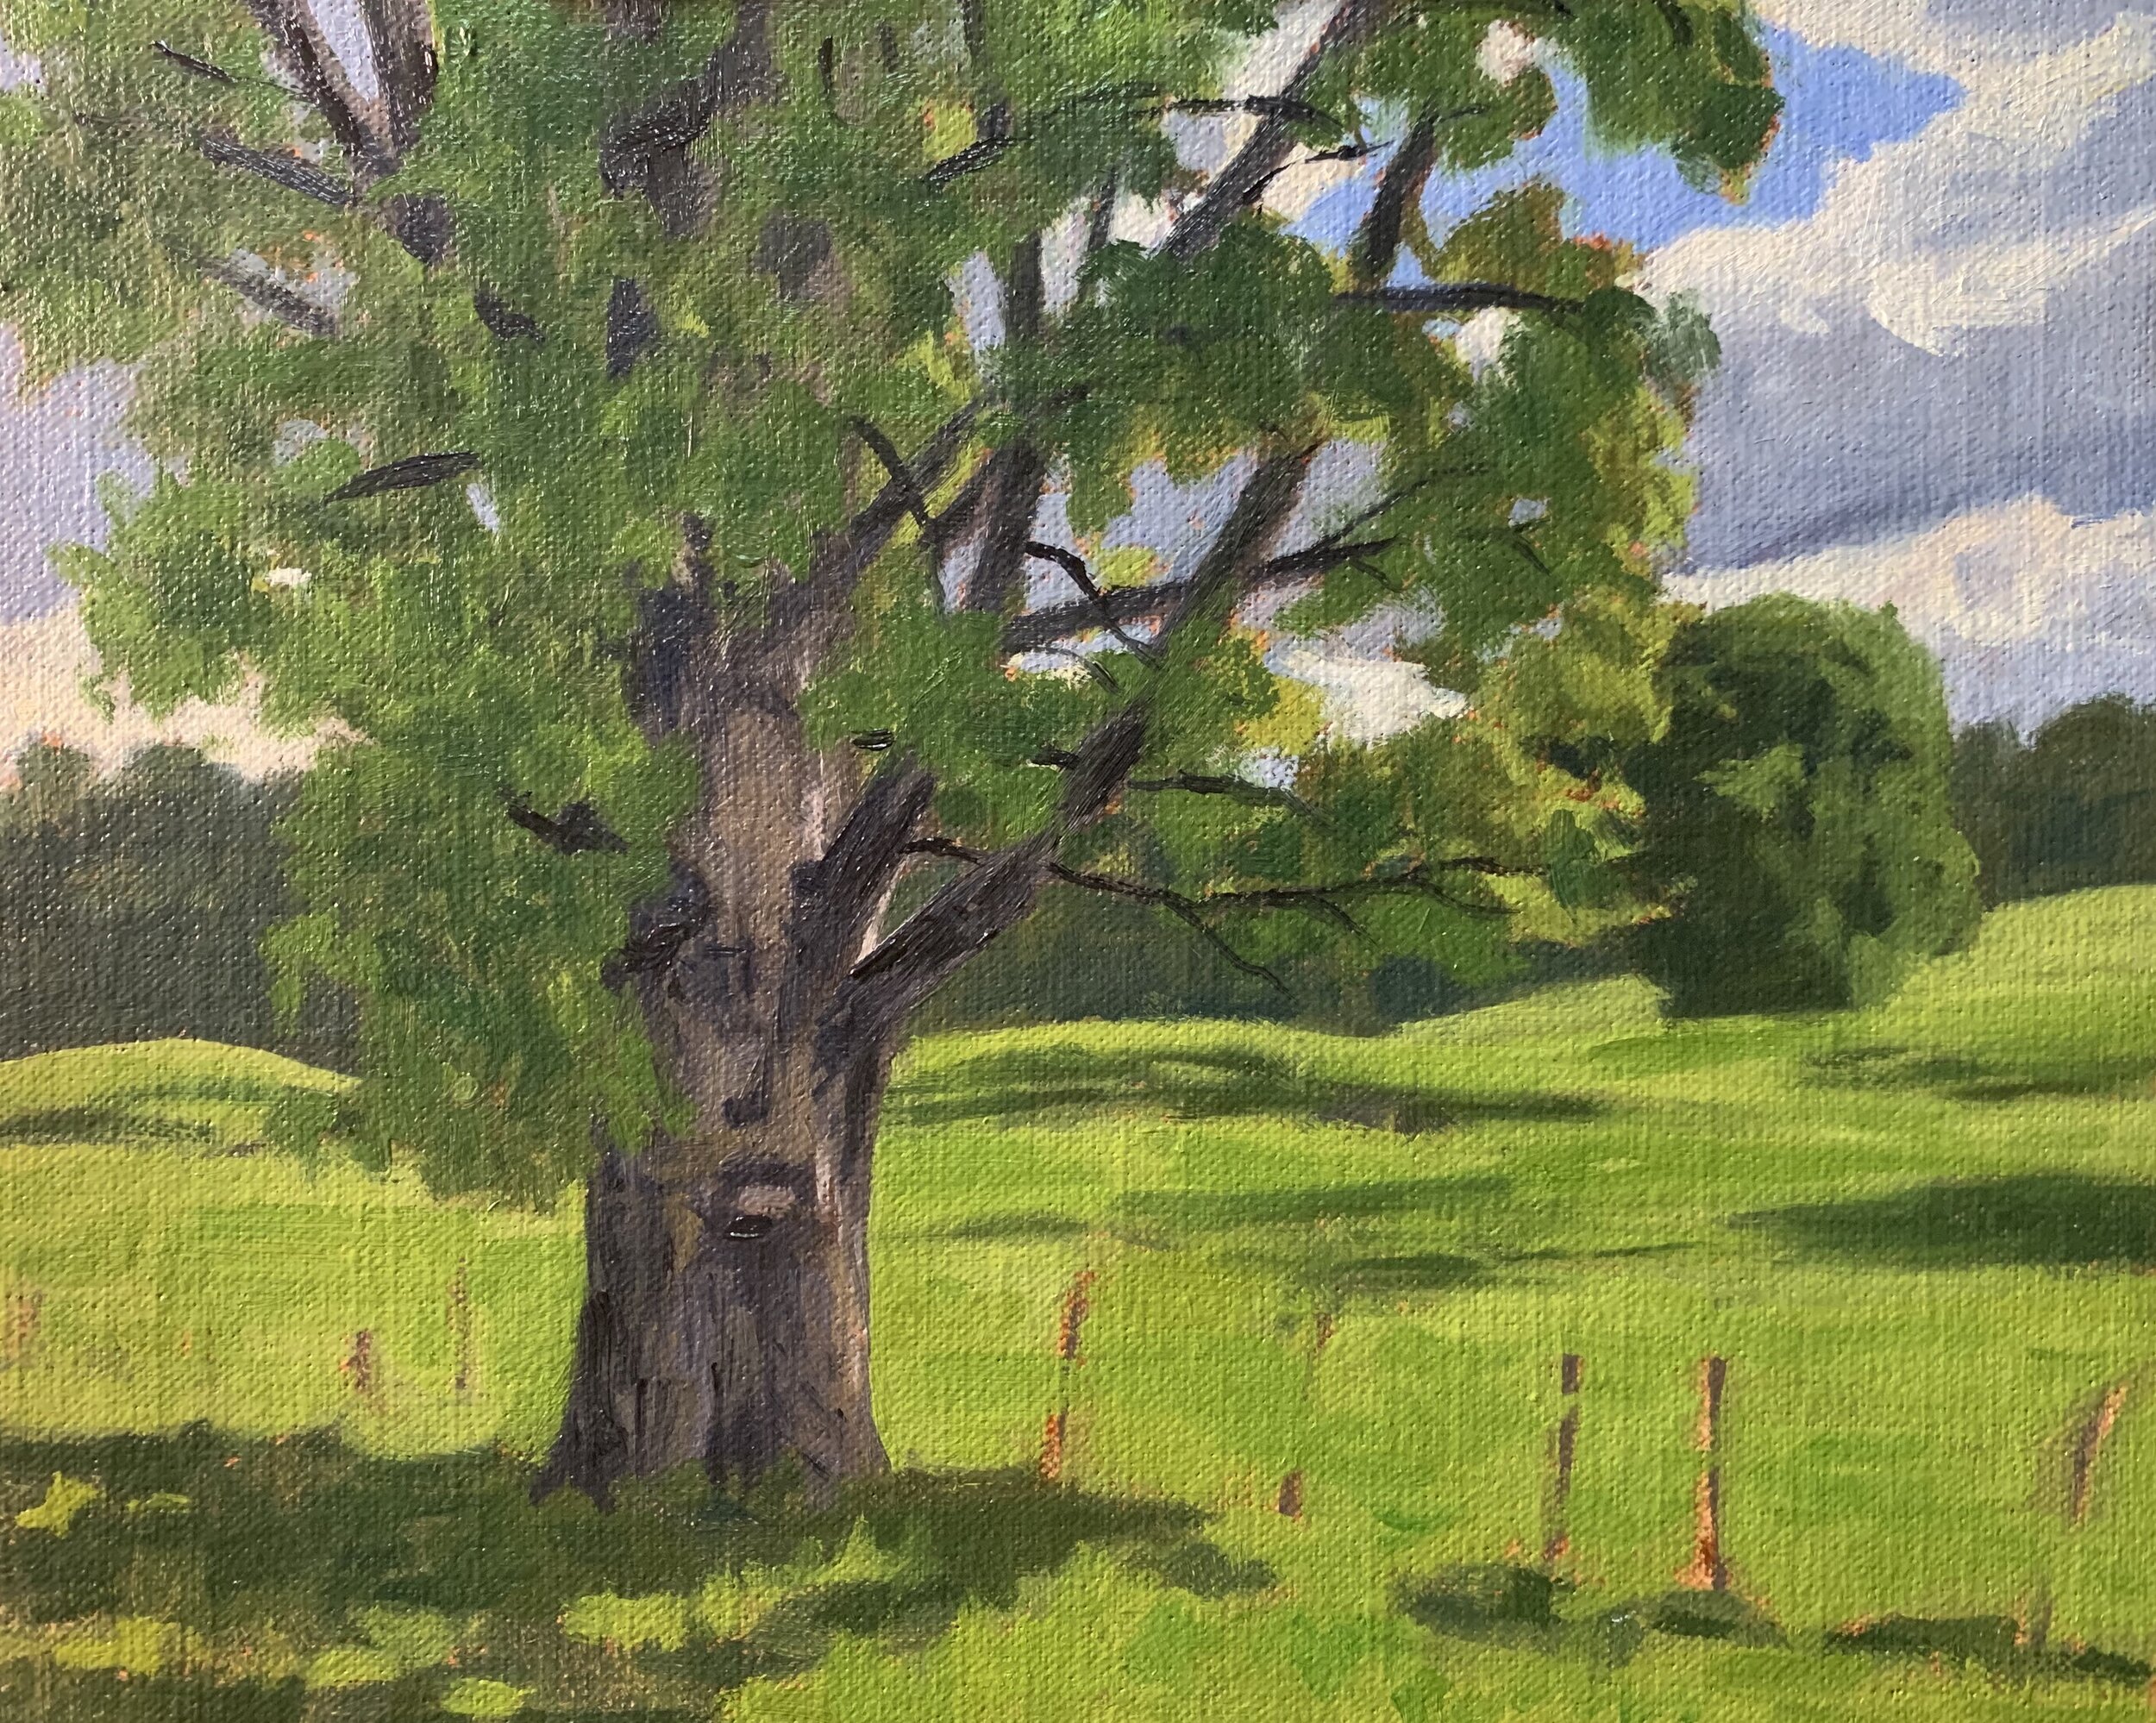
As I was working towards finishing the painting I noticed that some of the tree’s canopy was getting lost in the grass and this was due to the fact that the values and green mixes I used were similar. I wanted the clumps of leaves in the full sun to stand out so I decided to repaint the background and change it so it was in shadow. This allows the leaves in the full sun to stand out when juxtaposed against a dark background.
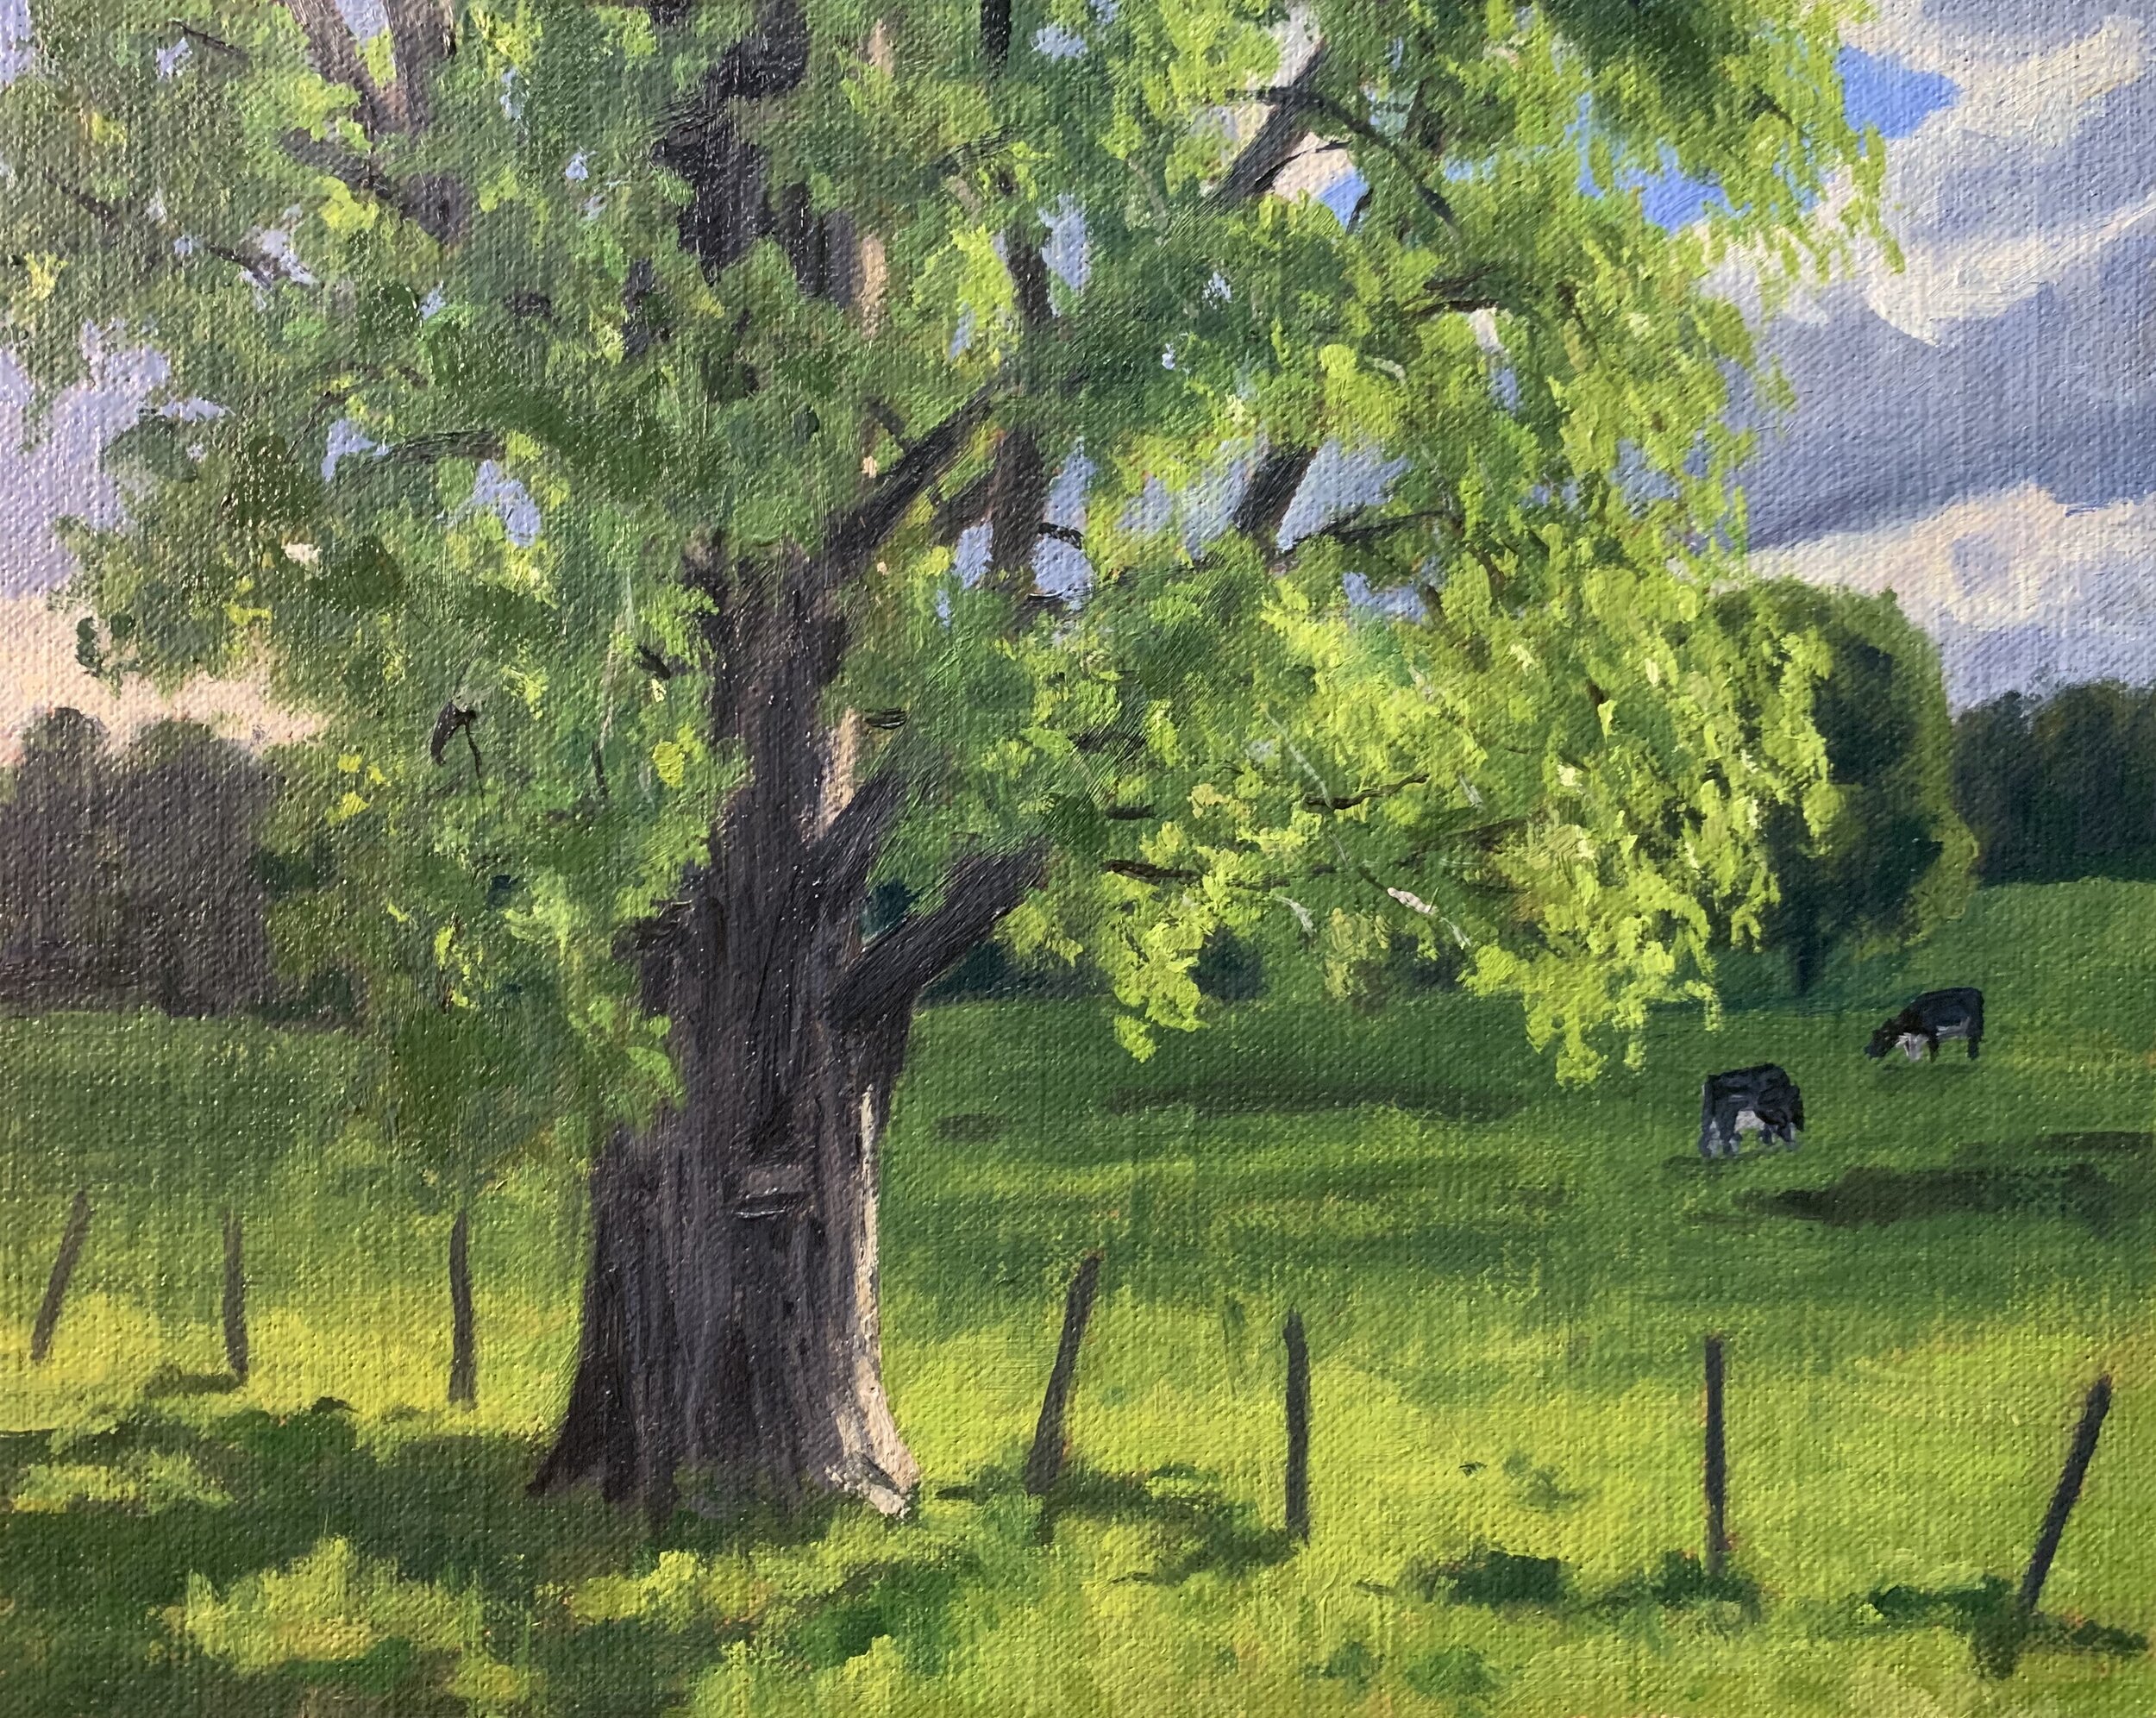
I finished up the painting by adding a few final details such as the cows grazing in the field and the highlights on the fence posts.
I painted some more reflected light in the trunk of the tree using the same colours as before but with a little more ultramarine blue and titanium white in the mix.
I finish painting the leaves by adding some half tones within the foliage, this helps to soften the transition zone between the darkest areas of the tree’s foliage and the highlights.
Thanks for reading 😊
