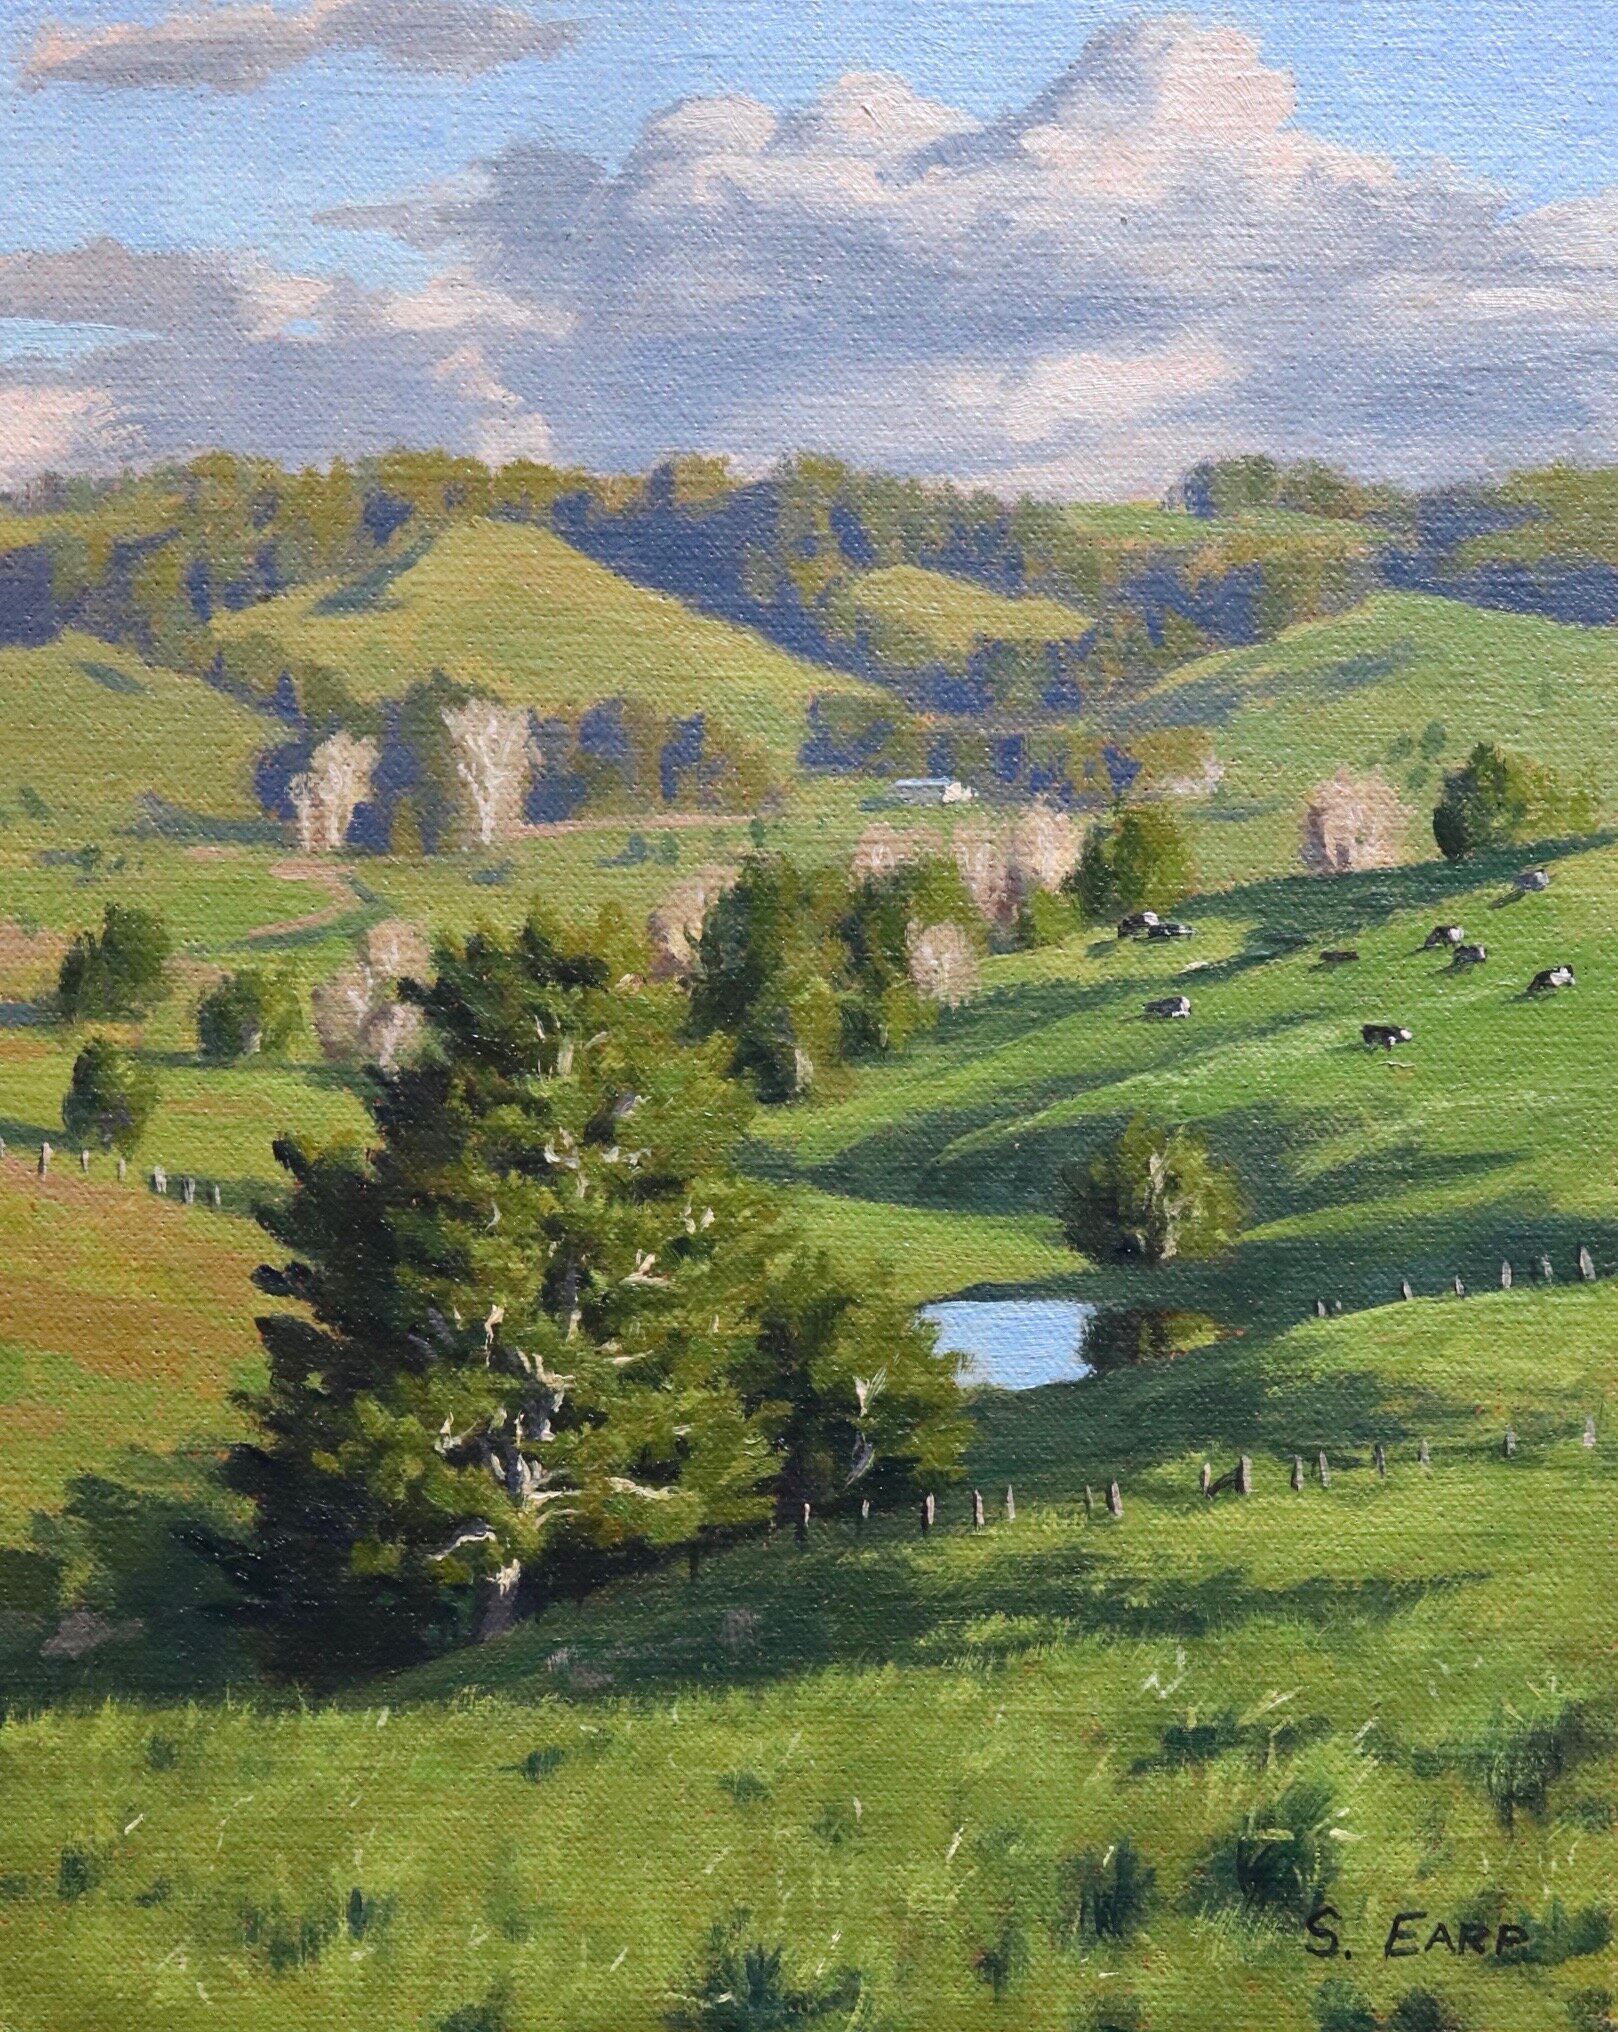
In this blog post I will show you how to paint this beautiful countryside scene and I will give you some tips on mixing greens that you would typically find in the landscape.
This painting is inspired by the Northland Region of New Zealand.
This painting originally started as a plein air painting, then I added more detail to it in the studio.
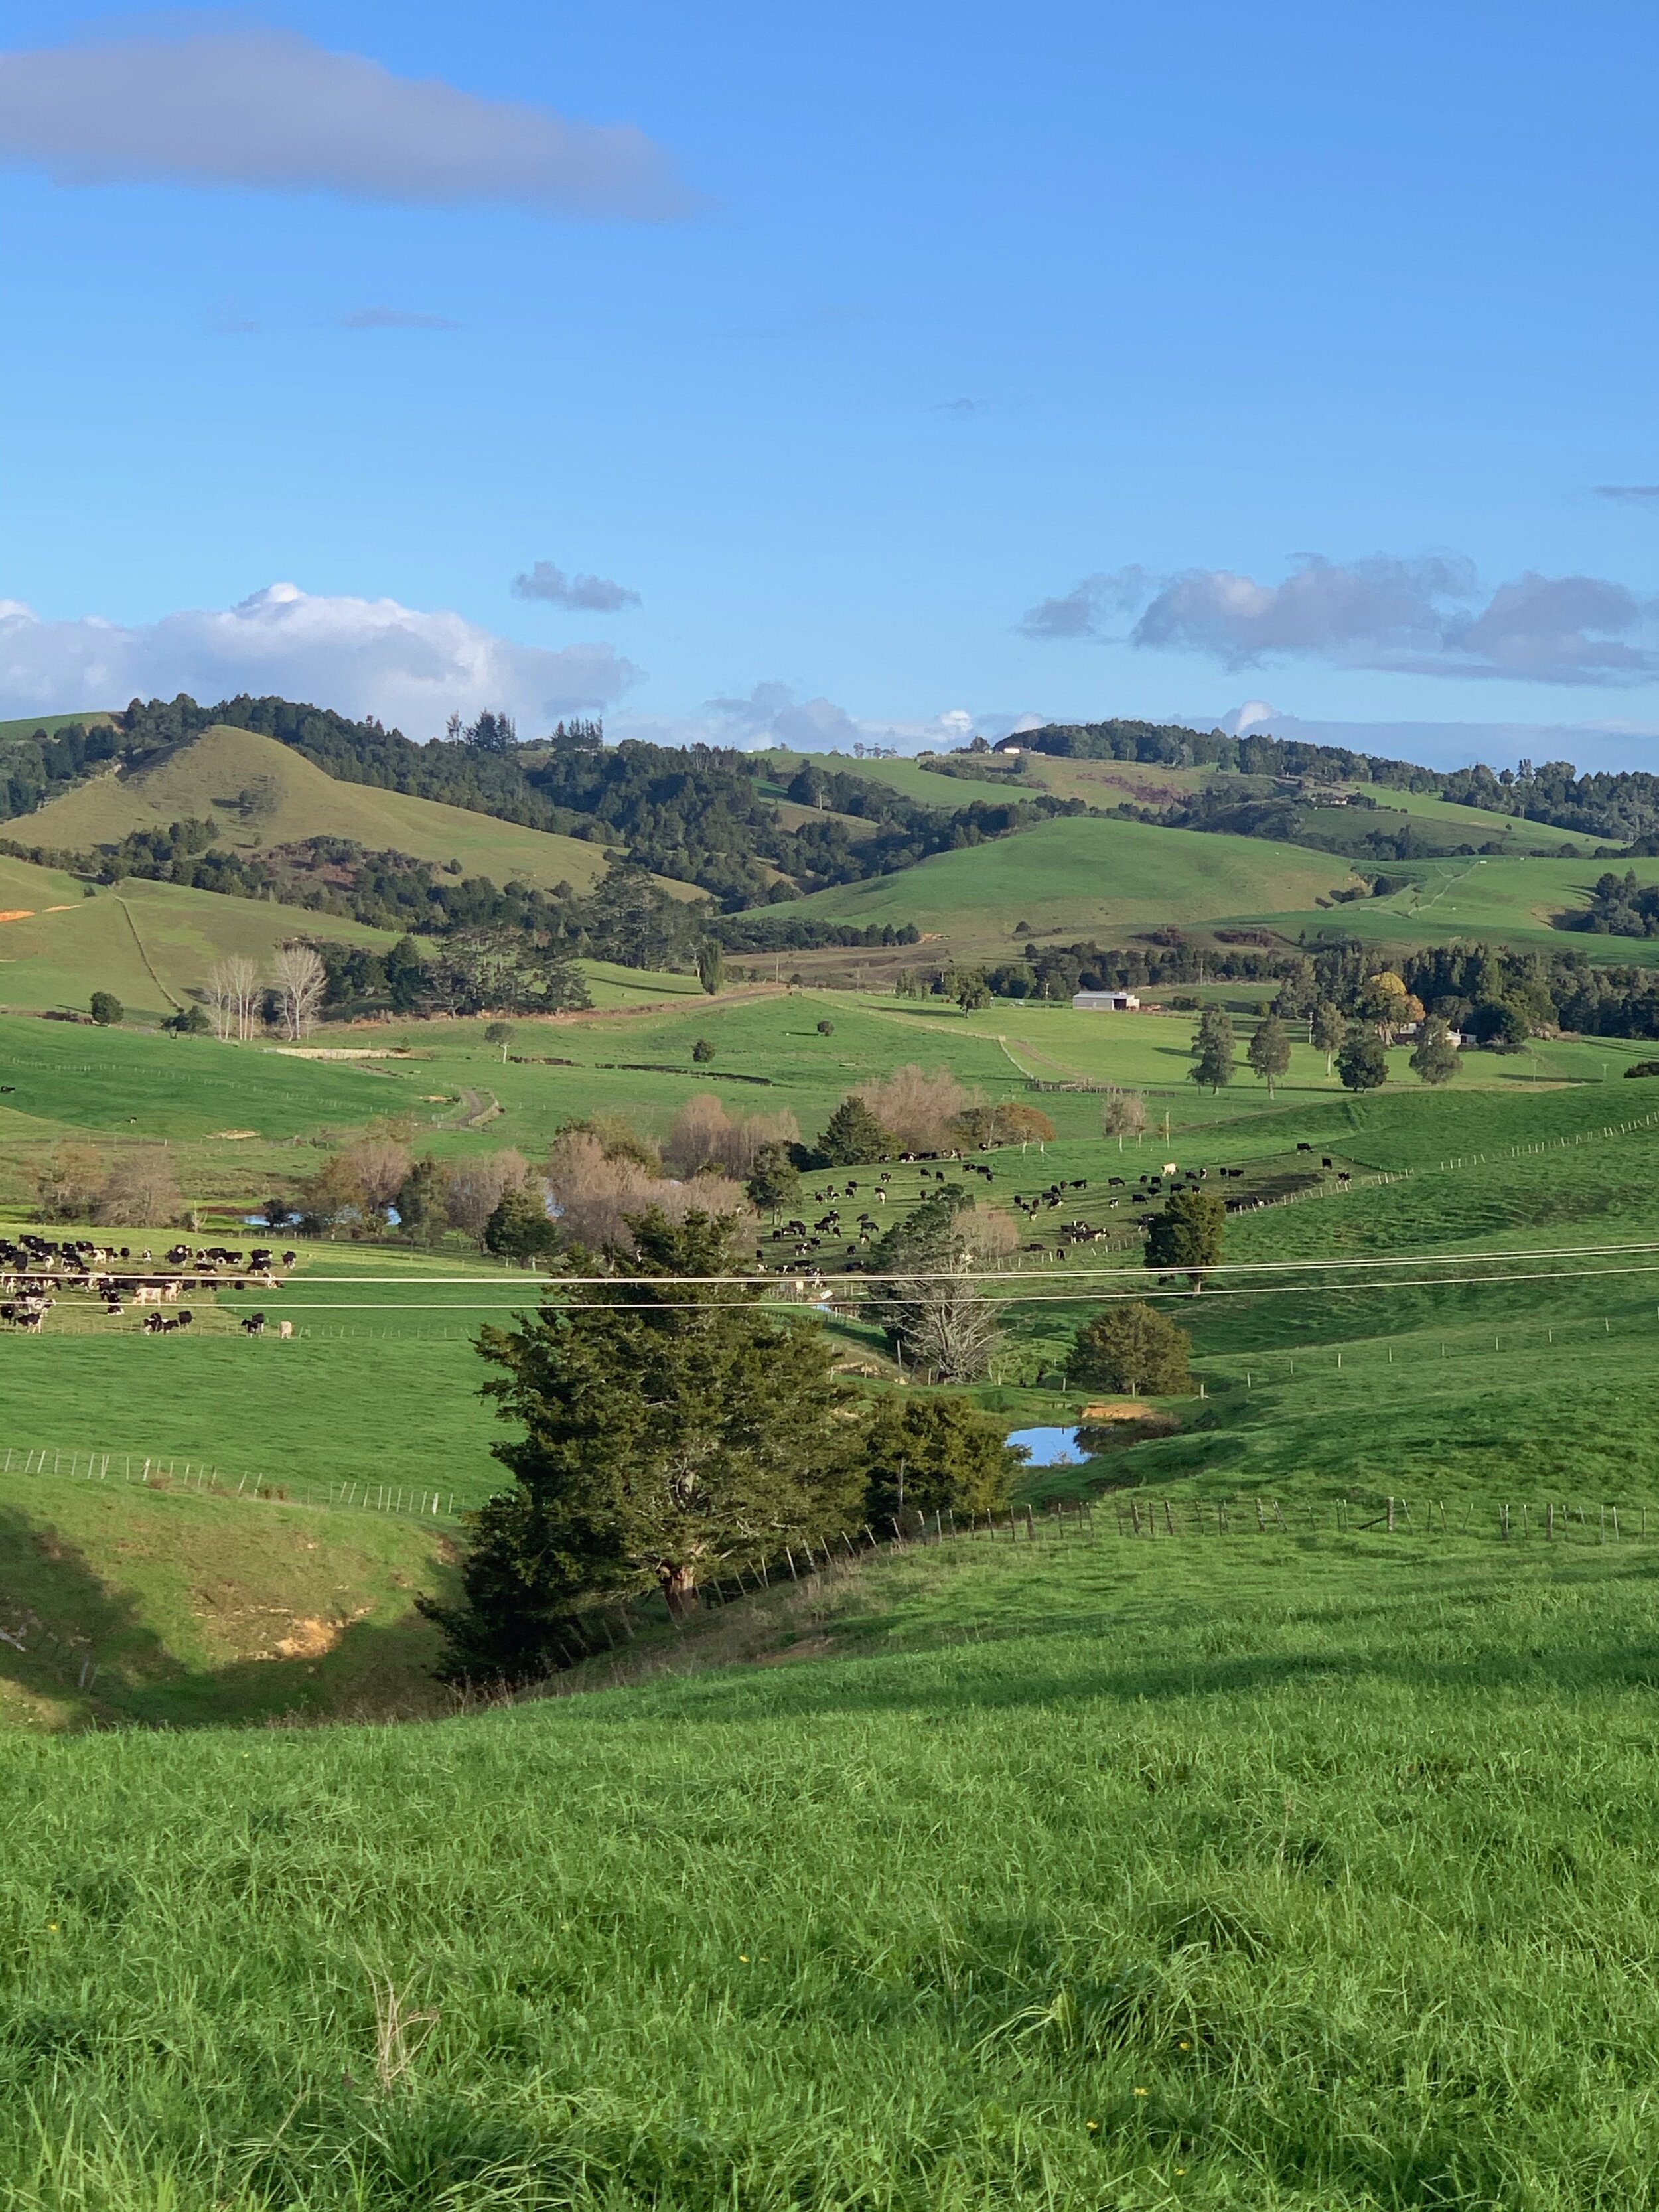
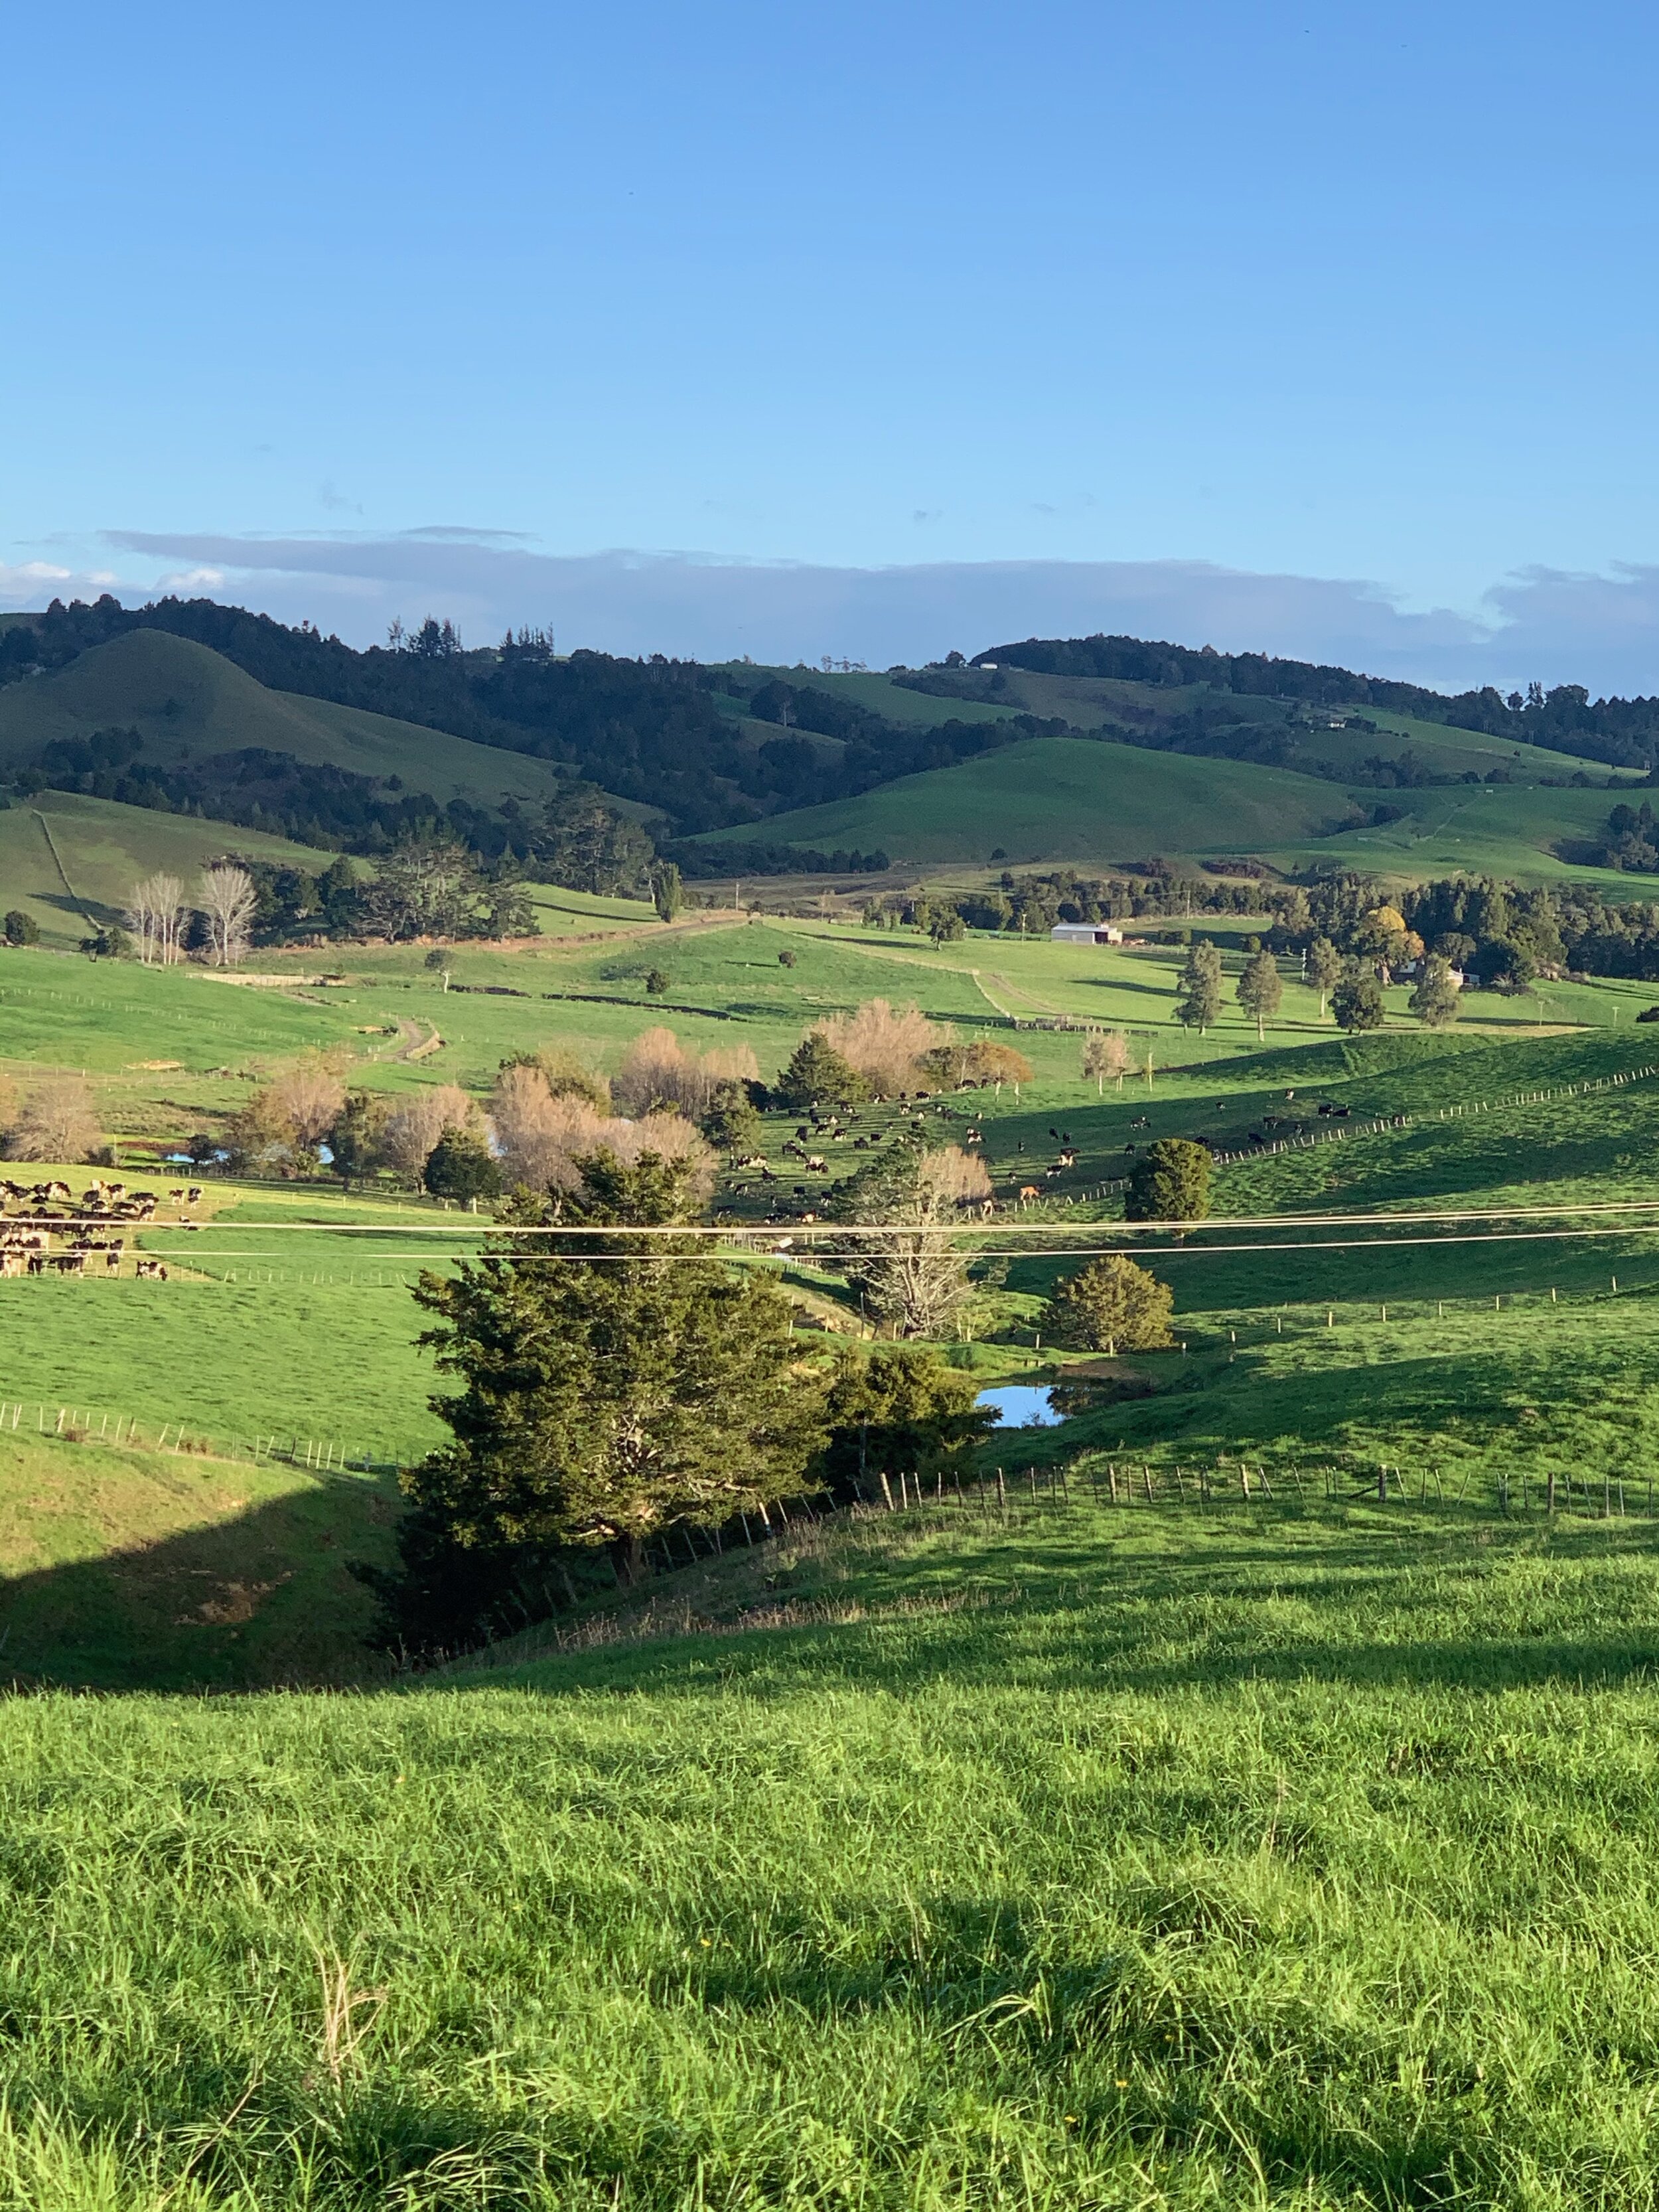
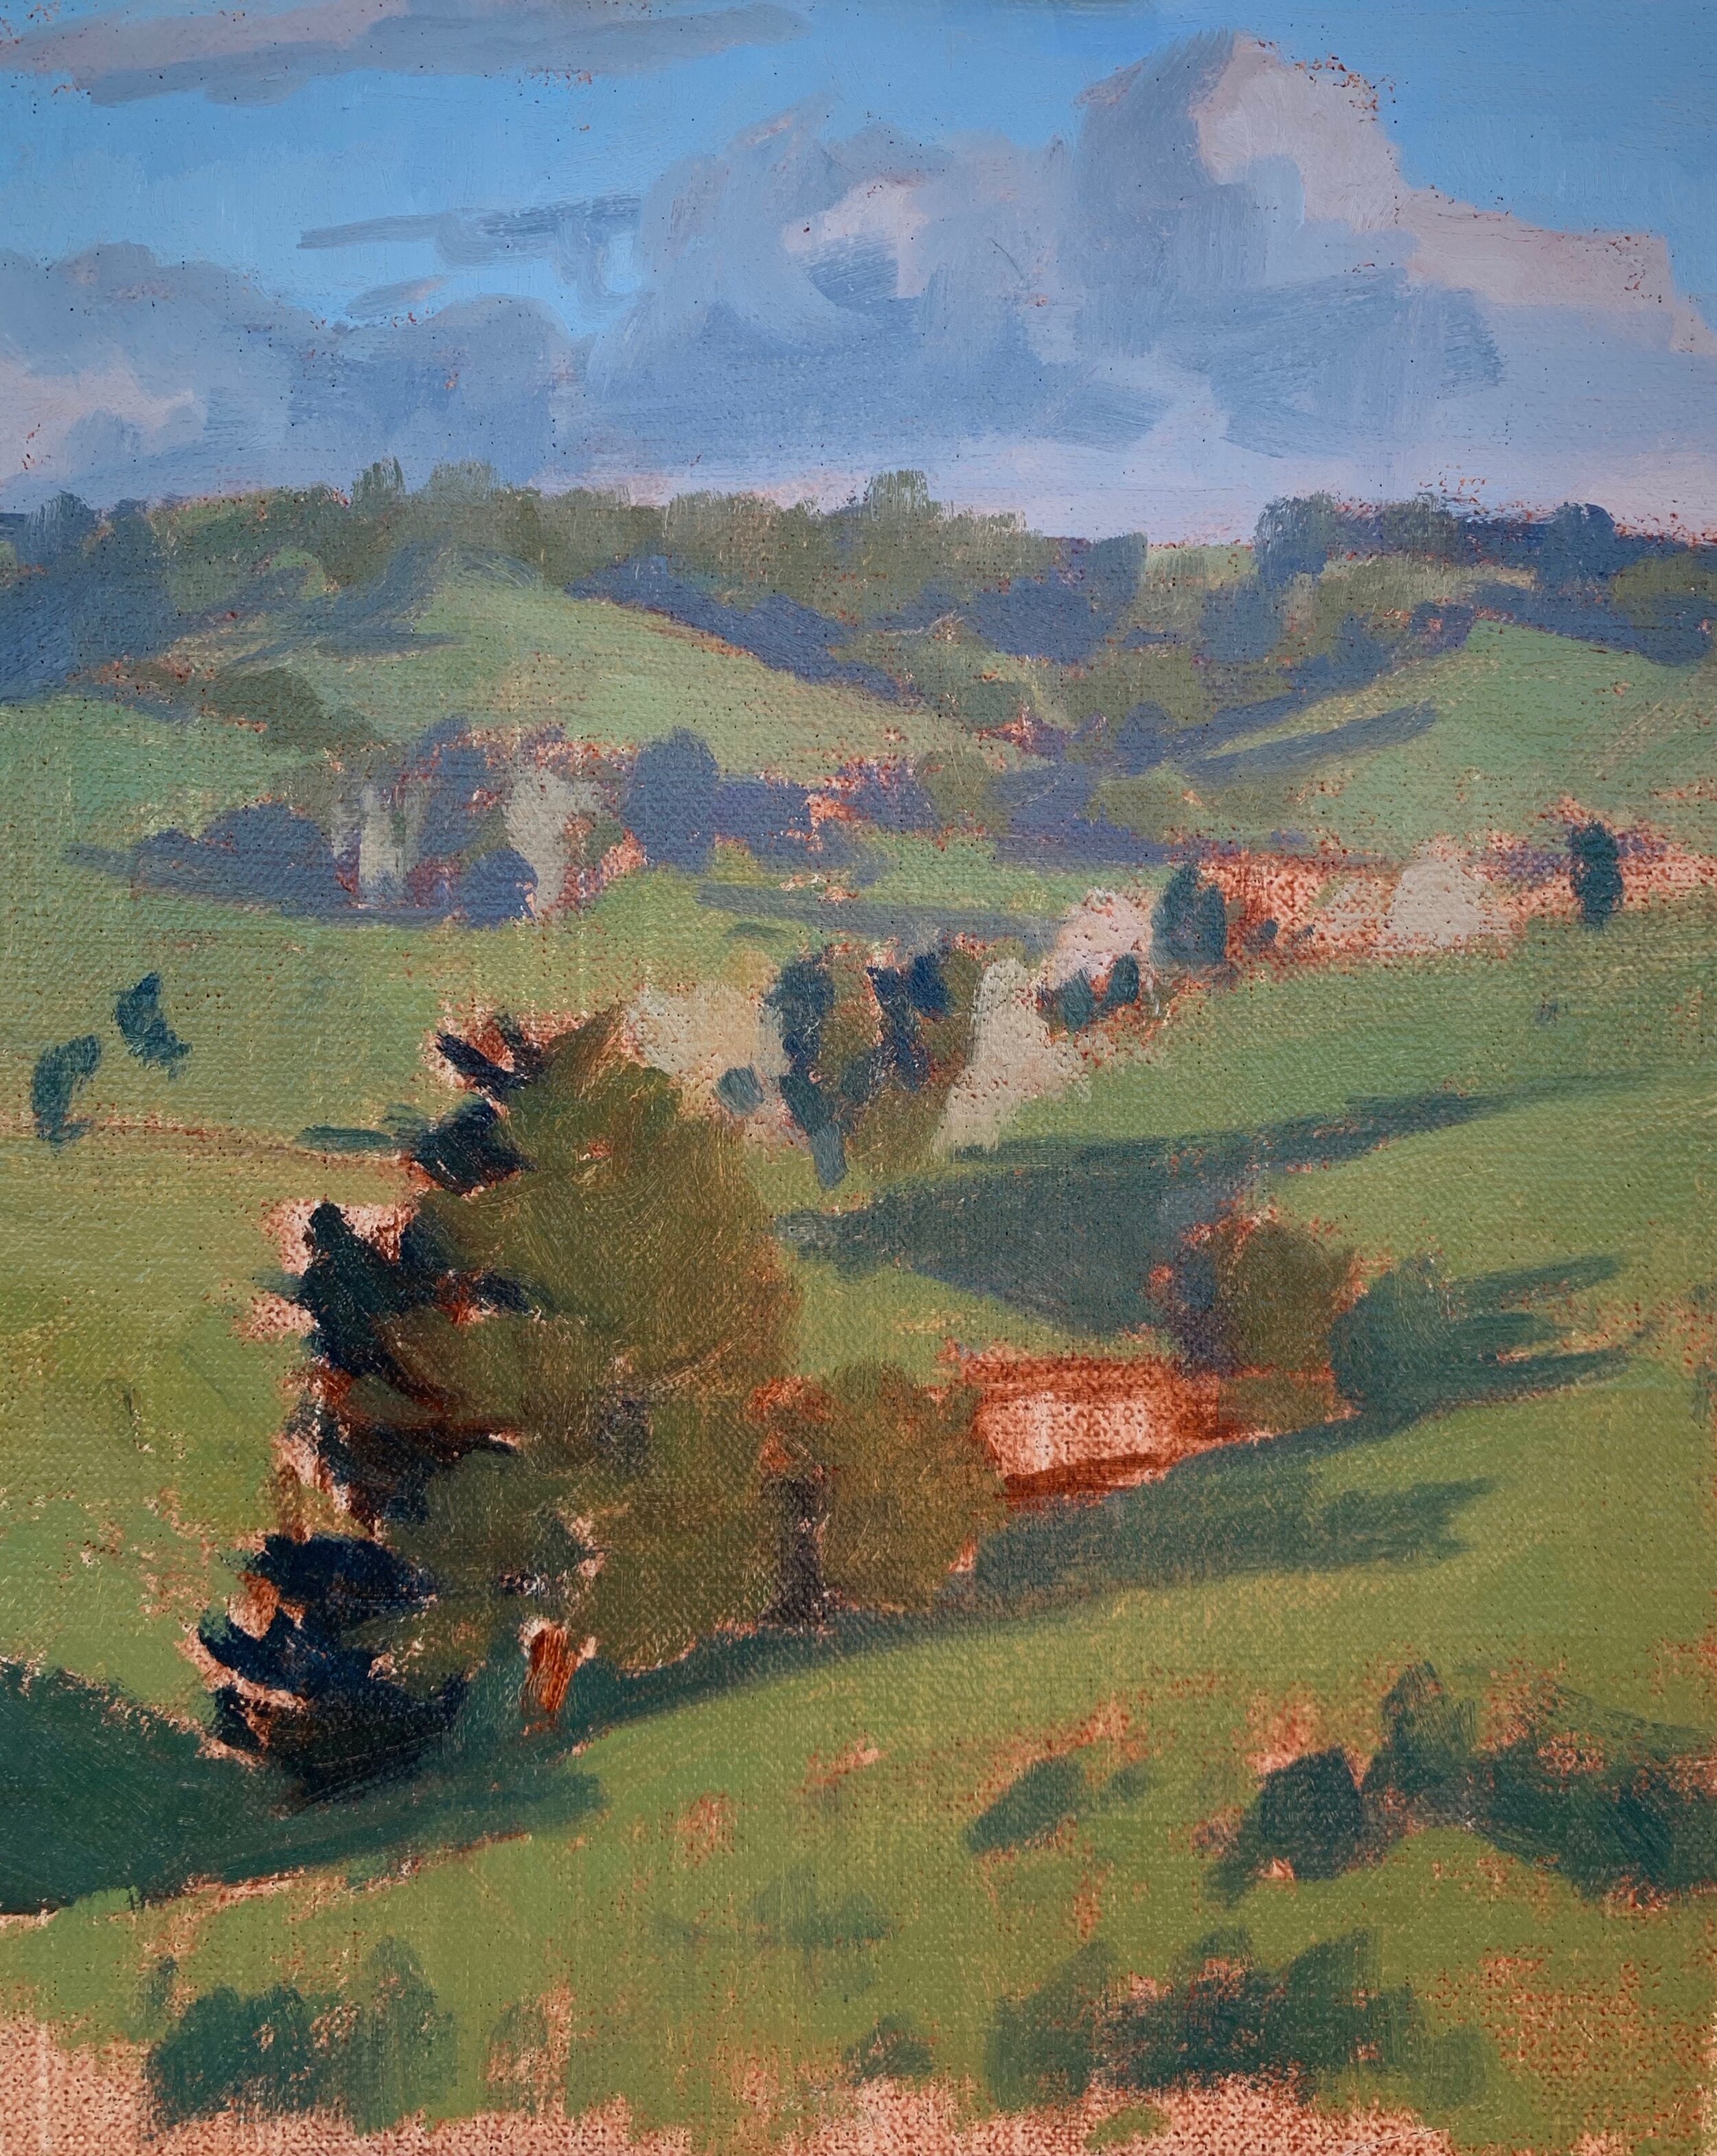
Reference Photos
Feel free to use these photos if you would like to have a go at painting this art work.
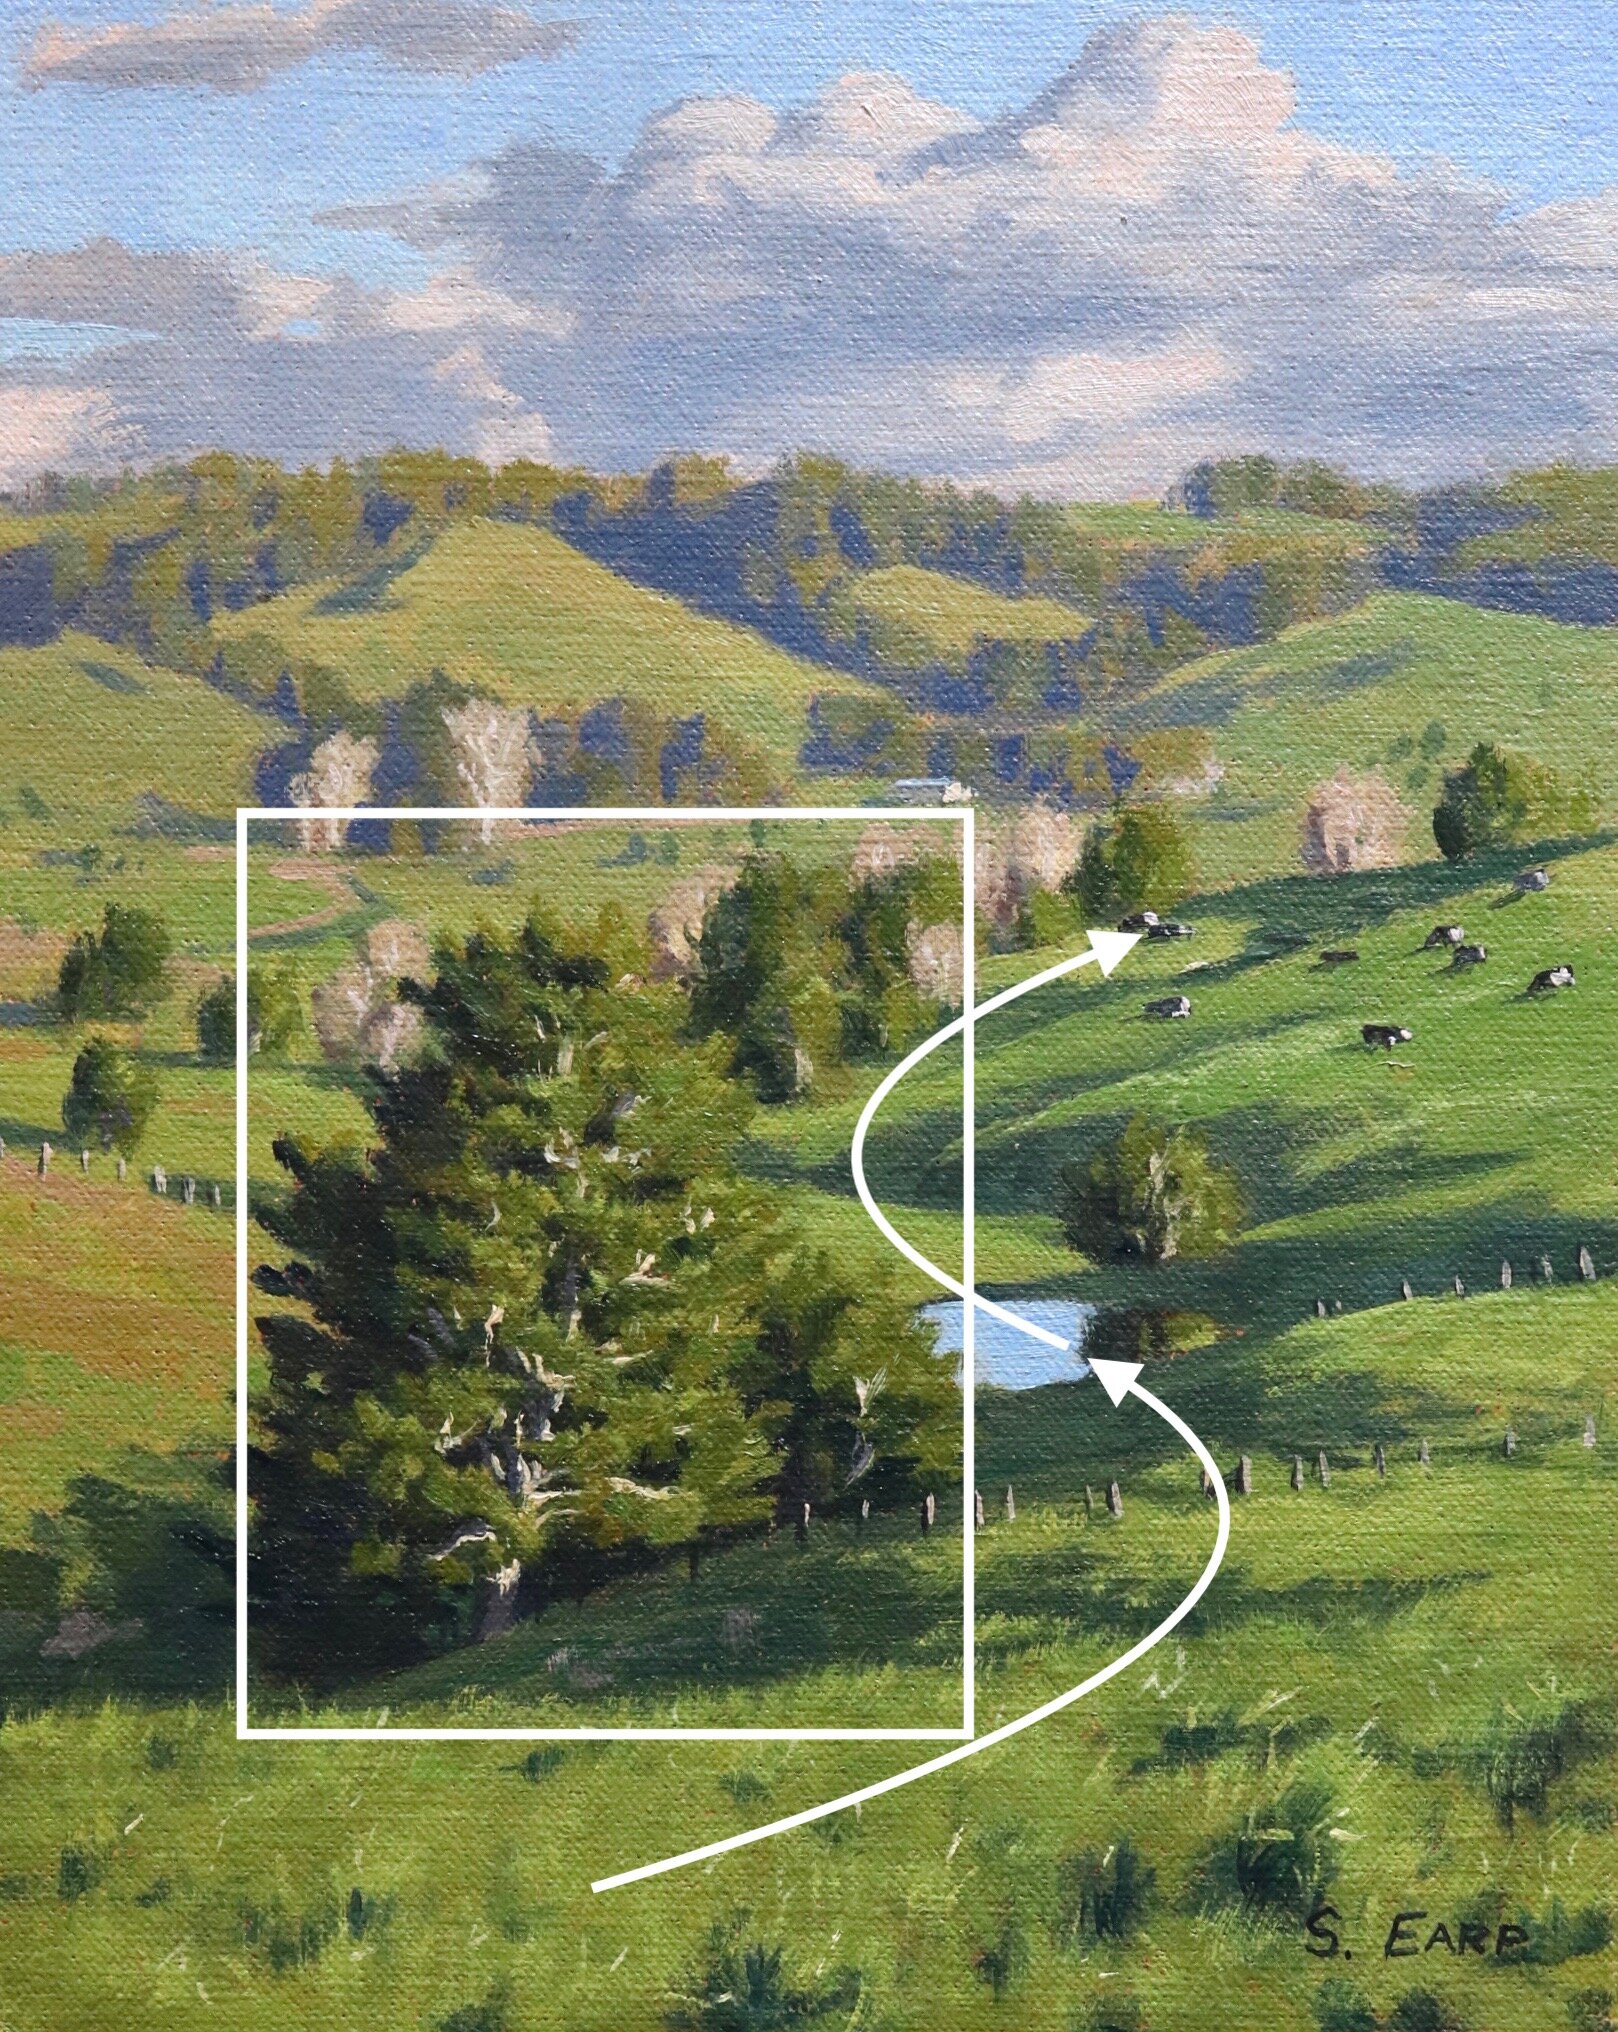
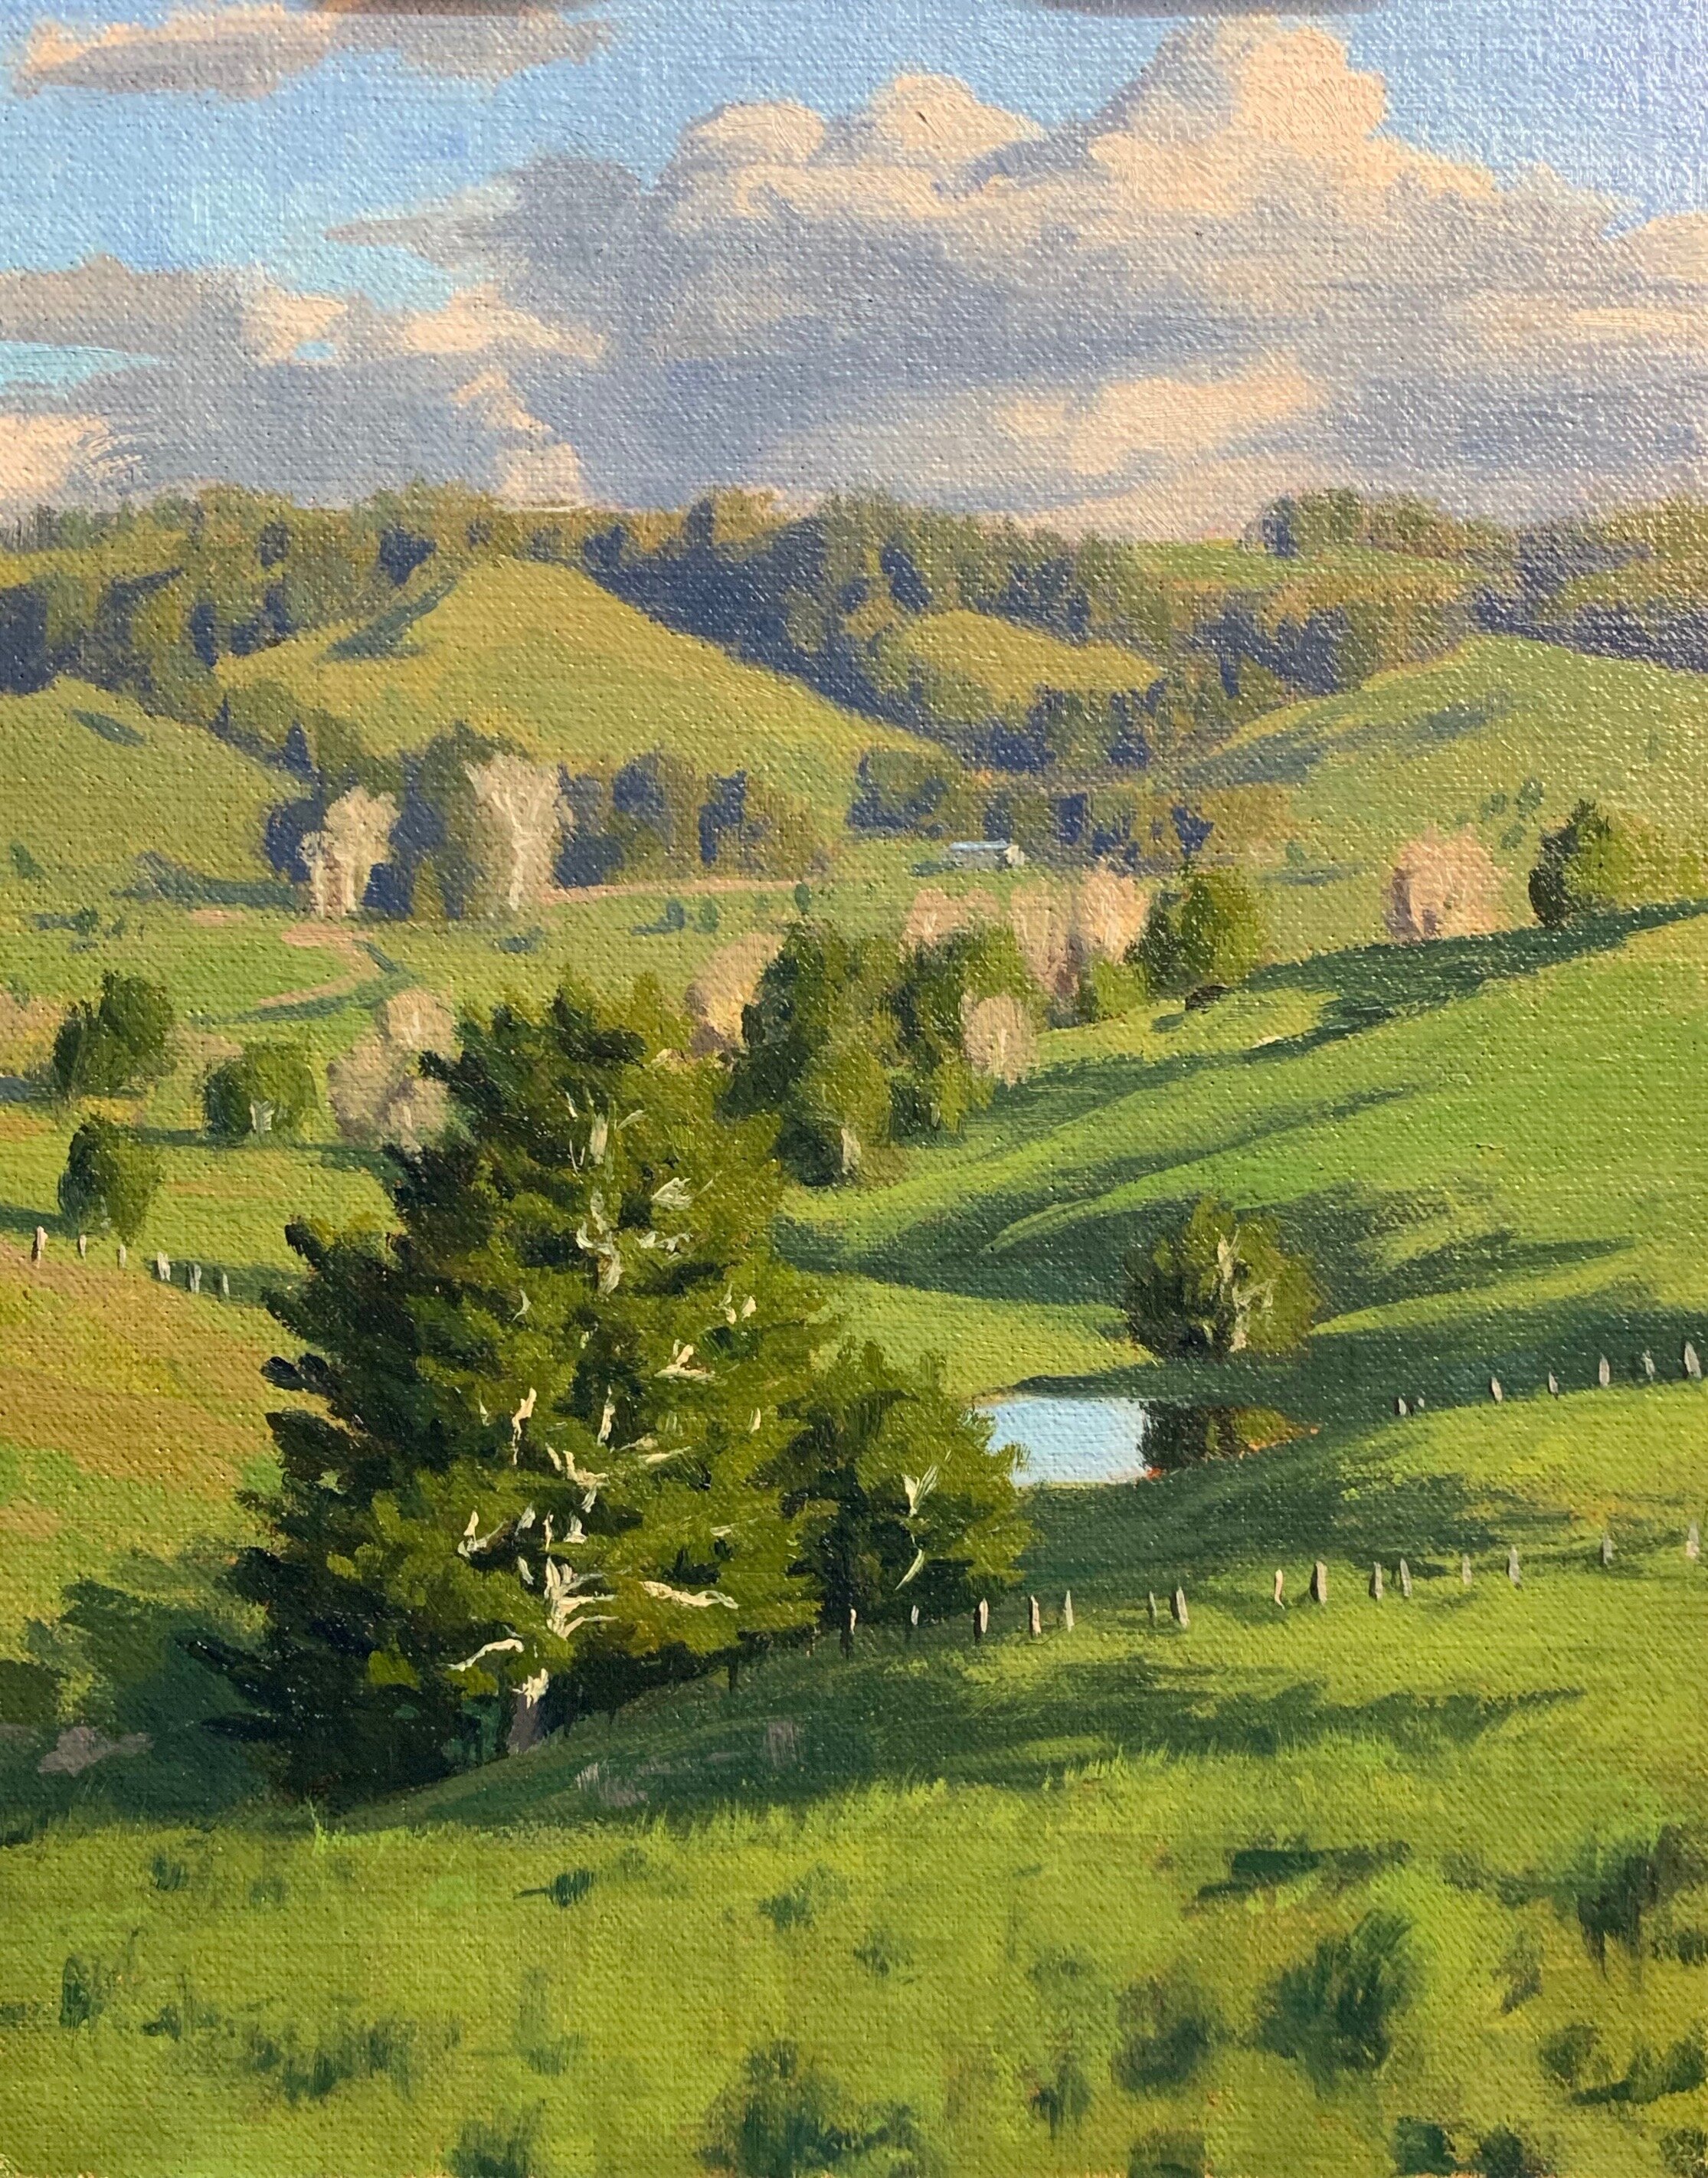
Composition
This composition implies rhythm more than anything and incorporates and ‘S’ composition also known as a compound curve. The large totara tree on the left is one of the main areas of interest in this composition.
Colours
I painted this artwork using oil paint and the colours I used in this painting are as follows:
- Titanium white
- Burnt sienna
- Yellow oxide
- Cadmium yellow
- Cadmium orange
- Quinacridone magenta
- Ultramarine blue
- Cobalt teal
- Phthalo green
Brushes
Here is a list of the brushes I used in this painting:
- No.5 flat
- No.2 flat
- No.3 filbert
- No.1 round
- No.0 round
- No.00 round
- 1/4 dagger
Painting Tutorial
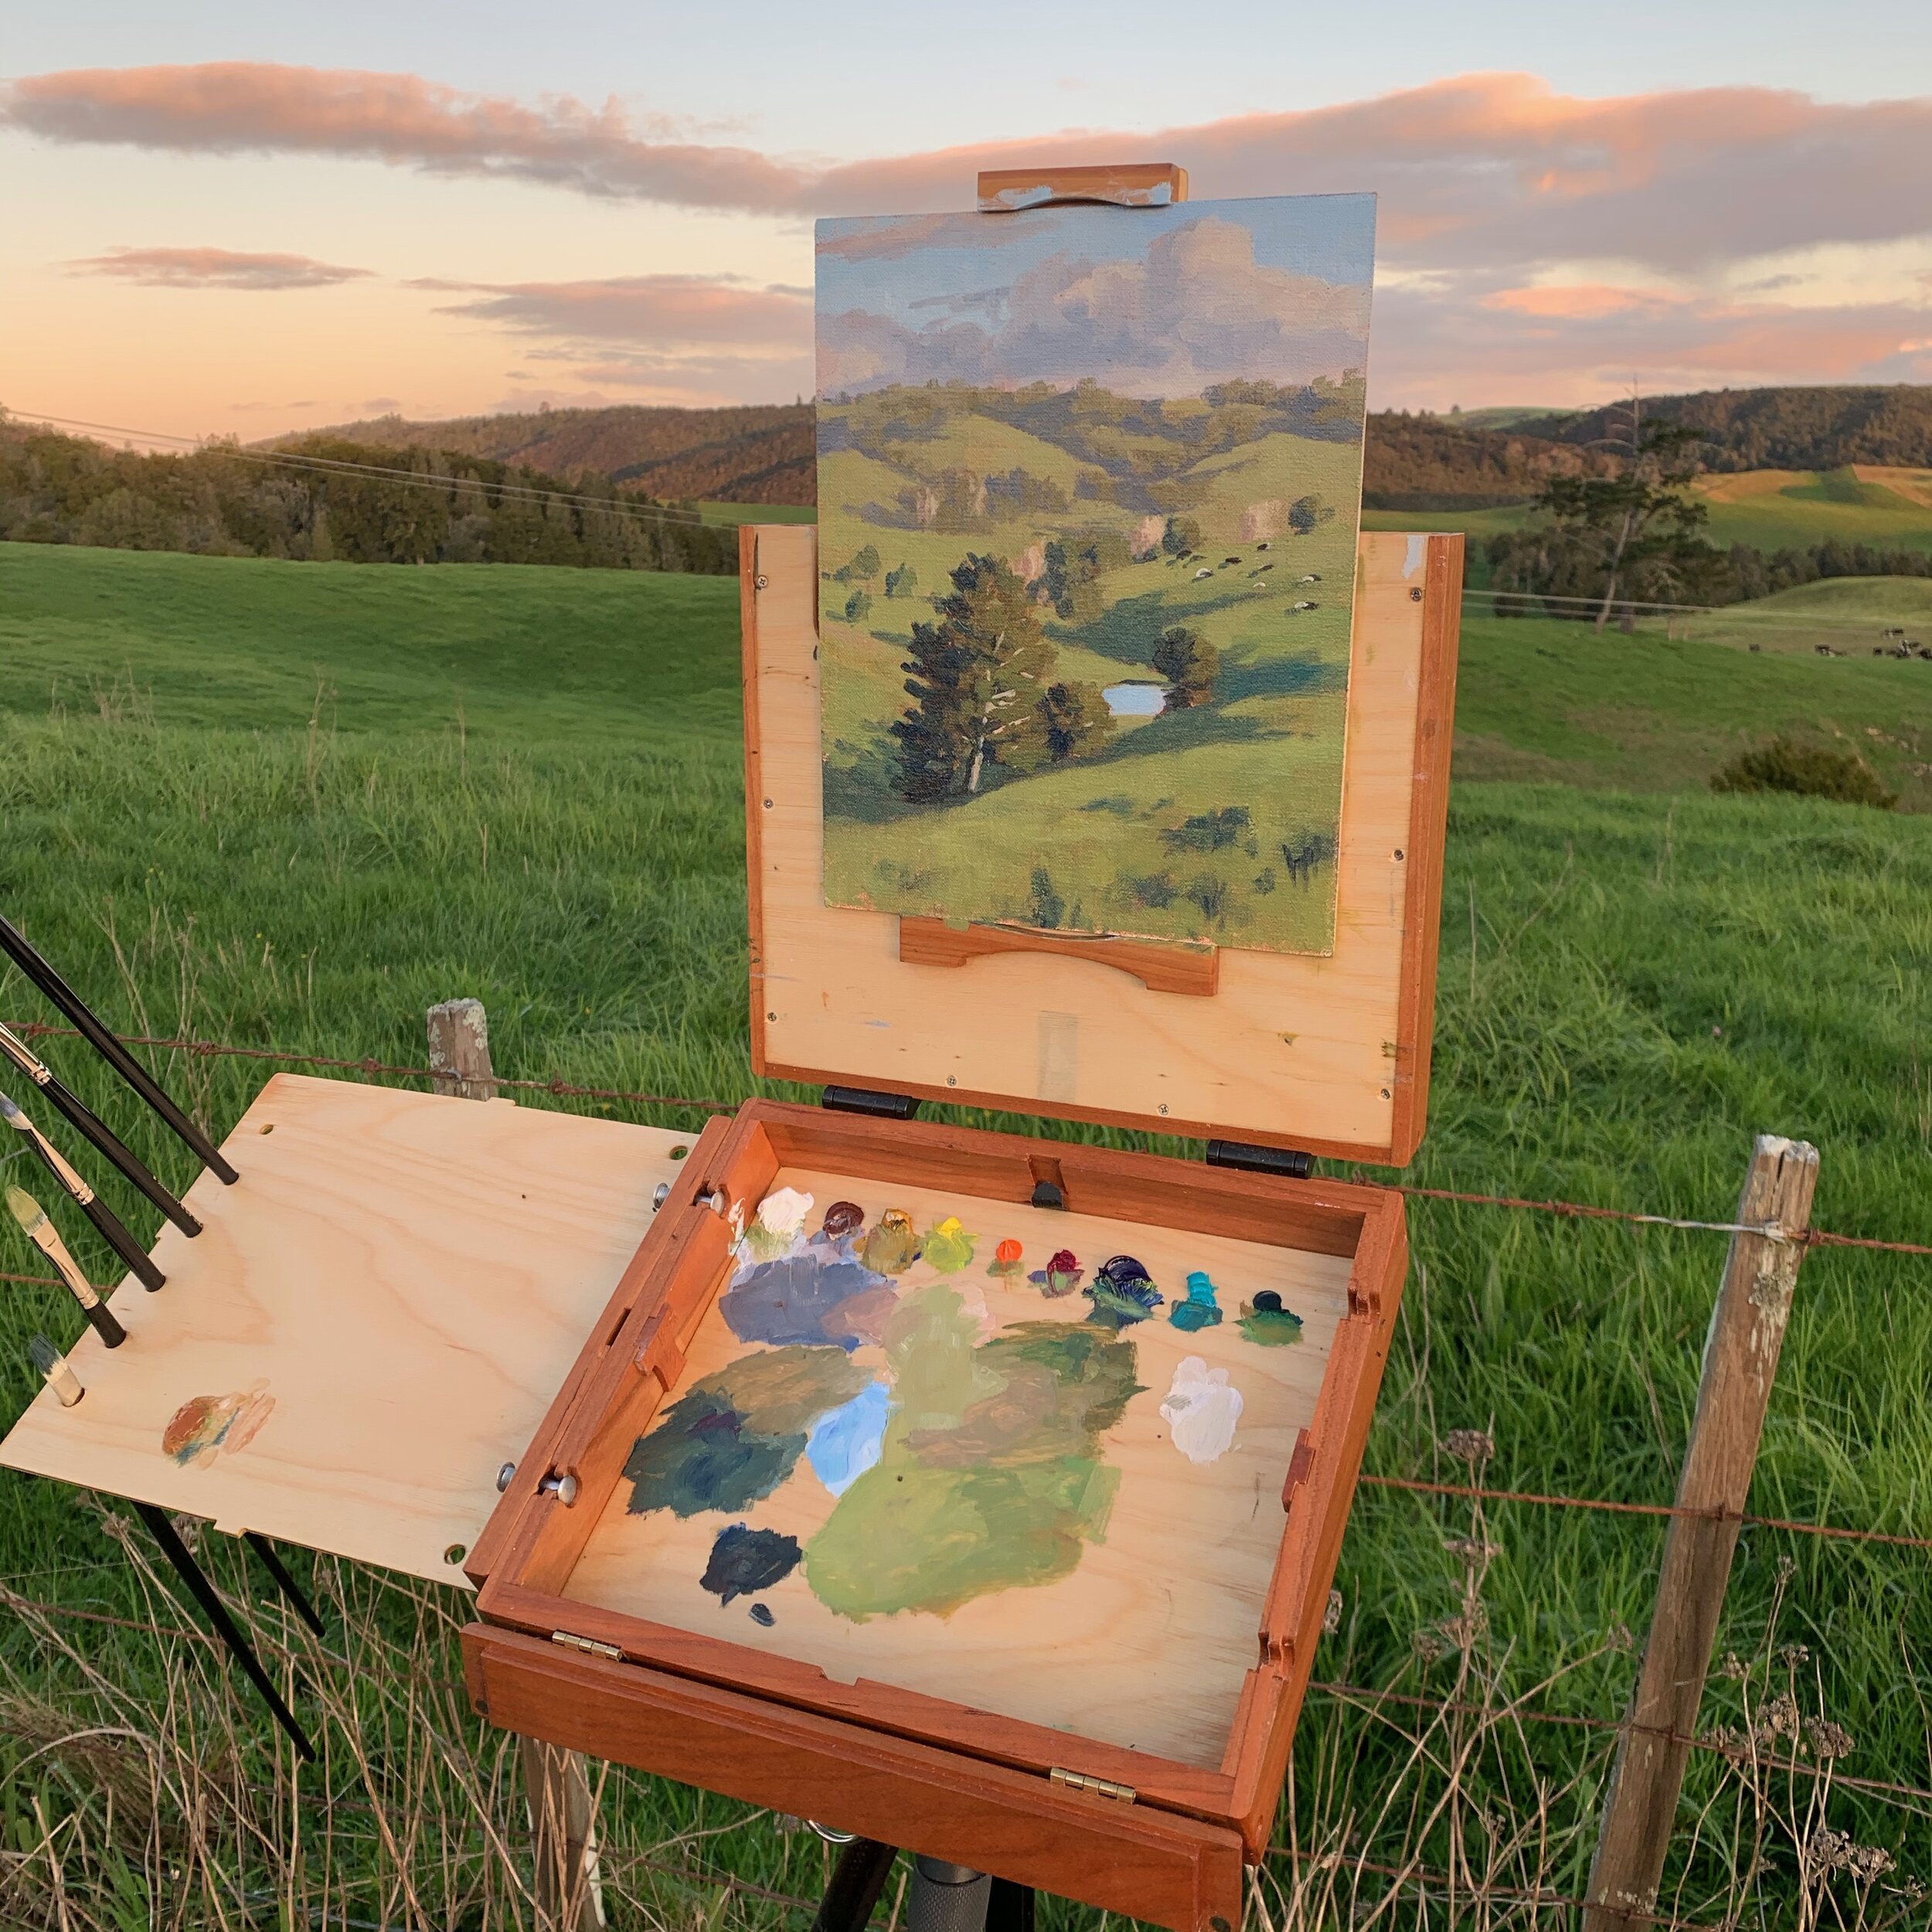
This art work began as a plein air field painting in a location near Oromahoe in Northland, New Zealand. The area is characterised by rolling hills, farms and a mix of European, Australian and native New Zealand trees. Whenever I start a studio painting I use the exact same method of painting when I’m out in the field as when I am painting en plein air.
I am painting on a 8” x 10” linen panel that I toned with a layer of burnt sienna. The burnt sienna adds vibrancy to the painting.
I sketched out the composition using a No.1 round brush with burnt sienna mixed with Liquin Original (Liquin). I am using Liquin as a medium to thin the paint, it also has the advantage of speeding up the drying time.
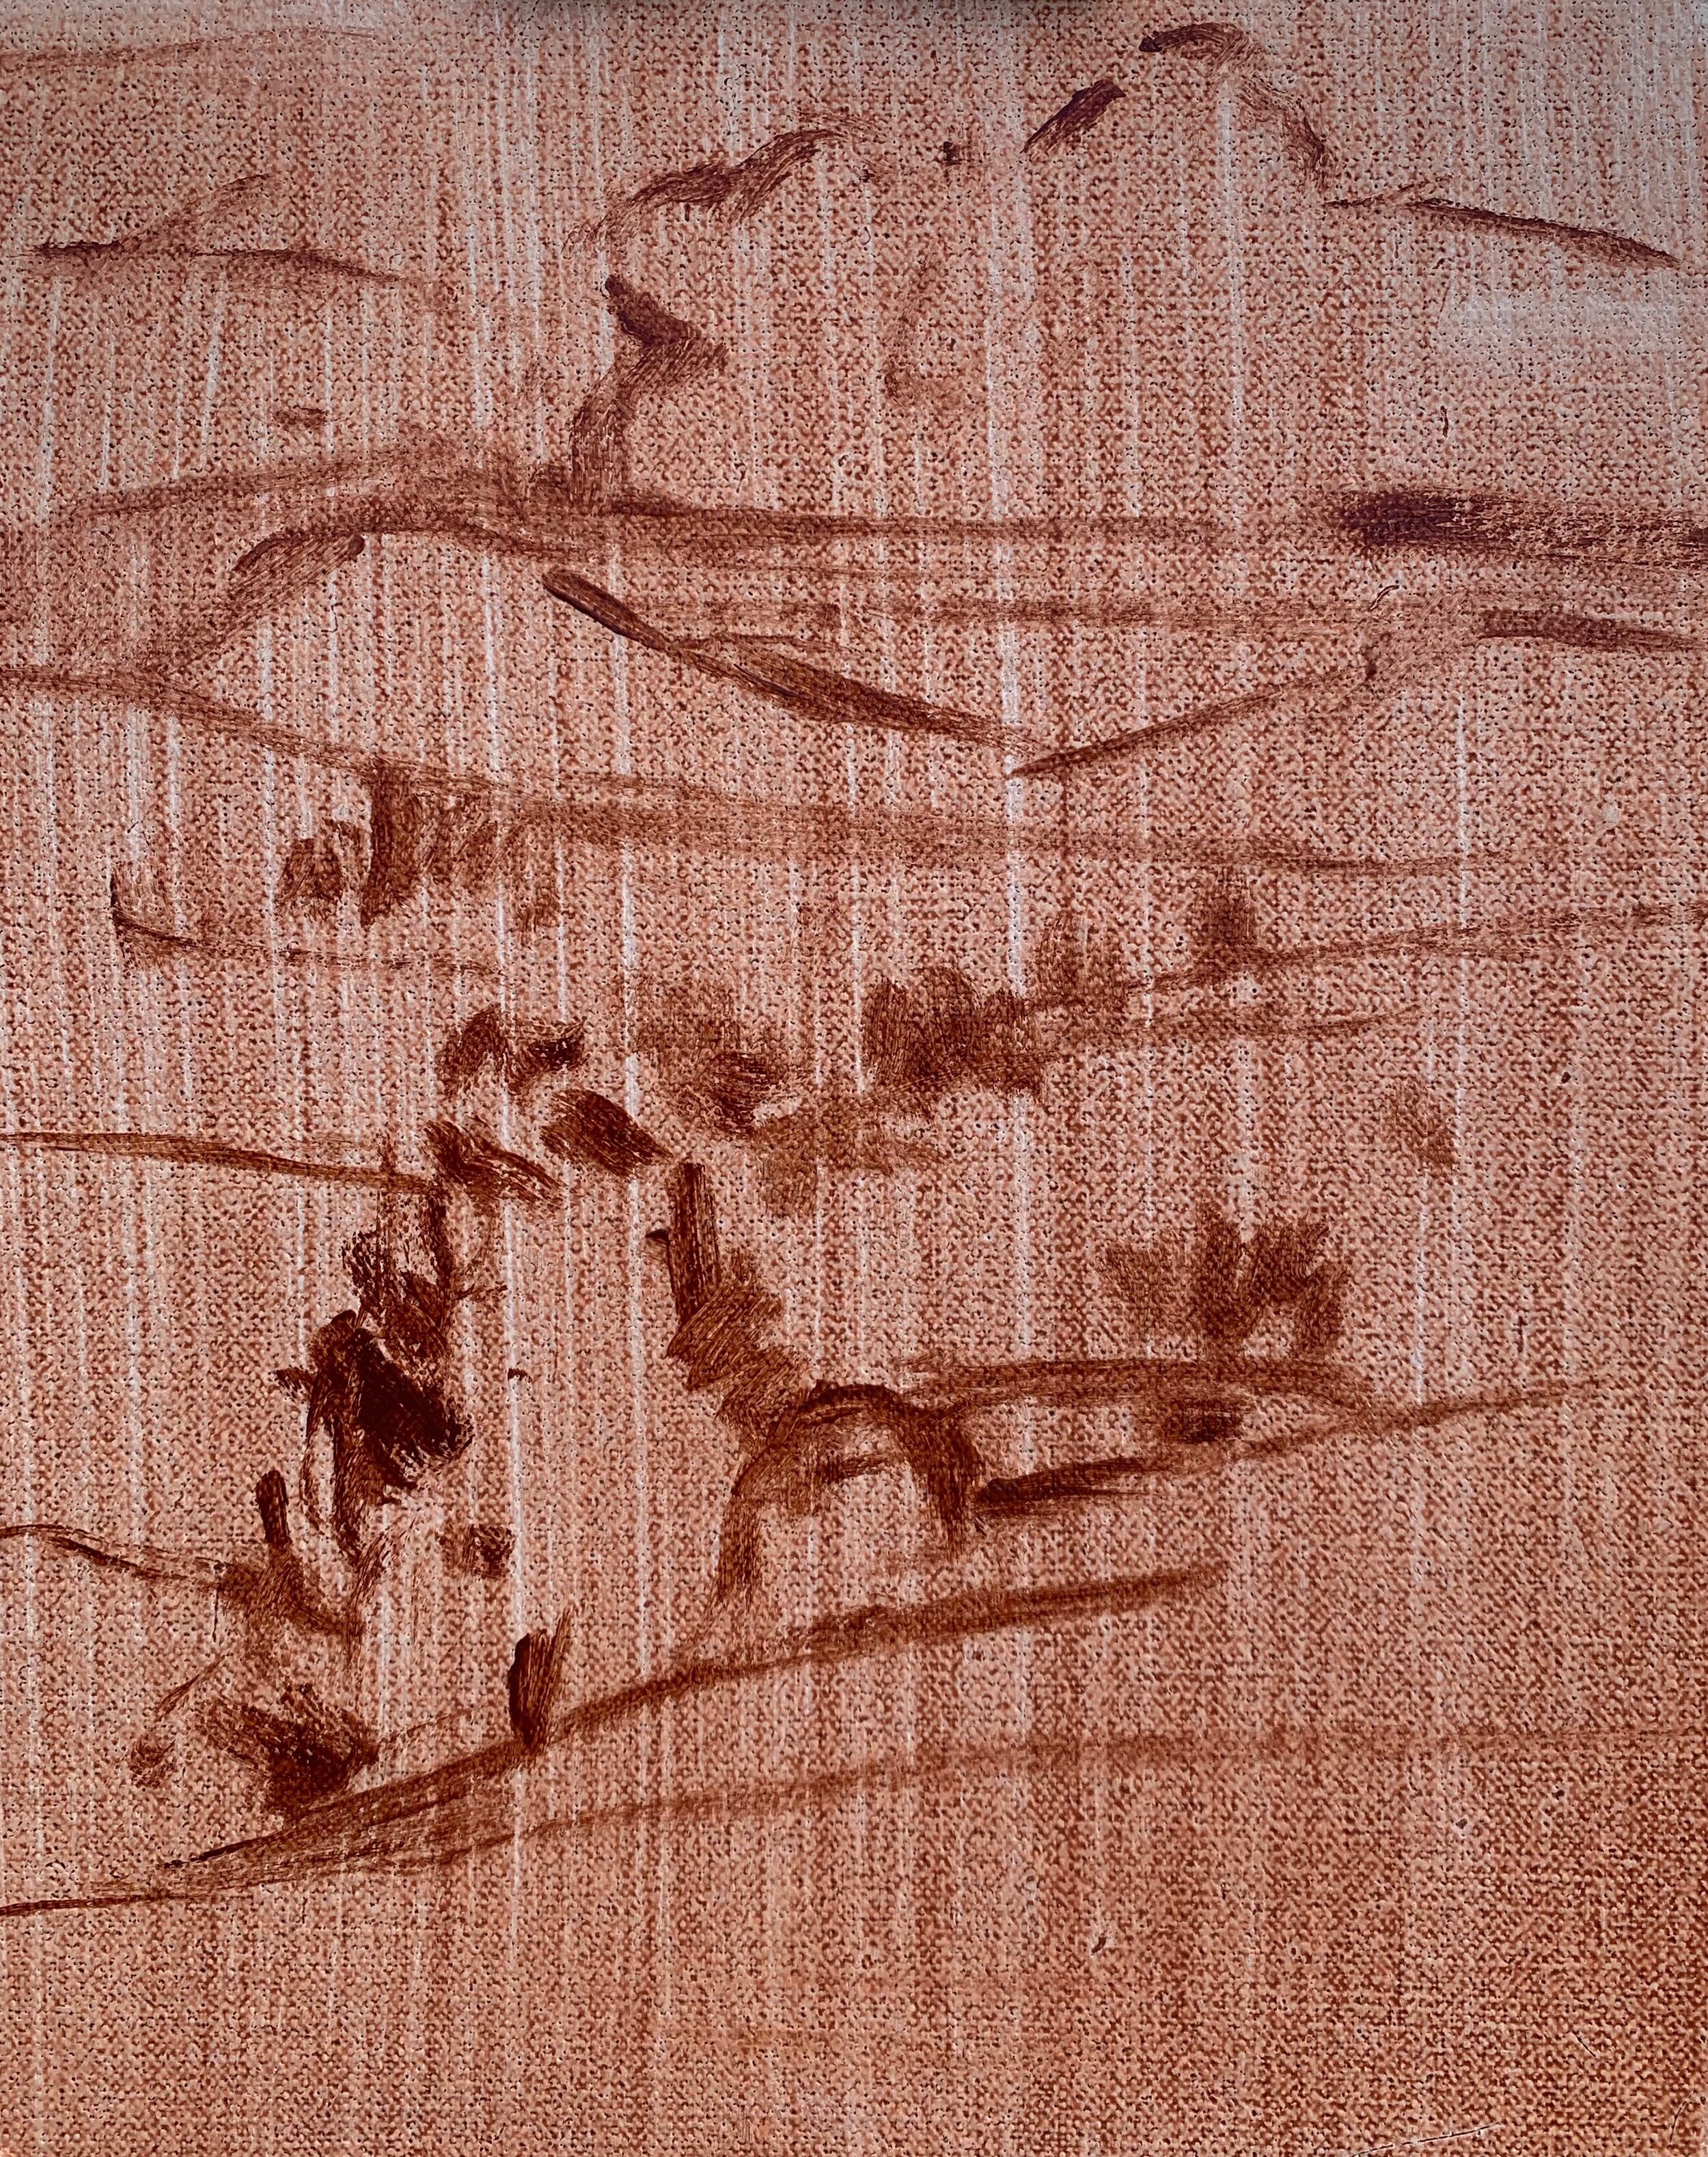
Once I have sketched out my composition I began the painting. The most important thing was to paint my dark values first, then it didn’t matter that the light was changing. The darkest values are found in the trees shadows and grass. I also painted the cloud shadows first as well.
The cloud shadows are a mix of ultramarine blue, burnt sienna and titanium white. I use the same colours for the shadows in the distant trees but with less titanium white so the value of the colour is darker.
The colours for the tree shadows include a mix of ultramarine blue, yellow oxide and I also used the same colours for the grass shadows but I also added cobalt teal, quinacridone magenta and titanium white.
The grass shadows are lighter in value than the tree shadows.
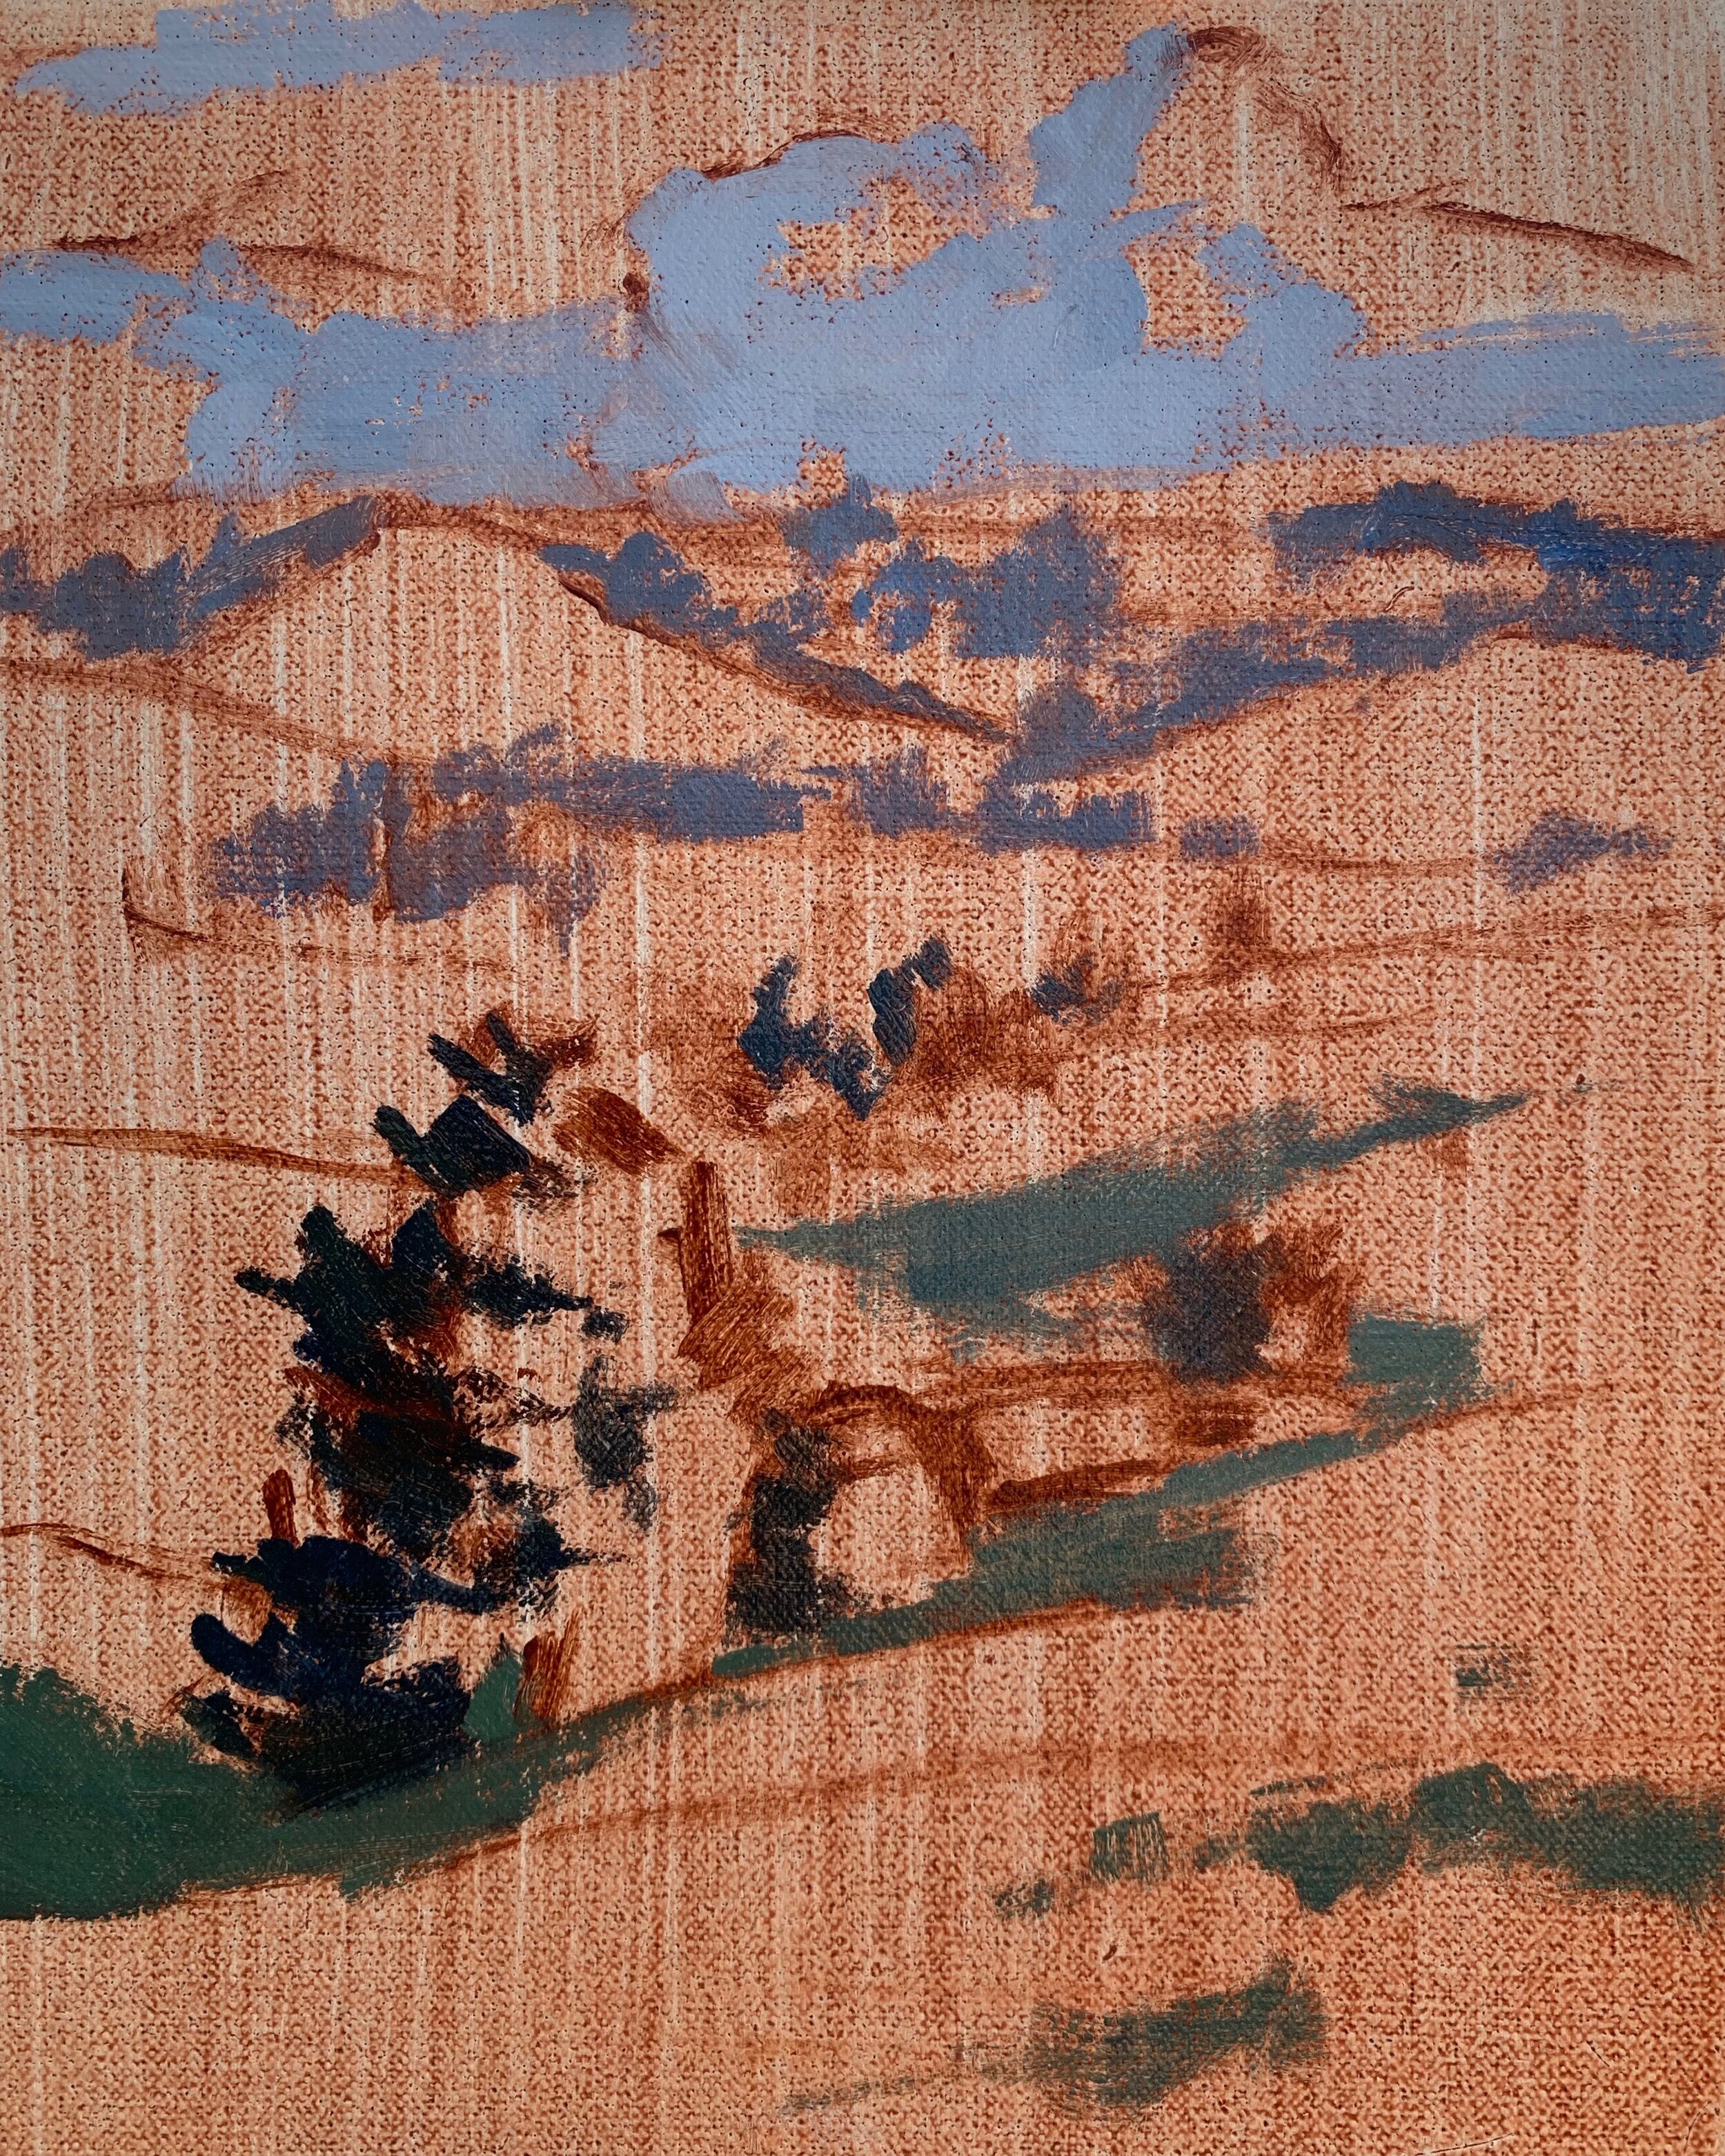
I paint the cloud highlights with a mix of titanium white and burnt sienna. The burnt sienna helps the clouds to sit back in the composition.
The sky is a mix of ultramarine blue, cobalt teal and titanium white.
Painting the Fields and Grass
When it comes to painting fields and grass one of the key things to keep in mind is that grass is one of the lighter values you will find in the landscape and green wavelengths of light don’t travel well over long distances. Therefore greens start to drop out the further away in the landscape they are. If you keep this in mind this will help you to paint more natural looking greens.
When painting the distant fields in this landscape I desaturate my green mix which will help those fields to recede. In order to do this I create a green mix with lower chroma colours. I mix ultramarine blue, yellow oxide and titanium white. I also mix in a little cobalt teal and round off the mixture with quinacridone magenta.
The red in the quinacridone magenta is opposite to green on the colour wheel so this helps to desaturate the green.
As I work my way towards the mid ground and foreground I increase the saturation of my green by introducing cadmium yellow and a little phthalo green.
The most saturated green is found in the foreground.
Painting the Trees
Trees are often some of the darkest values you will find in the landscape so our green mix must be darker than the grass in order for the trees to stand out in the painting.
Totara trees have a similar colour to some species of pine trees but the fiolage can often be a little more olive.
I mixed the colours for the tree’s crown with a mix of ultramarine blue, yellow oxide, cadmium yellow and cadmium orange which gives the tree a nice olive green colour. I also mix in a little phthalo green to add texture here and there.
Painting the Trees on the Distant Hills
As we need to keep in mind that trees are some of the darkest values you will find in the landscape, they also need to sit back when painting trees that are in the distance.
For this I mix a low chroma green mix of ultramarine blue, yellow oxide, a little quinacridone magenta and titanium white.
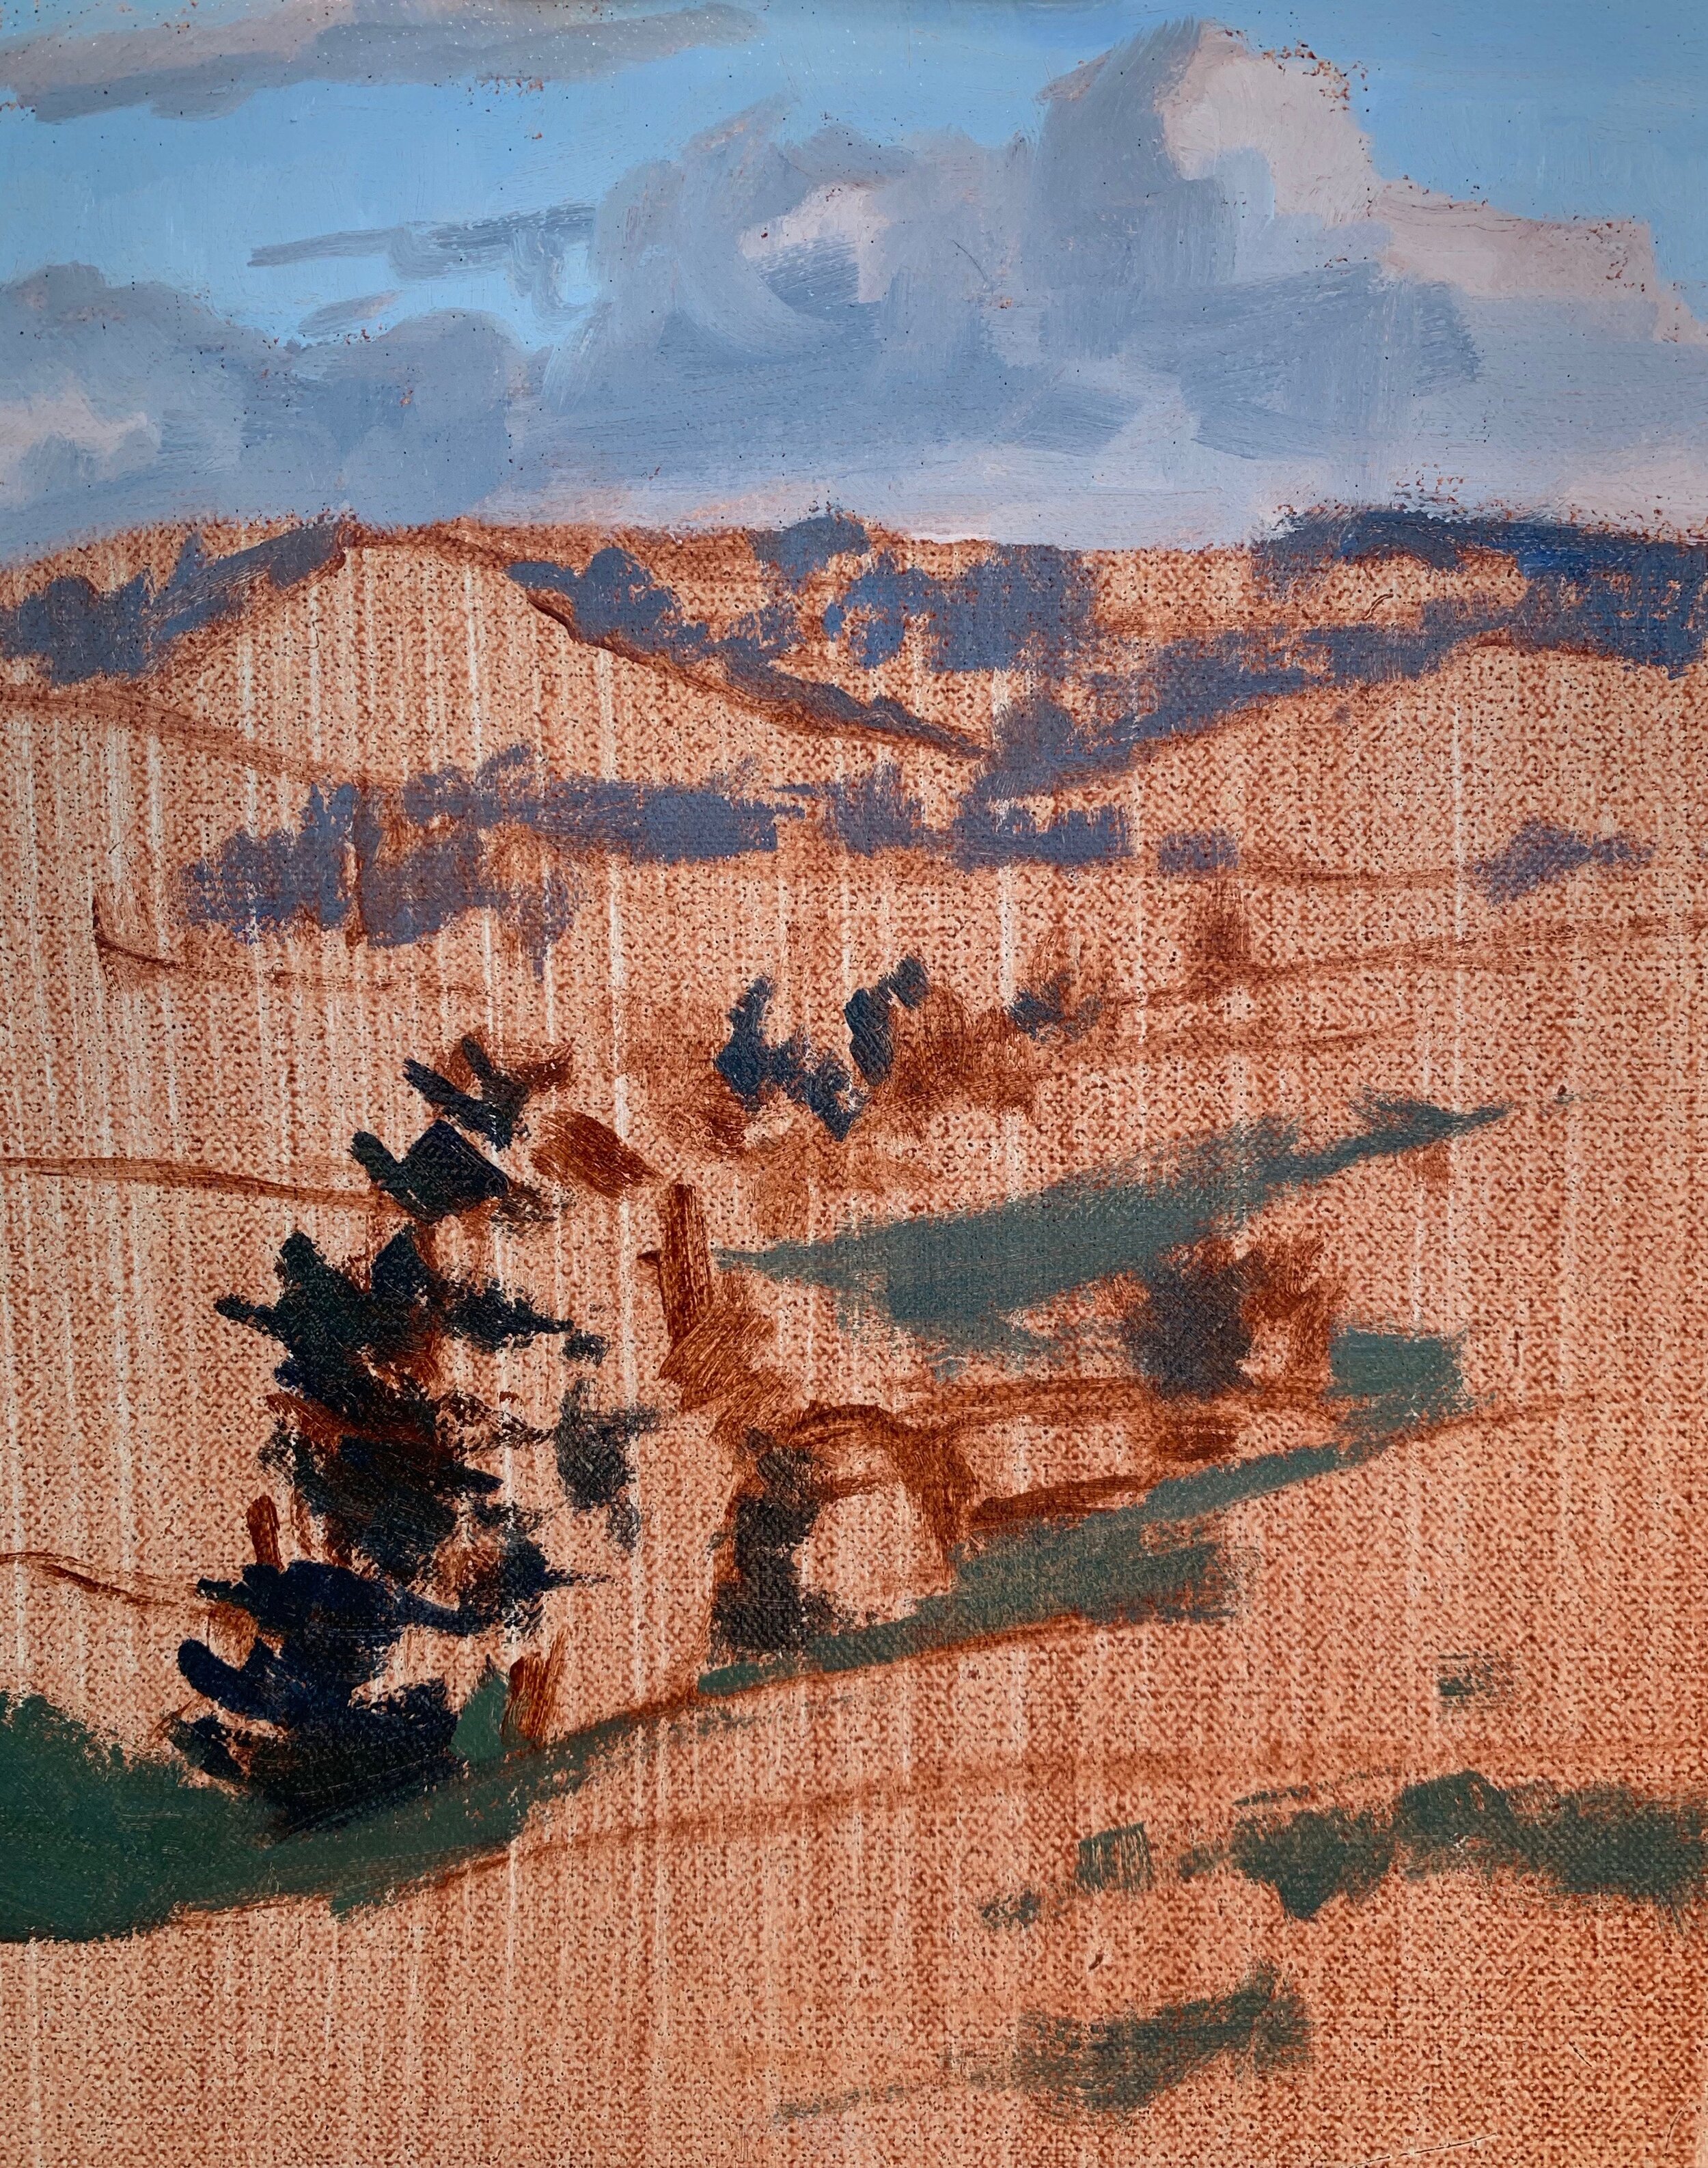
I finished up the plein air aspect of this art work by painting by restating the dark values in the trees, grass and clouds and then tidying up the whole painting.
I add a few details including the network of stems and branches within the trees and adding a few cows.
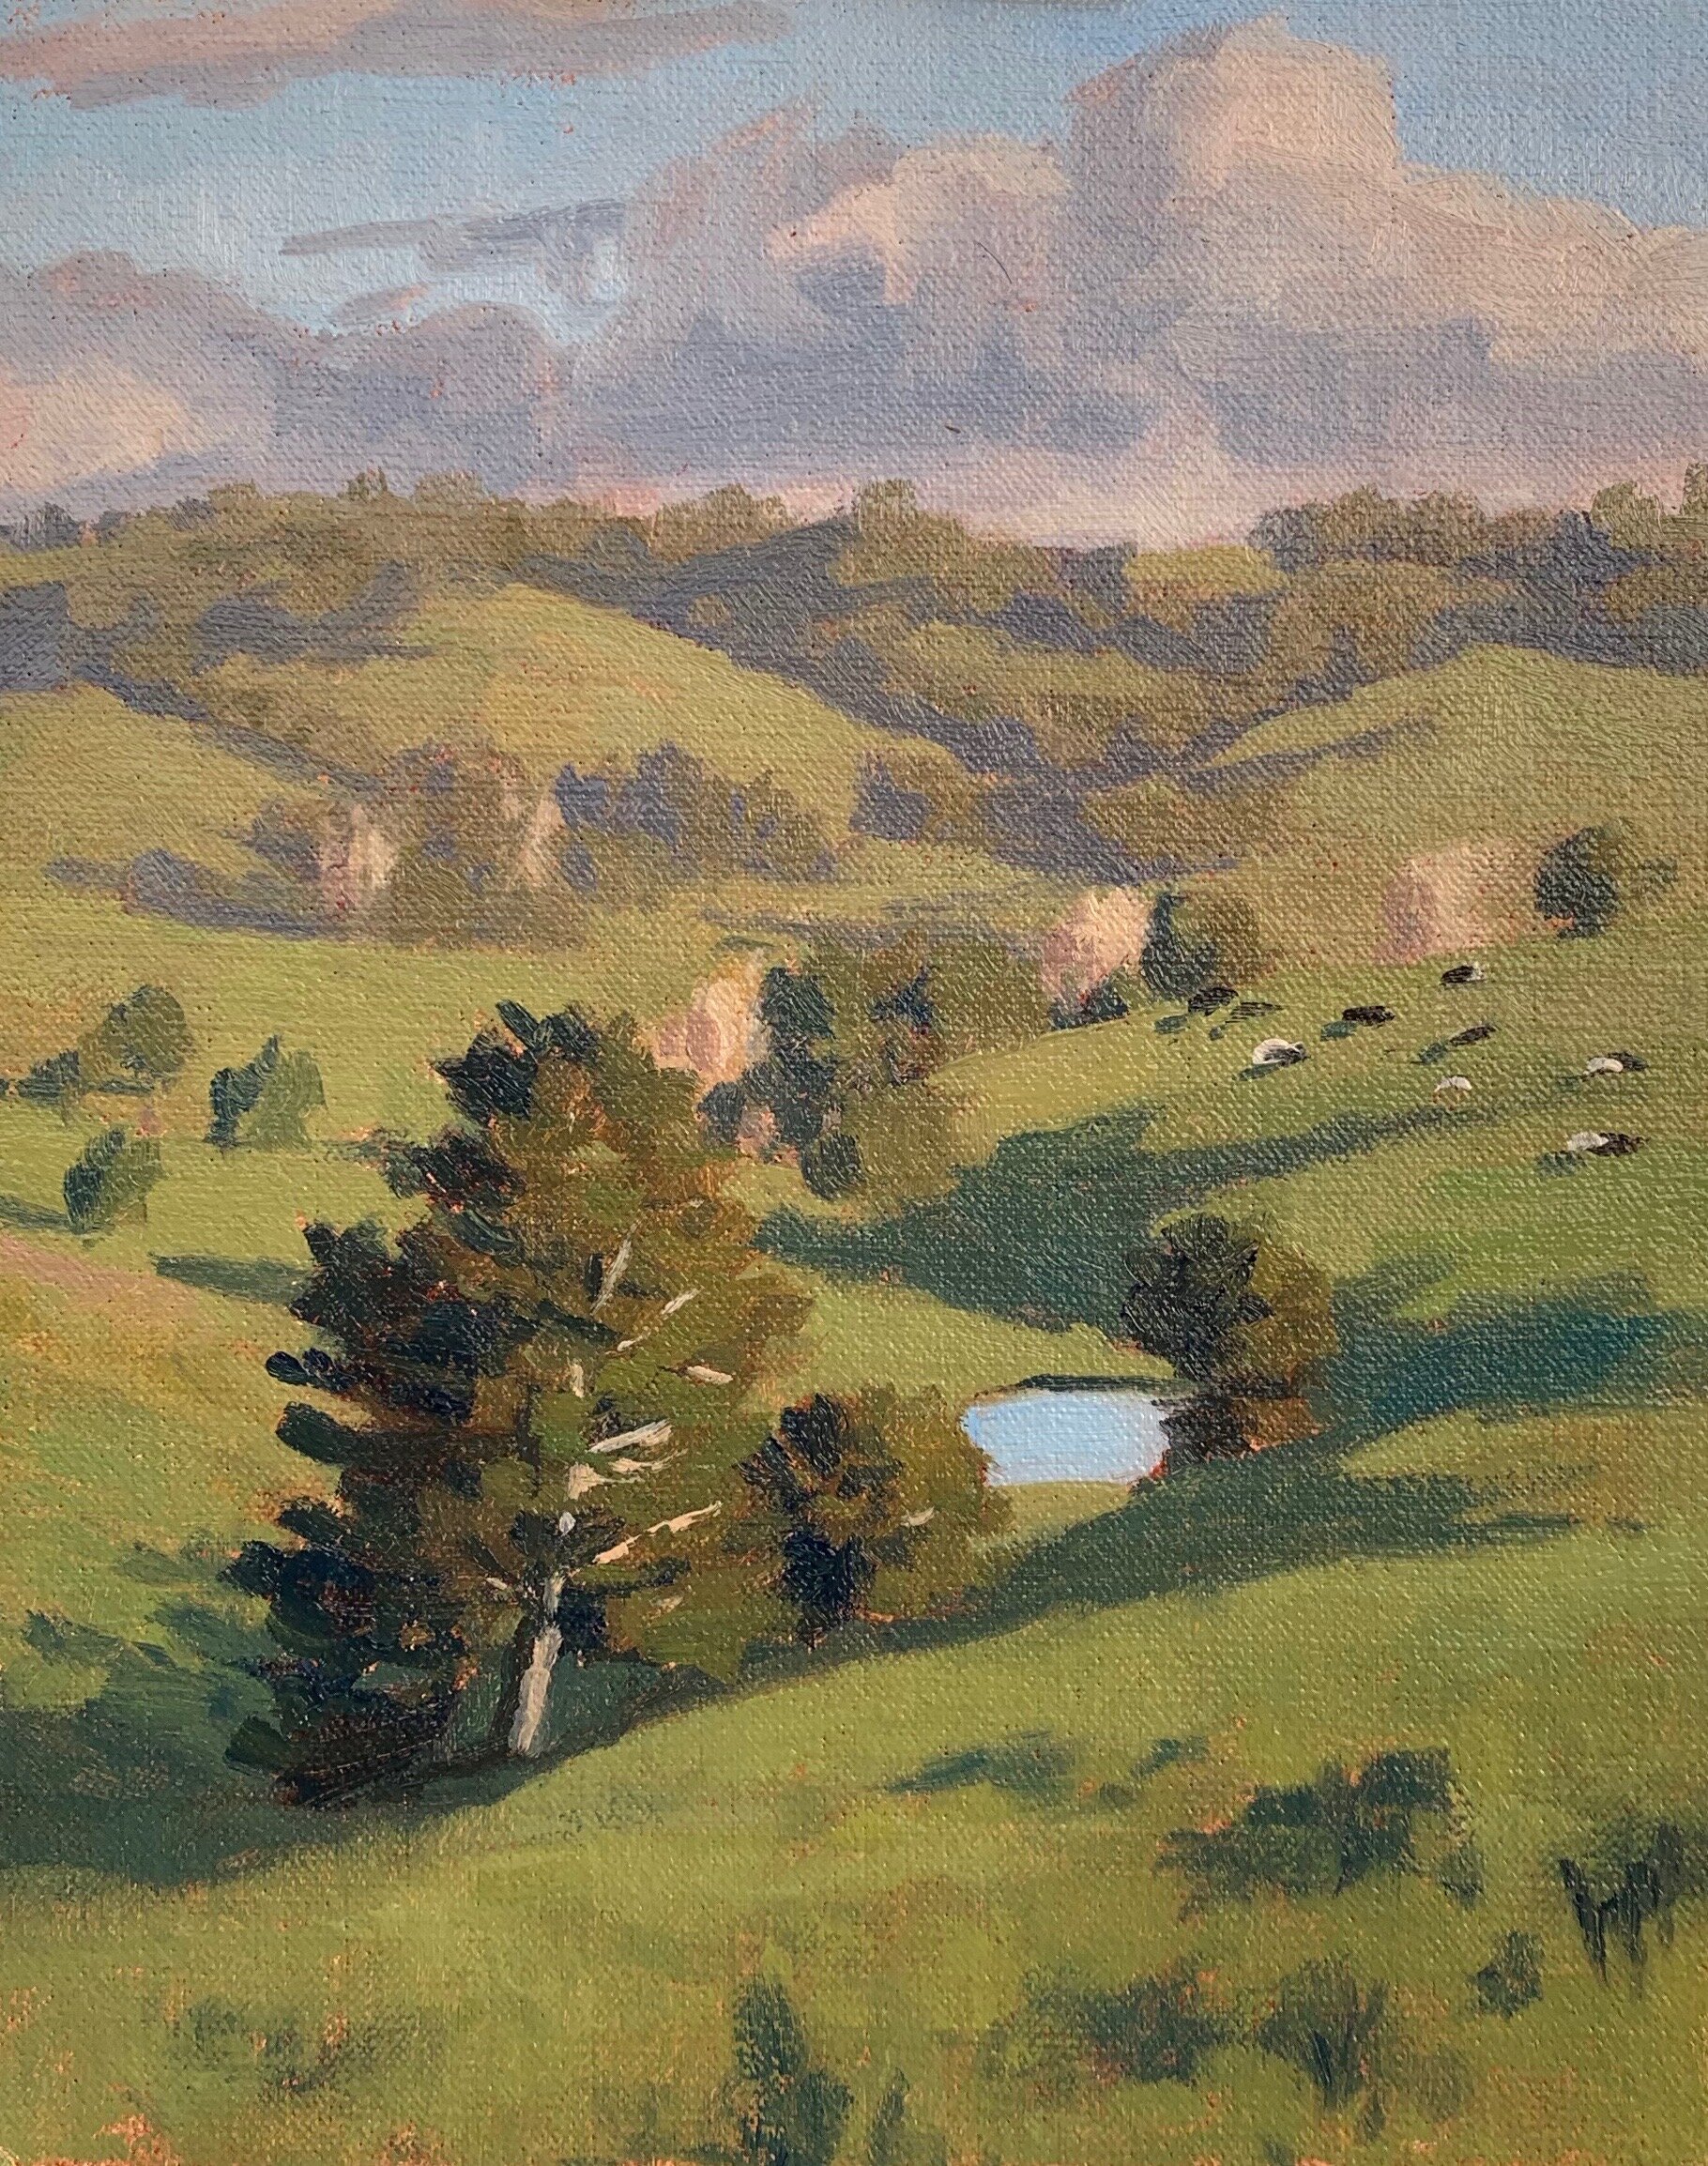
This is how the painting looked when I had just finished painting it in the field.
Back to the Studio…
I let the painting dry for a couple of days and then began adding details to this painting. Essentially I am using the same colours that I used when I was painting in the field.
I am now using smaller brushes, mainly No.2 flat brushes and No.3 filberts. I refine the shapes of the clouds and I work on the trees on the distant hills.
I decided to make the value of those trees in the distance a little darker.
When adding more details to the grass in the foreground I used a 1/4” bristle dagger brush to start with and painted in an upwards motion.
At this point in the painting I model the paint within the foliage of the totara tree in the foreground using a 1/4” dagger brush and a No.3 filbert. I build up the the foliage with lighter layers of paint to communicate a three dimensional form.
I begin adding highlights to the fields in the mid ground and I am using the same colour combination that I used when I was paint this art work in the field but adding more titanium white into my mix to make the value lighter.
I add detail to the network of branches and stems in the trees and paint the suggestion of fences that define the boundaries of the fields.
Adding the Final Details
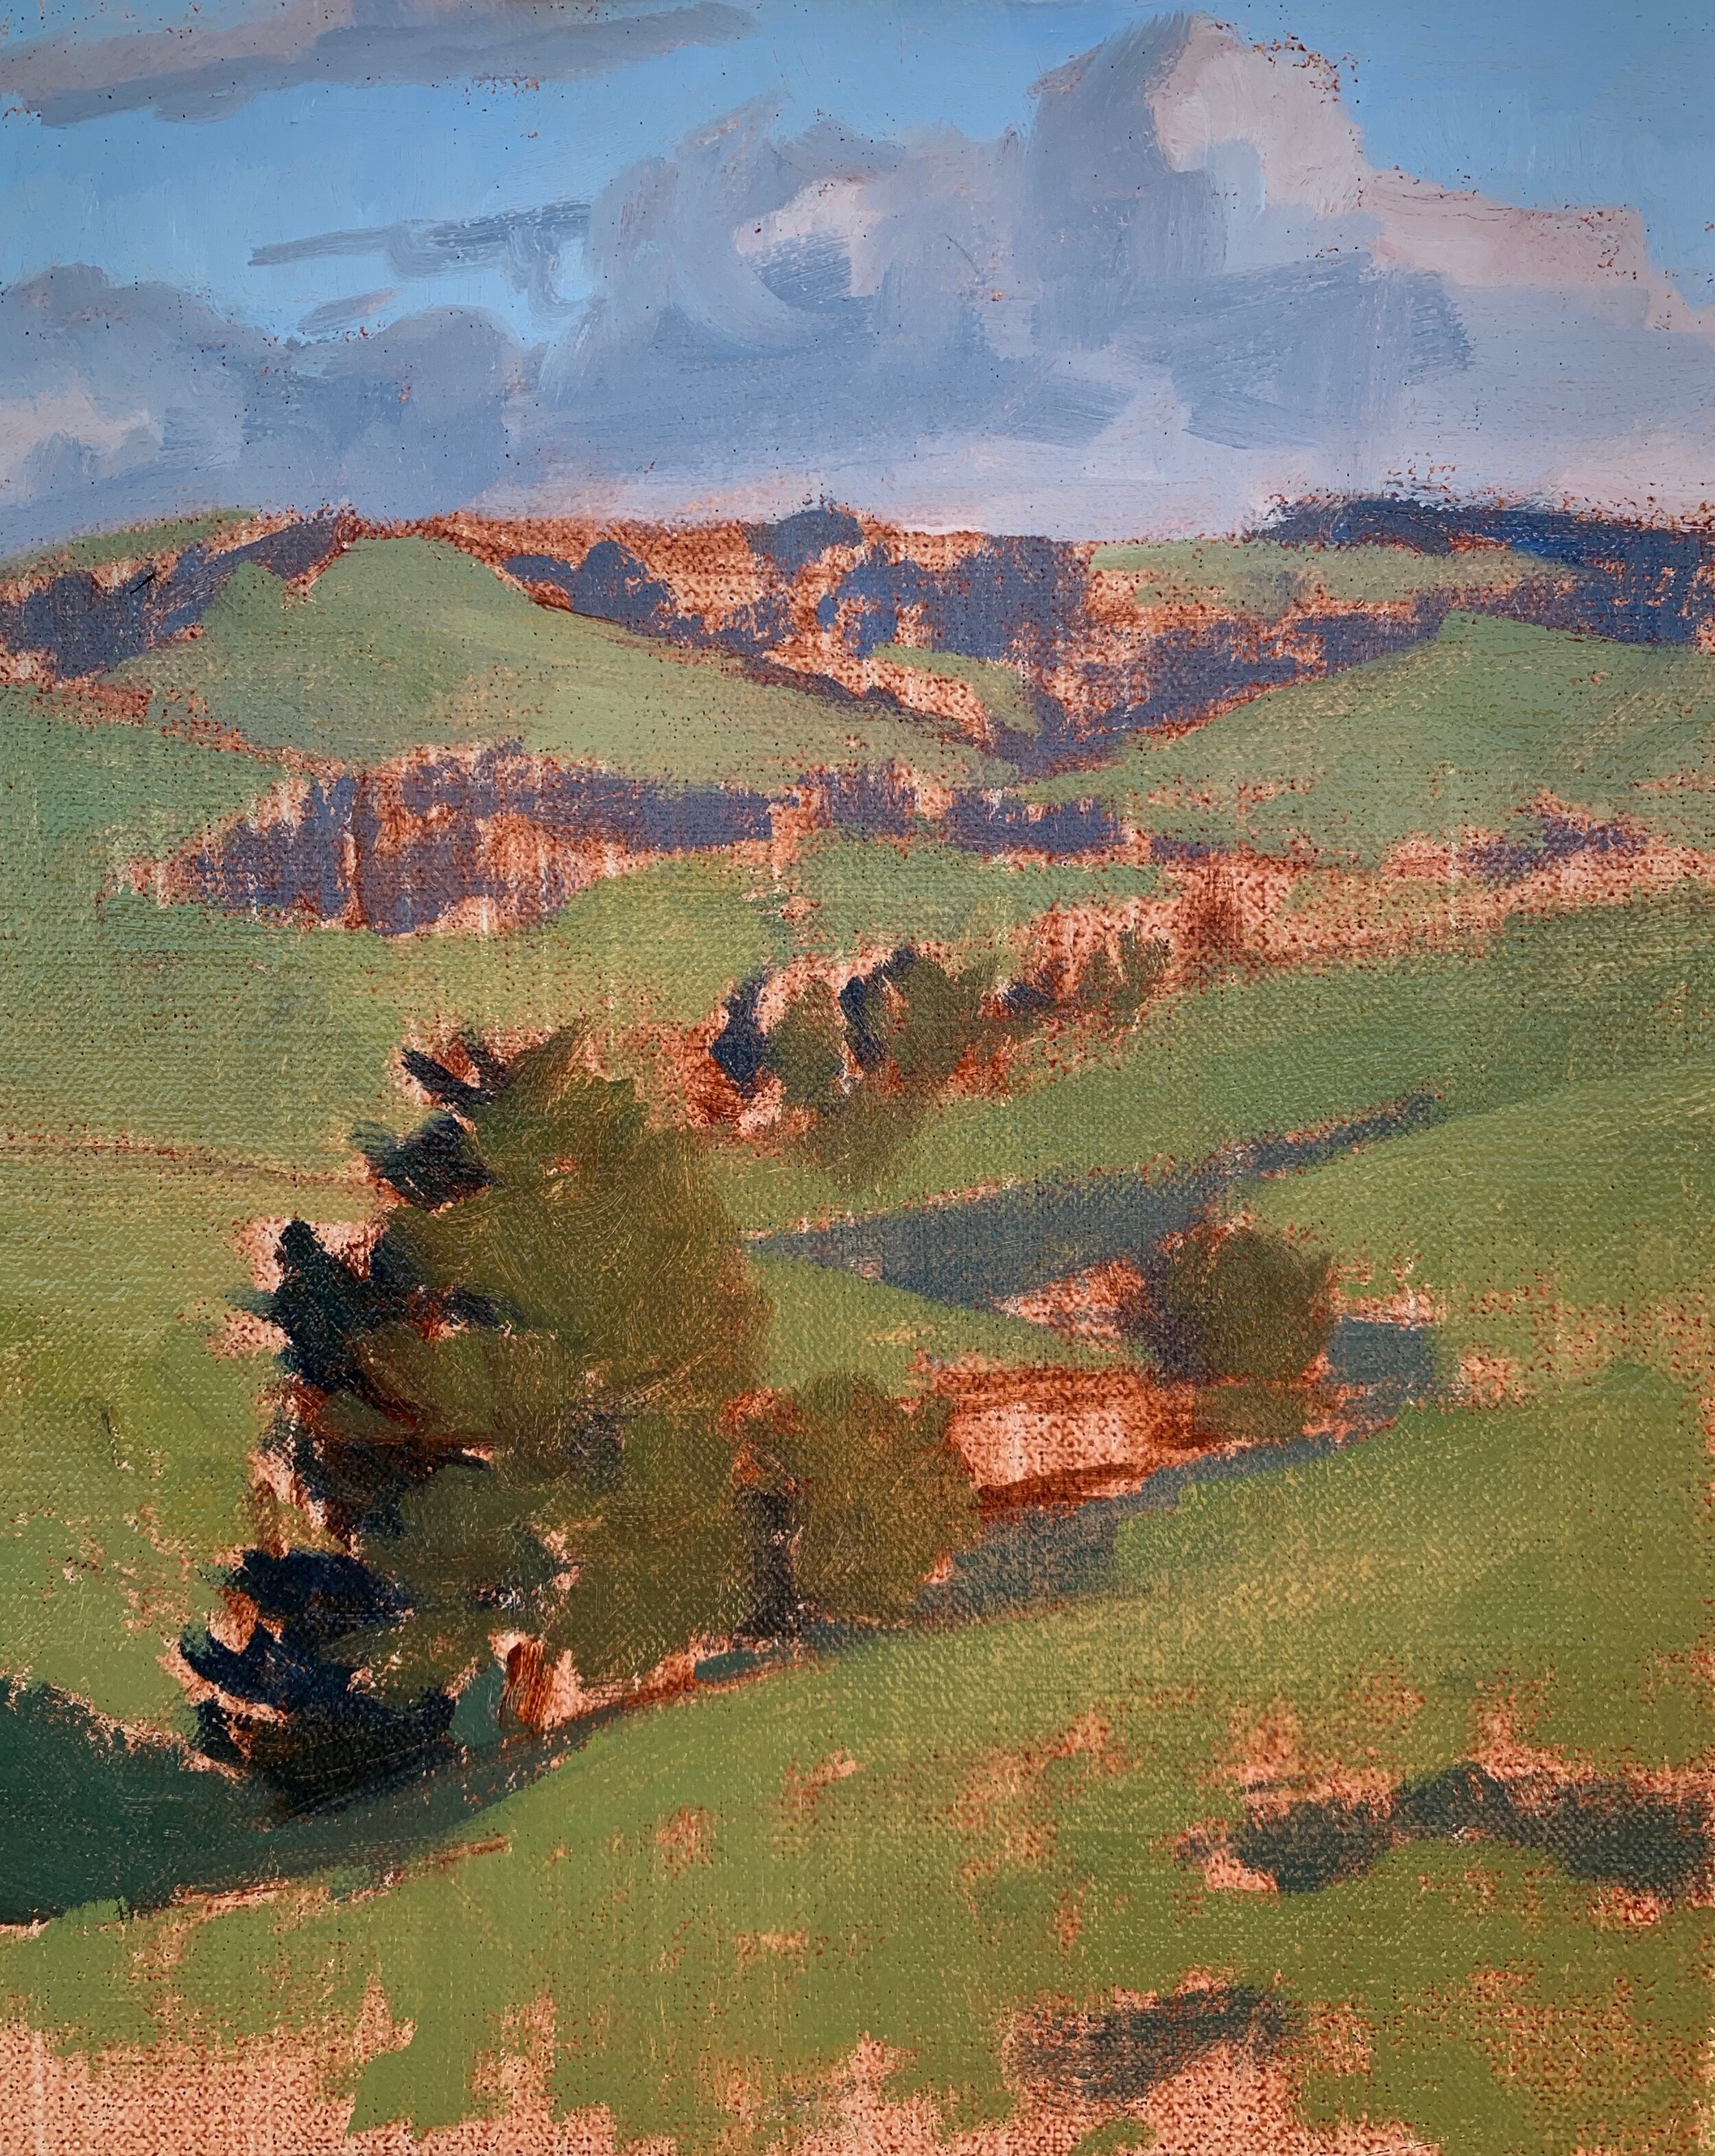
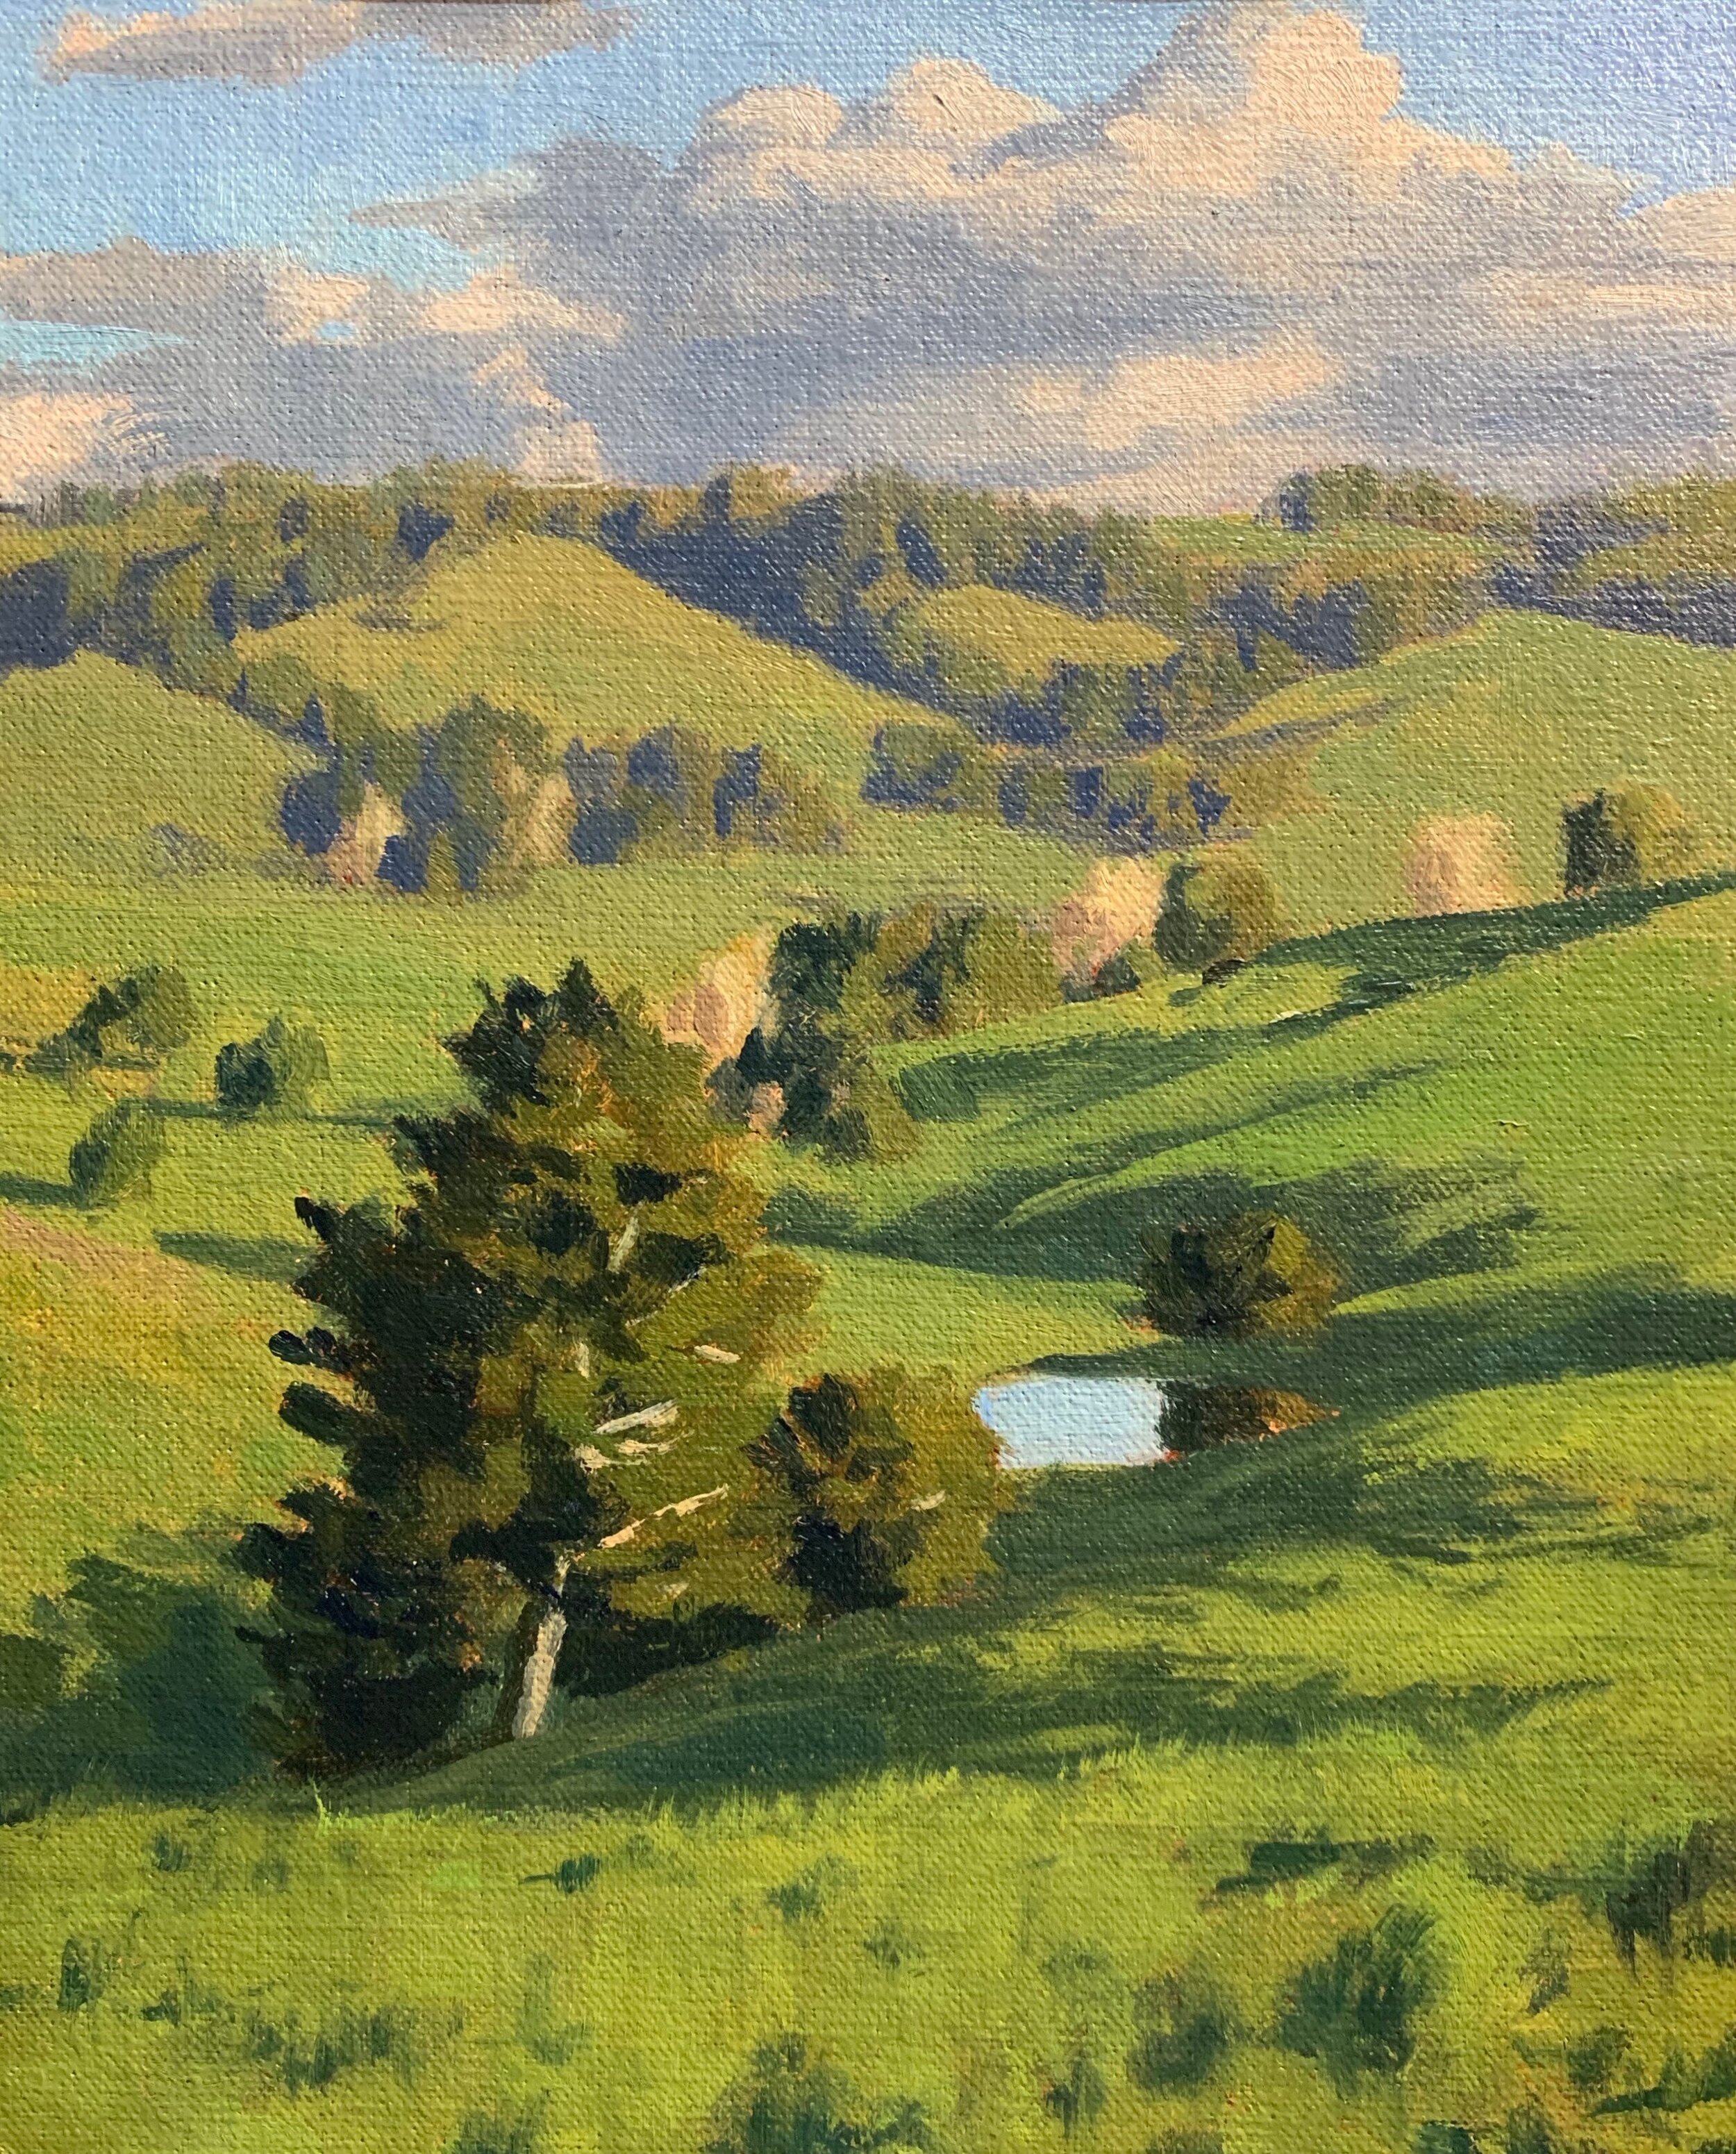
I let my painting dry again so I can add the final details to complete it. It’s here that I have saved my lightest tones until the end.
I paint a few highlights within the totara tree in the foreground.
I paint the suggestion of thick grass in the foreground by marking in a few blades of grass with a No.00 round brush. I generally go for the less is more approach when it comes to detail as I didn’t want to over complicate the painting and risk spoiling the composition.
I finish up the painting by reintroducing some cows in the field. I had to paint over them when I was working of the fields in the mid ground. Adding a few animals gives another part to the visual story of your painting.
Thanks for reading 😊
